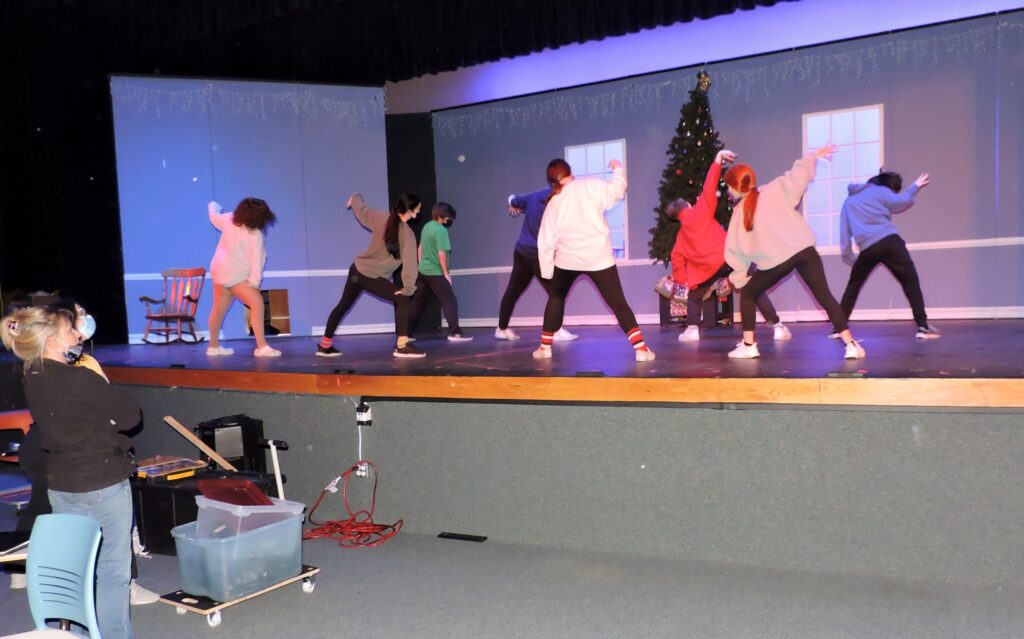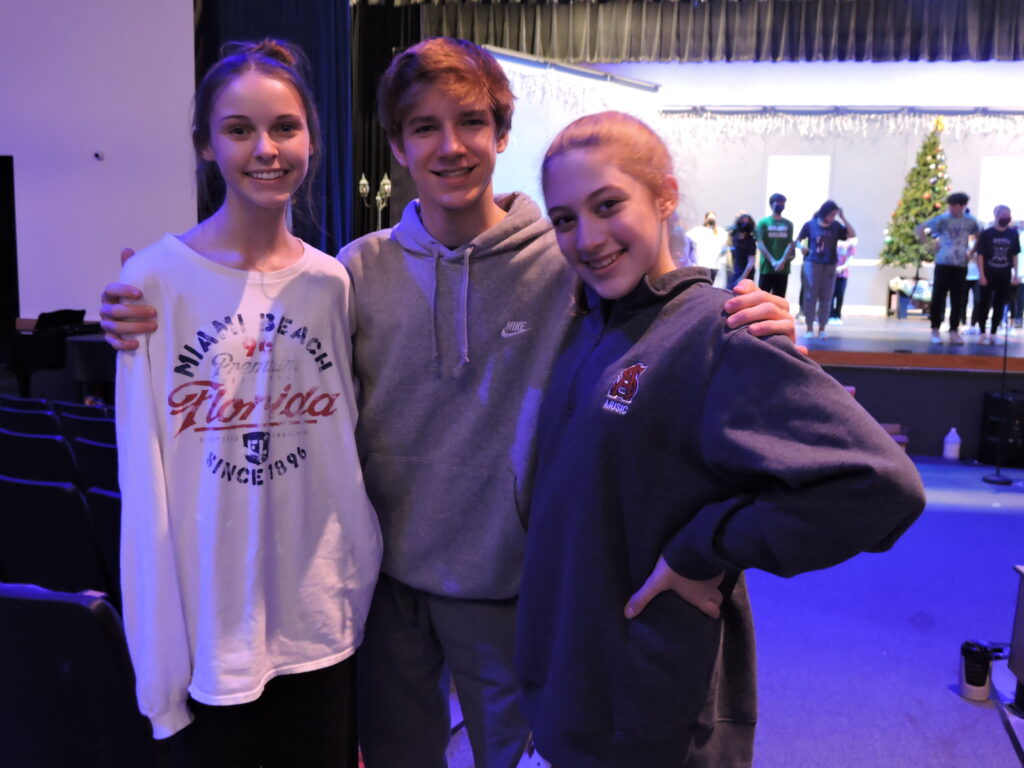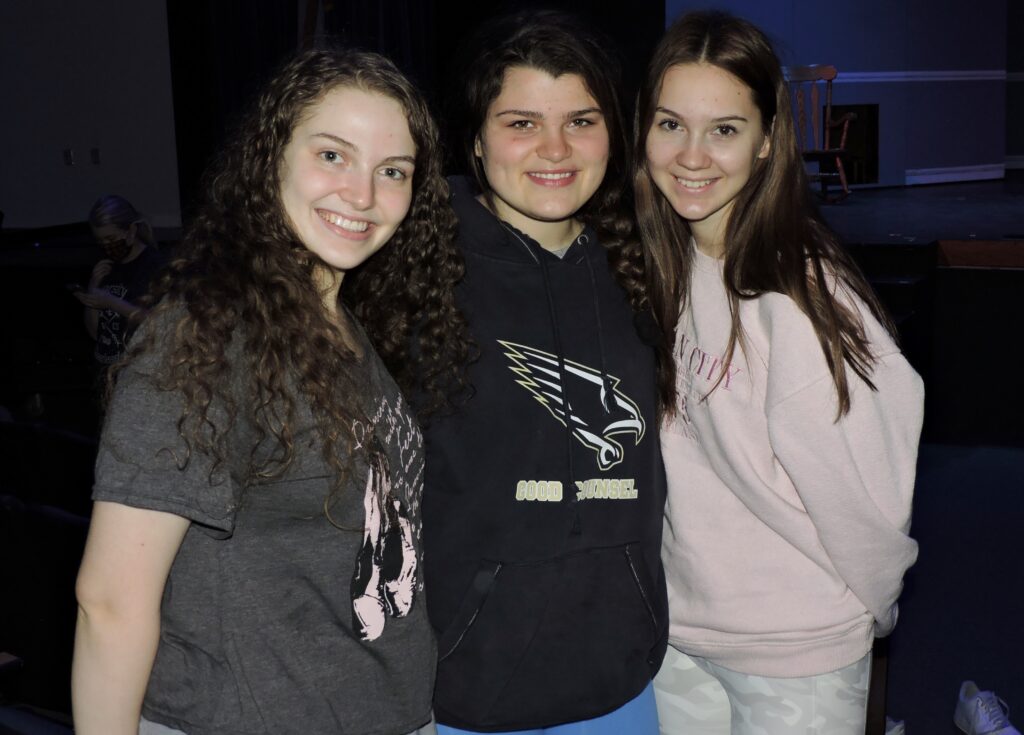
AROUND THE PARK AGAIN by Sharon Lee Tegler
Ever expanding its community outreach, the Good Neighbors Group founded by executive director Julie Shay in 2006 accomplished a total of 14 projects during 2021 in spite of many challenges.
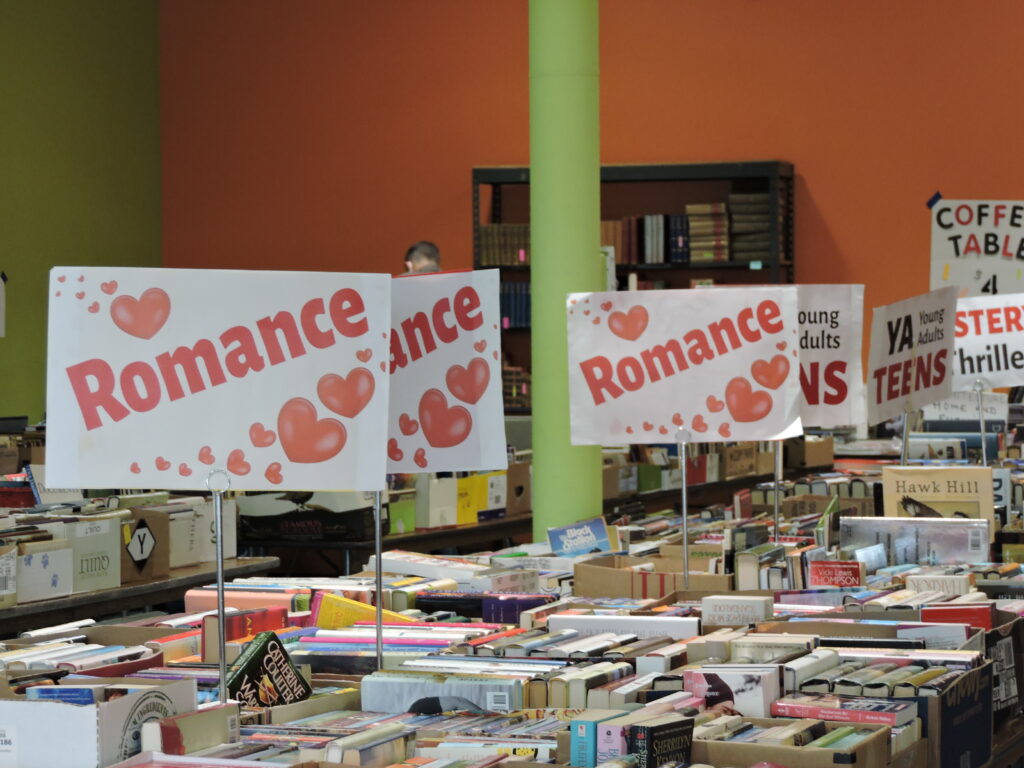
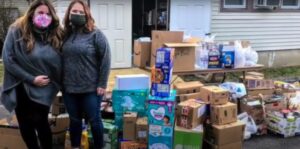
Among other things, GNG volunteers collected hundreds of coats for families, collected and mailed Halloween candy to deployed soldiers, donated over 150 units of blood to Luminis/Anne Arundel Medical Center, provided Thanksgiving dinners for 200 families, and collected over 20,500 items for food pantries during their 2021 S(o)UPER BOWL FOOD DRIVE.
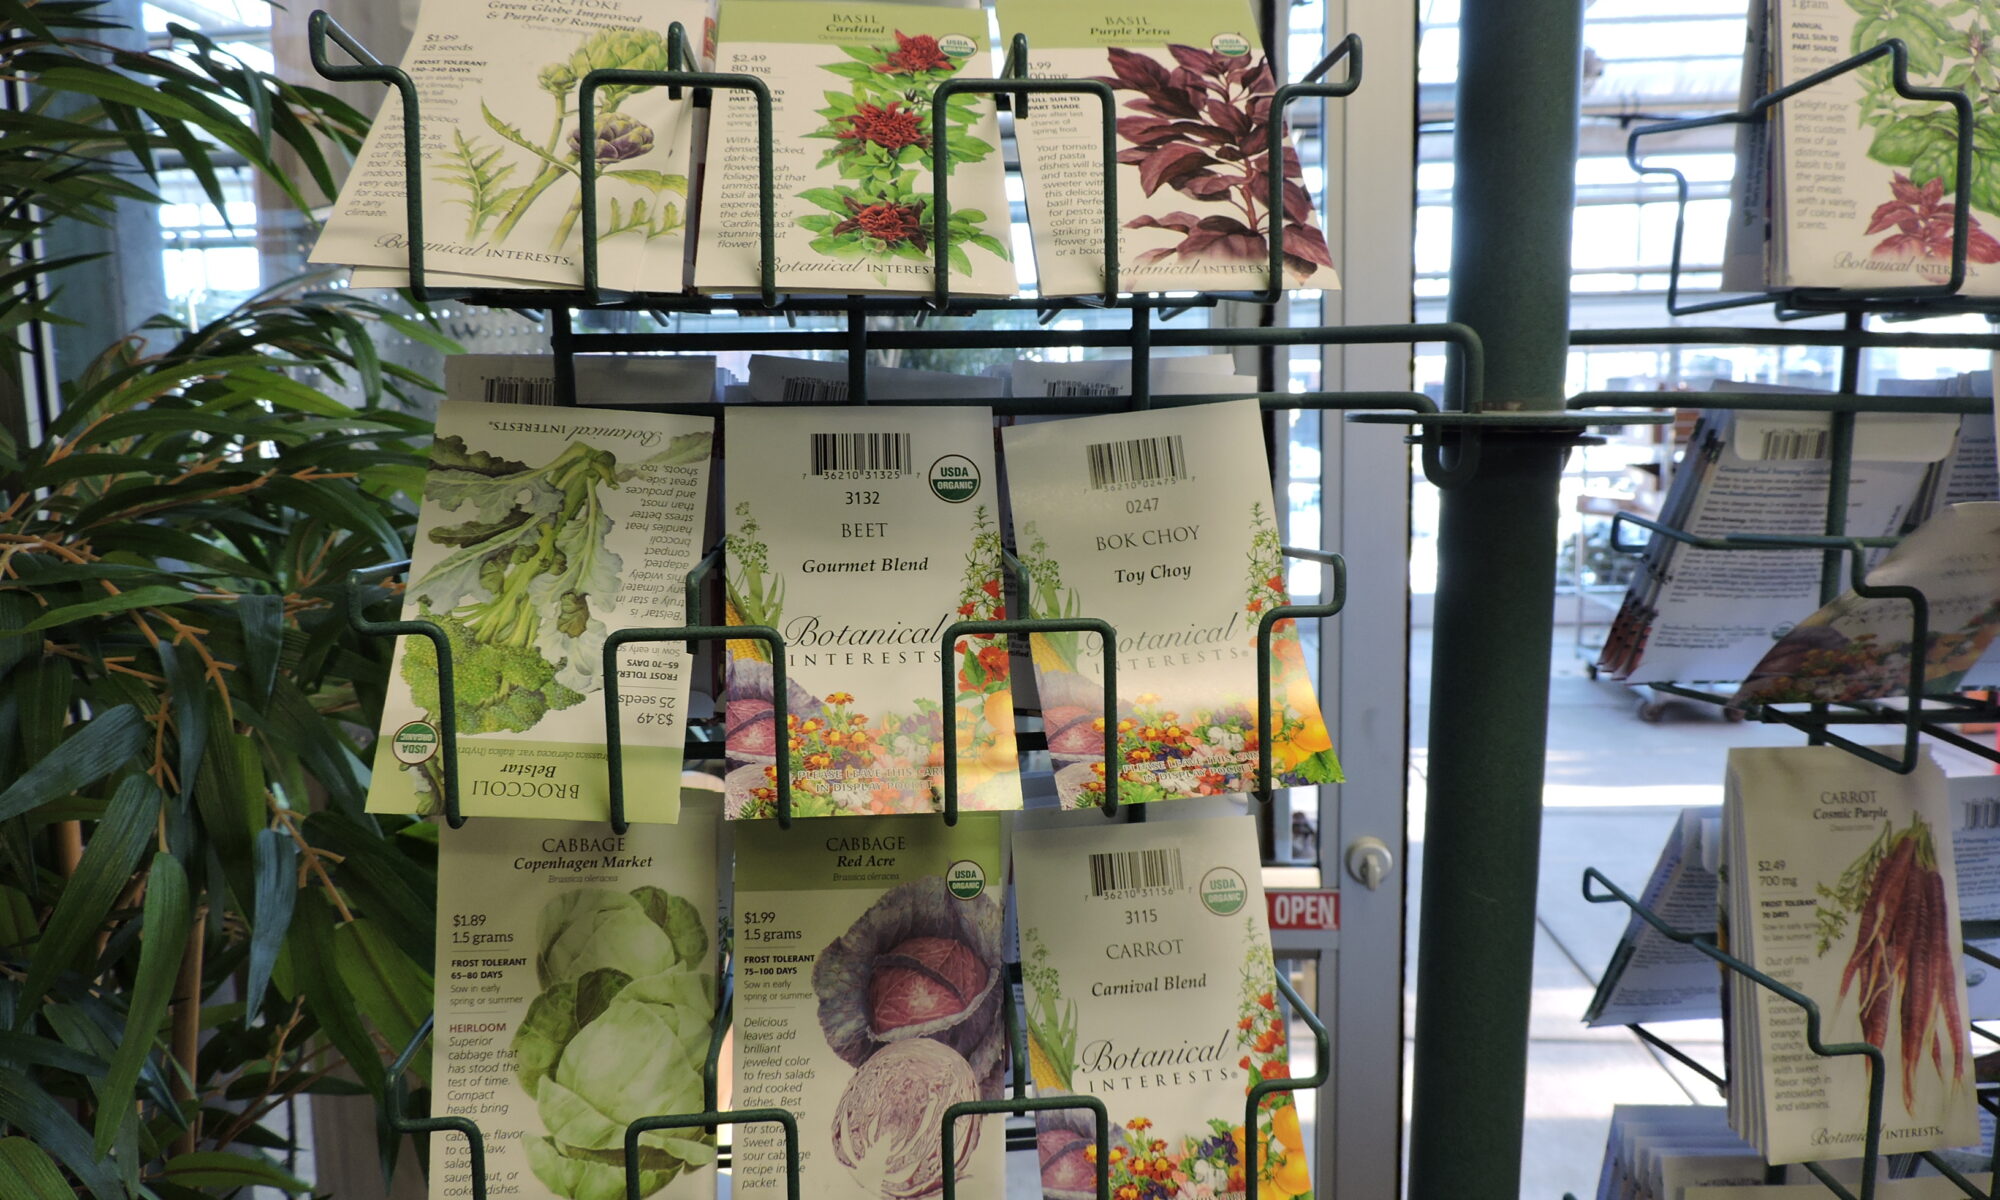
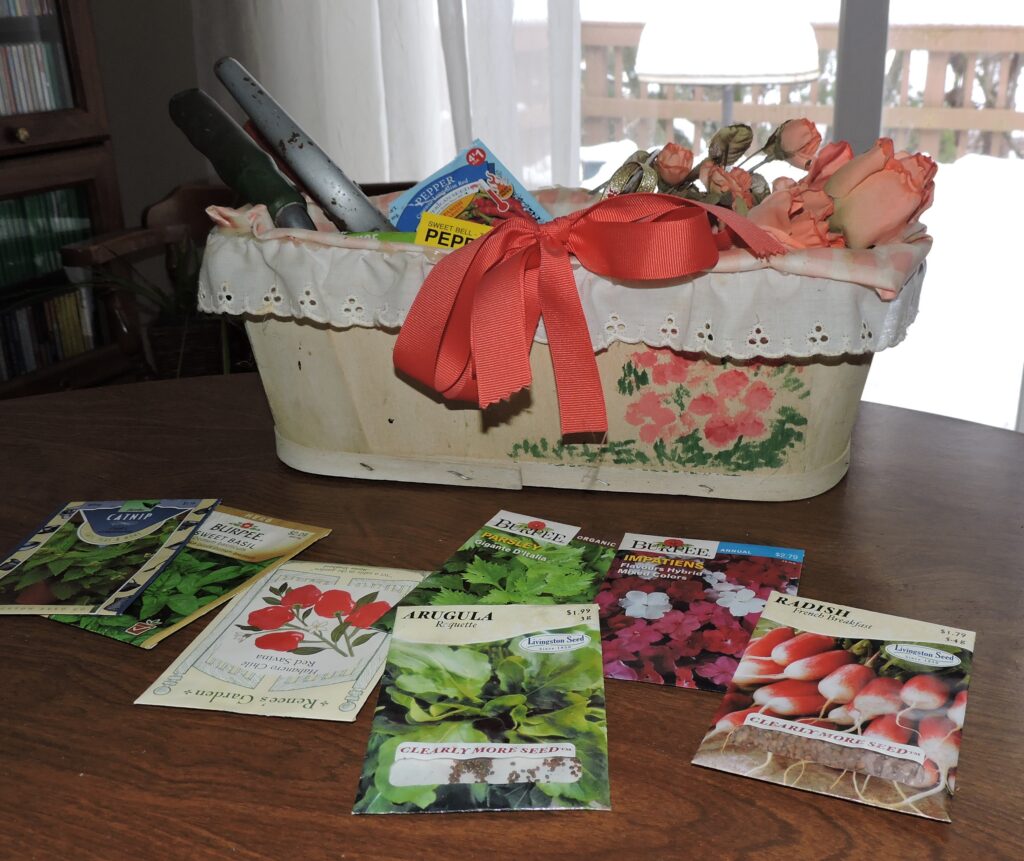
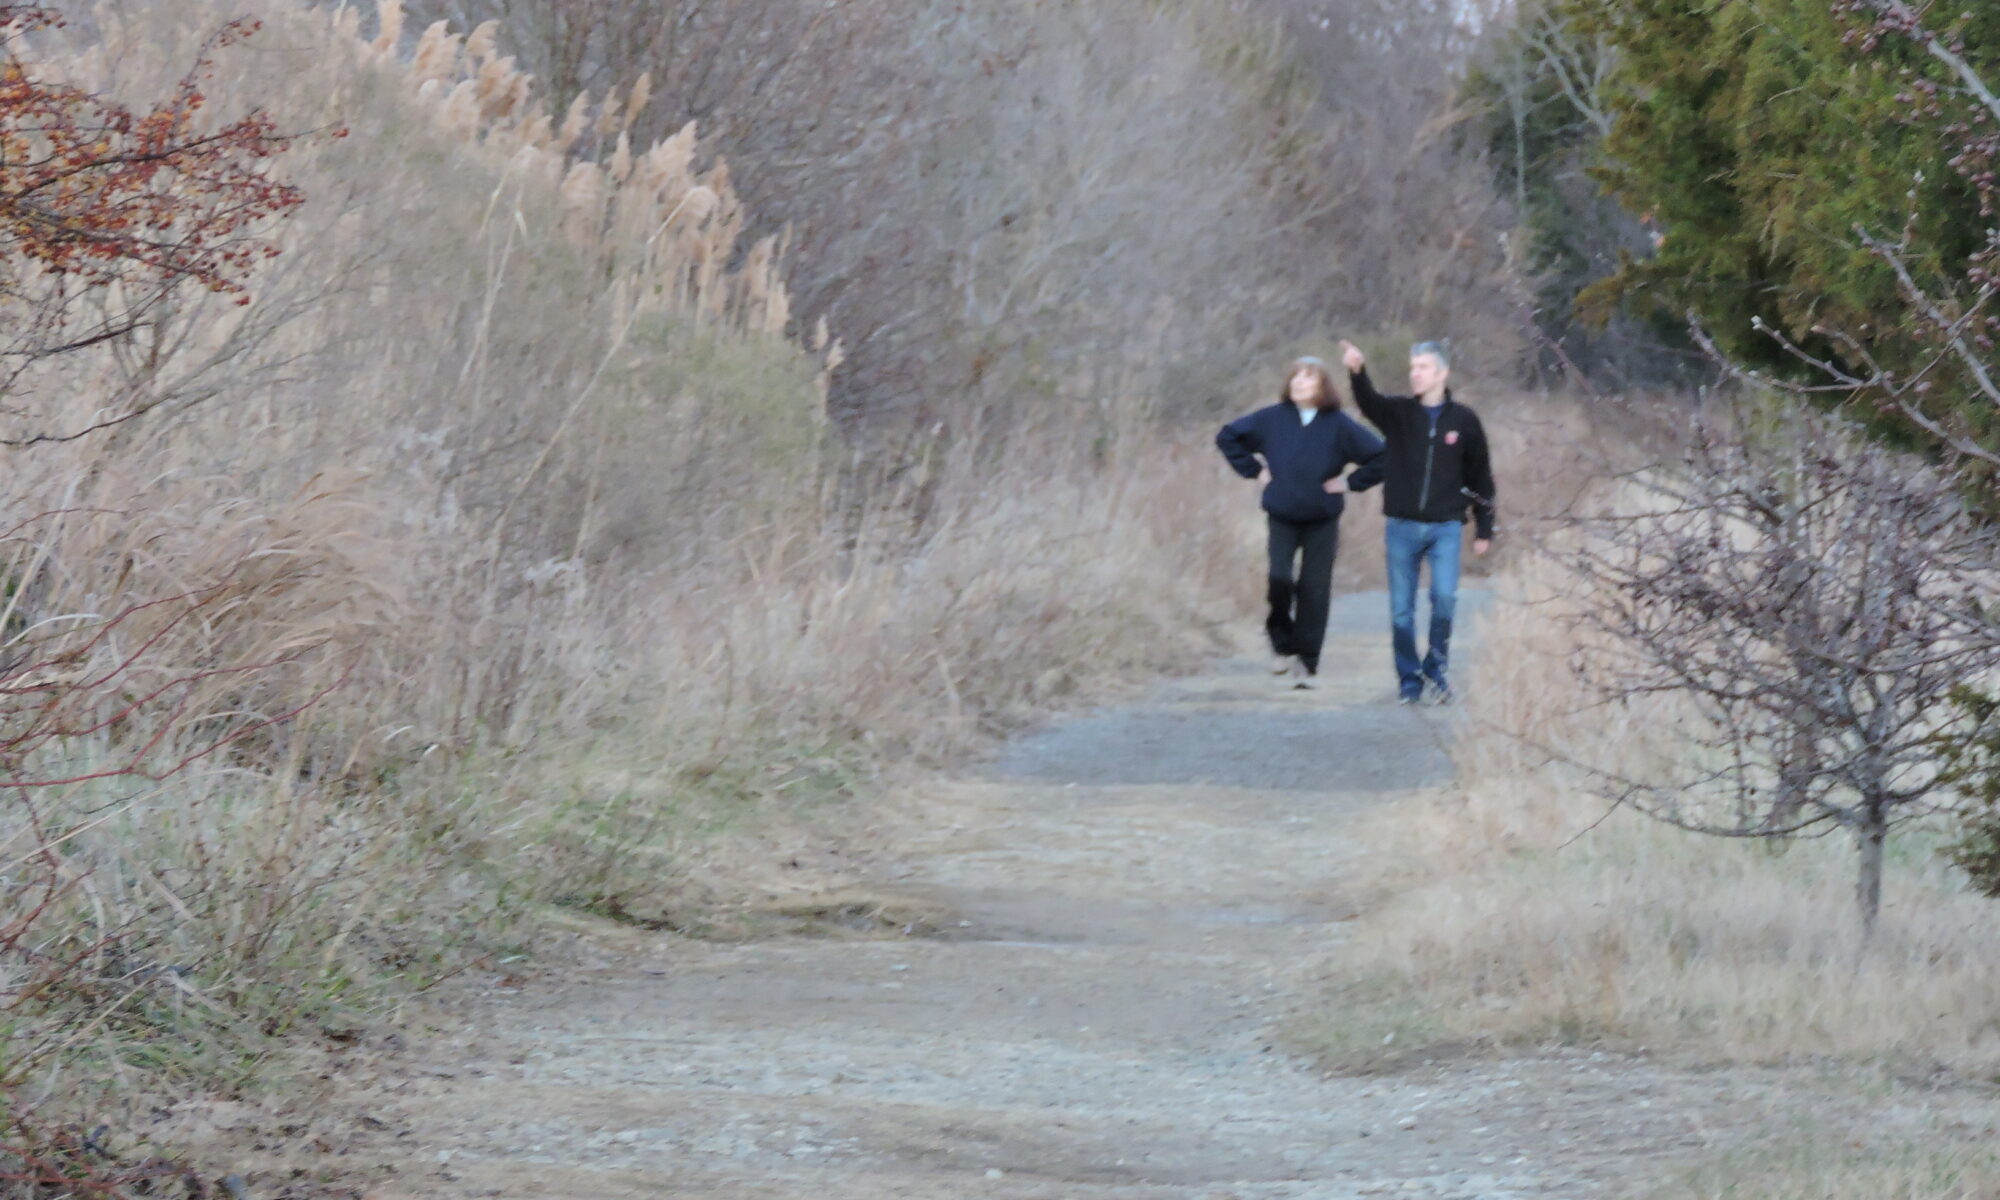
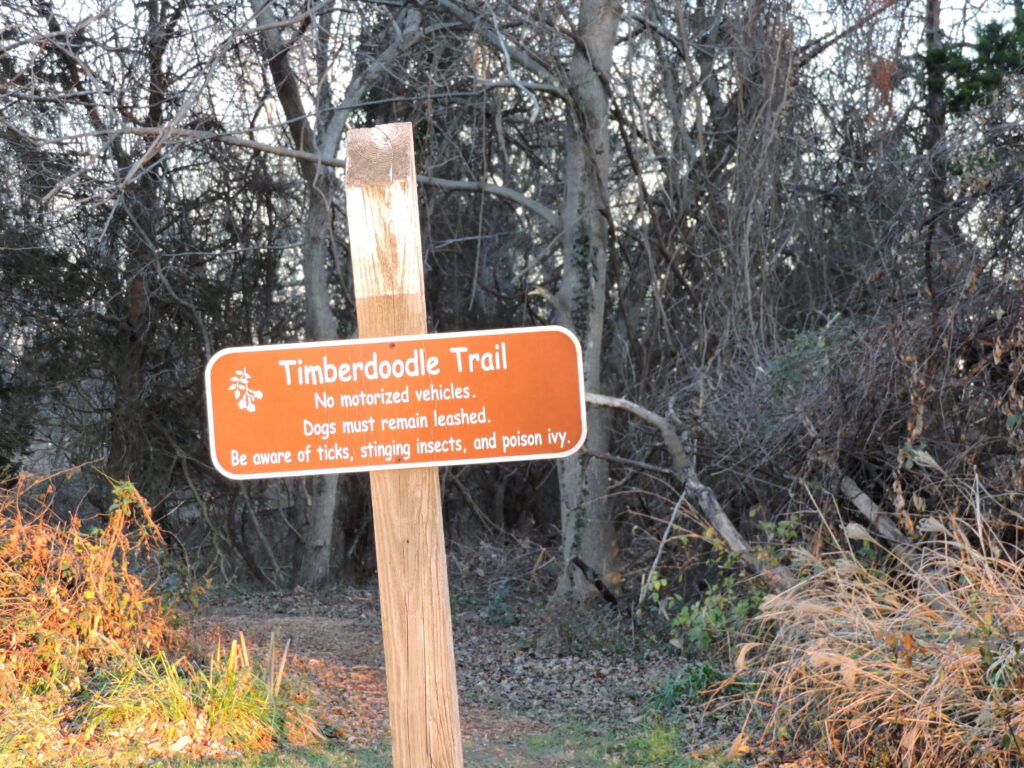
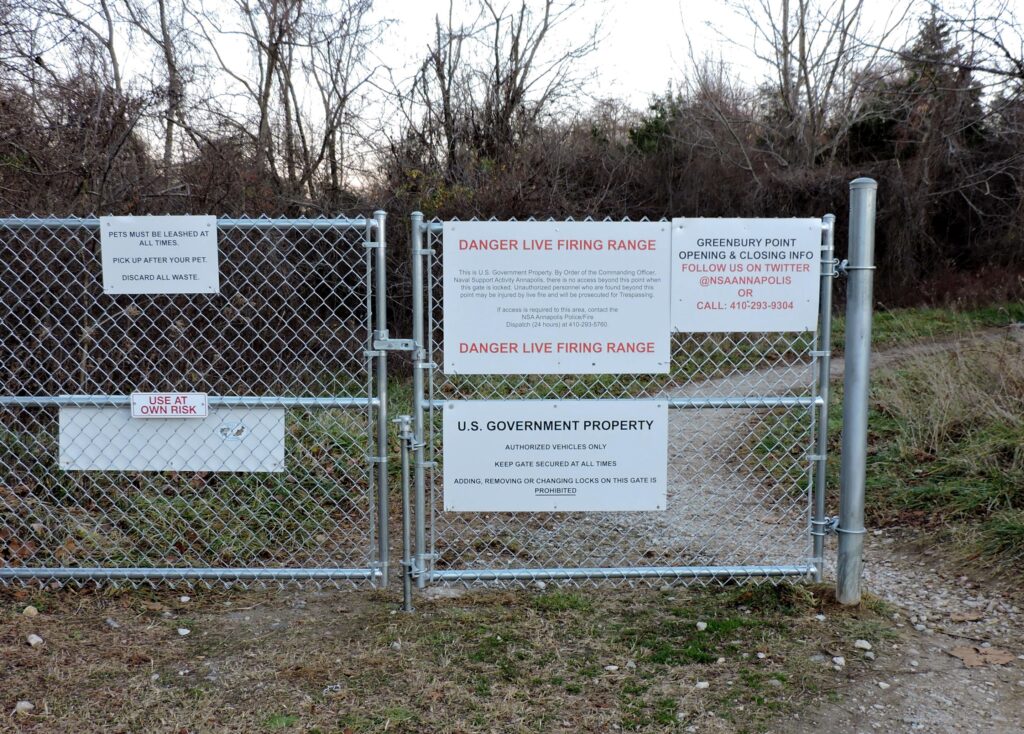
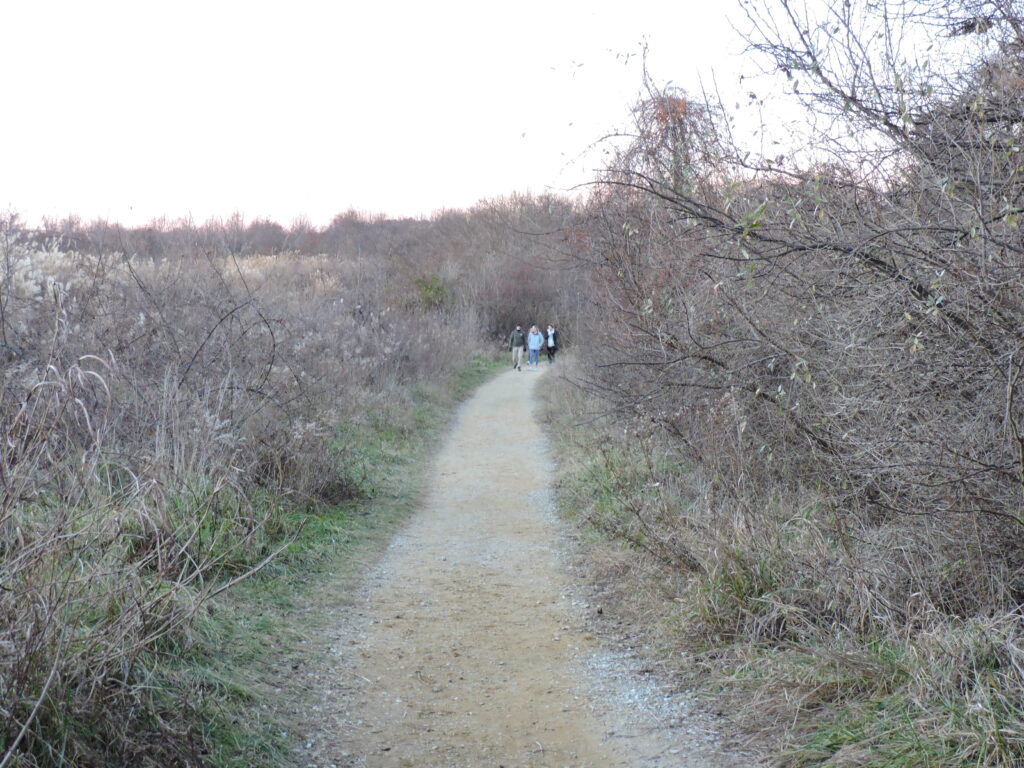
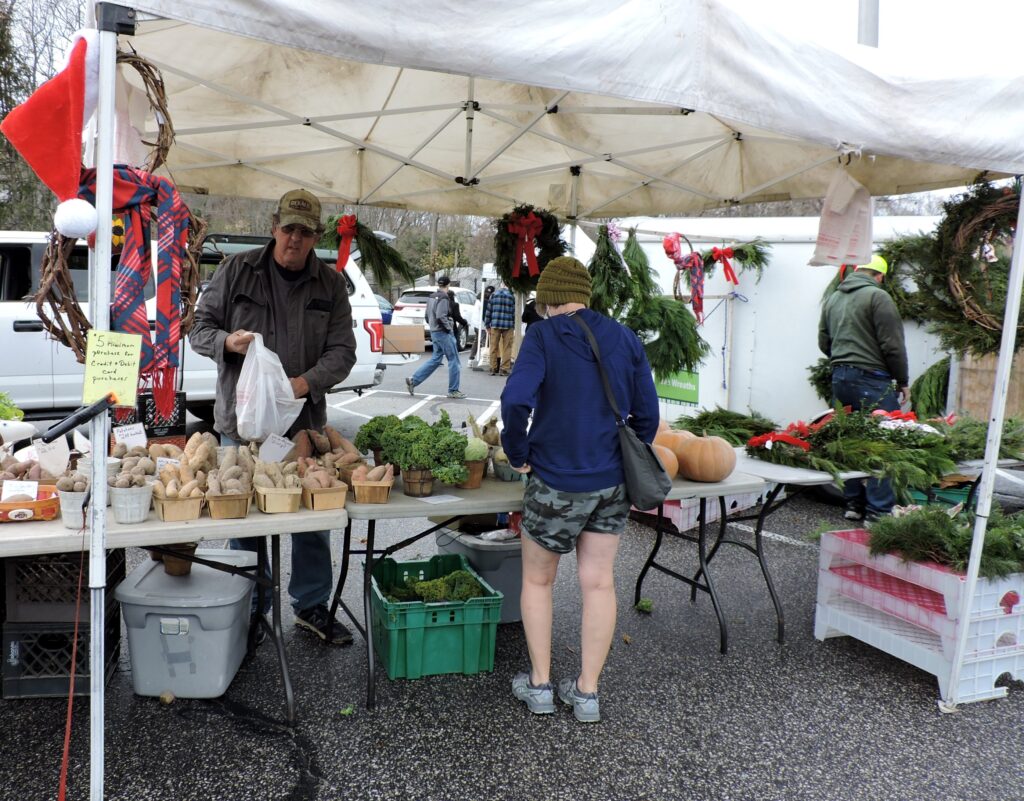
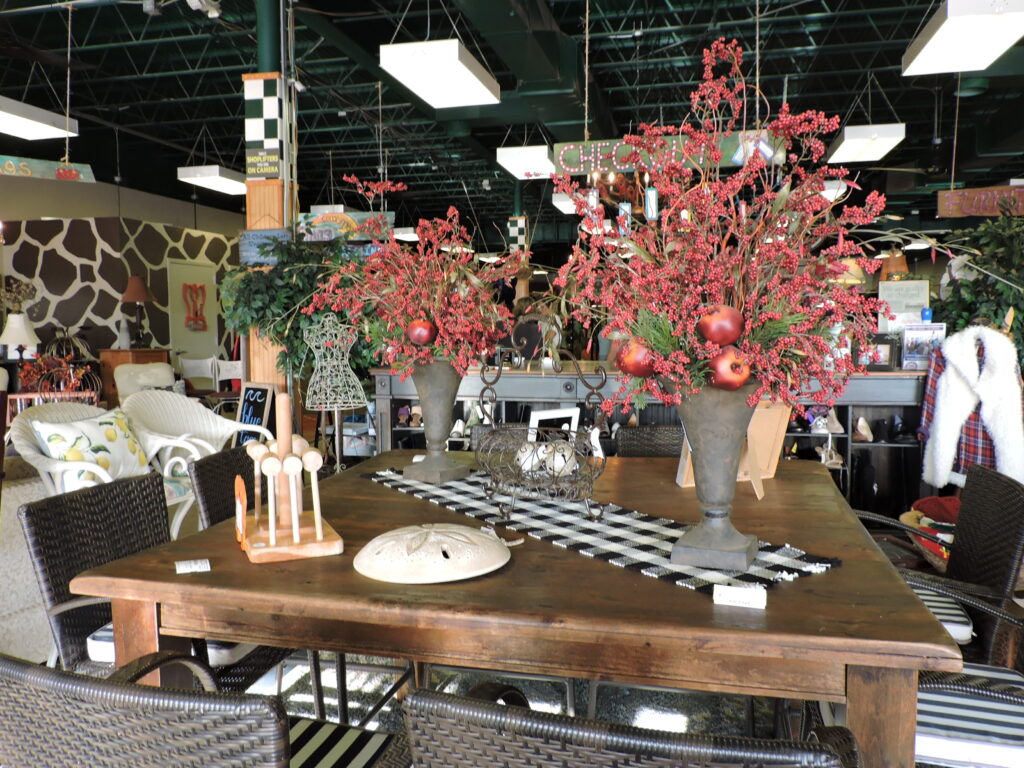
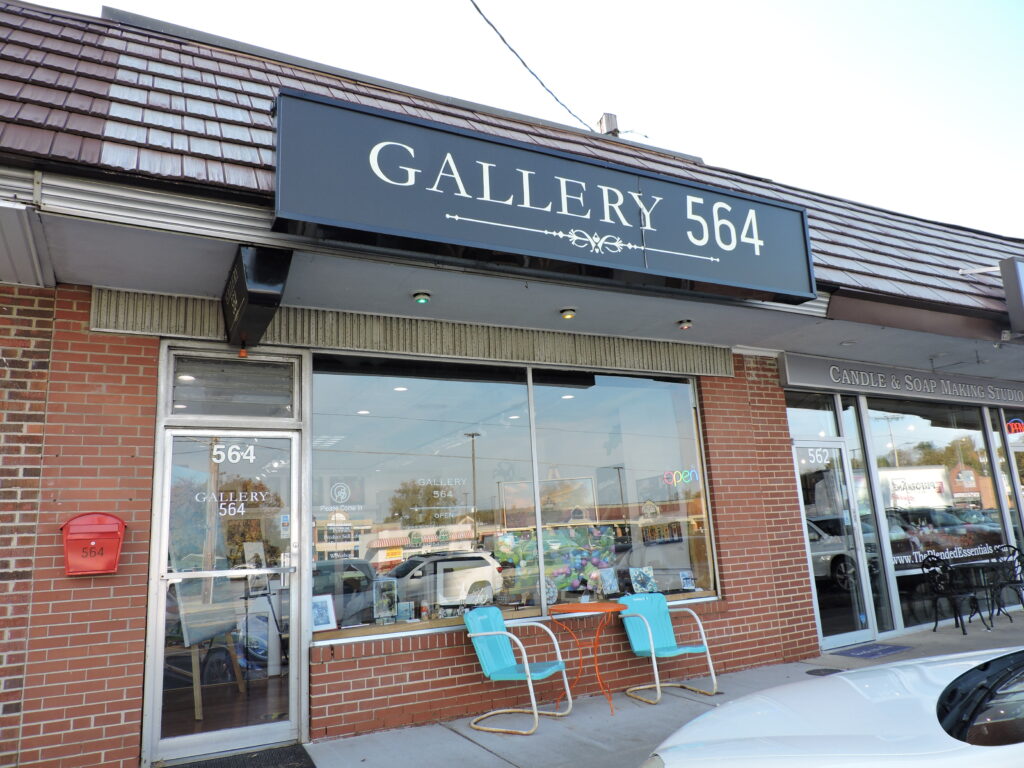
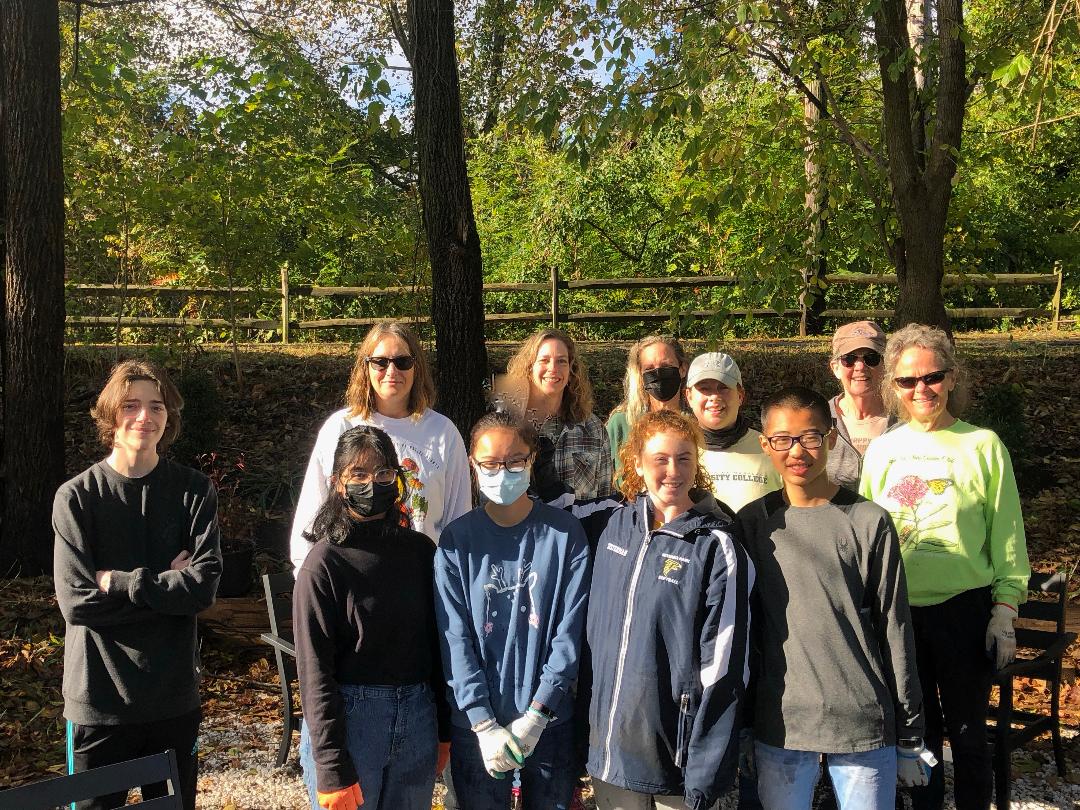
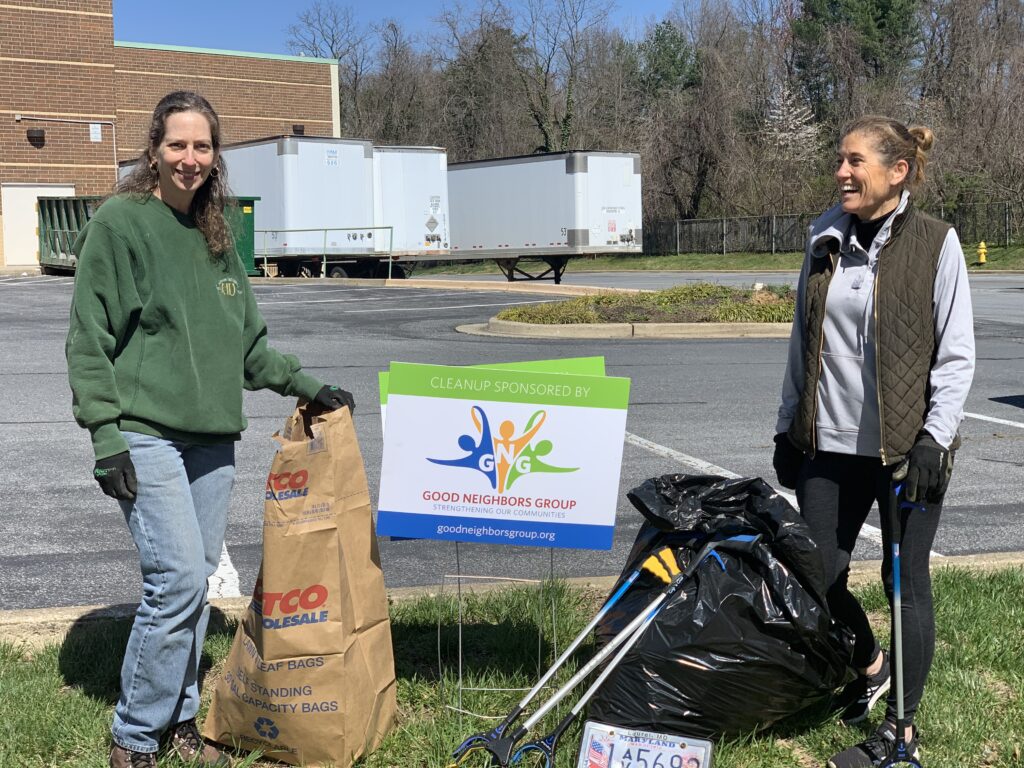
Deeply dedicated to environmental projects the group also cleared invasive vines from Beachwood Park and the Baltimore Annapolis Trail, planted native gardens in public spaces (including one behind Park Salon as seen in the opening photo), and picked up litter from local roadways and waterways.
Shay said GNG is grateful for the volunteers and donors who made so many projects possible during 2021 in spite of problems associated with the COVID pandemic. She adds that the group remains inspired and the game is already on for 2022’s most significant event.
“I’m about to send out the flyer for our fifth annual S(o)UPER BOWL FOOD DRIVE which will take place from February 10 through 13 with food delivered on the 13th, ” she said. “Last year’s drive broke all previous records with a total of 44 neighborhoods participating and tripled the amount of food collected.”
She added that GNG will, hopefully, duplicate last year’s donations to four primary organization’s including the Anne Arundel County Food Bank, SPAN, Inc. on Benfield Road, ACAN (Asbury Church Assistance Network) on Asbury Drive and My Brother’s Pantry in Arnold. The group would also like to expand the number of neighborhoods participating on the Broadneck Peninsula which currently stands at nine. Mezzanotte will again be participating in the drive as a sponsor.
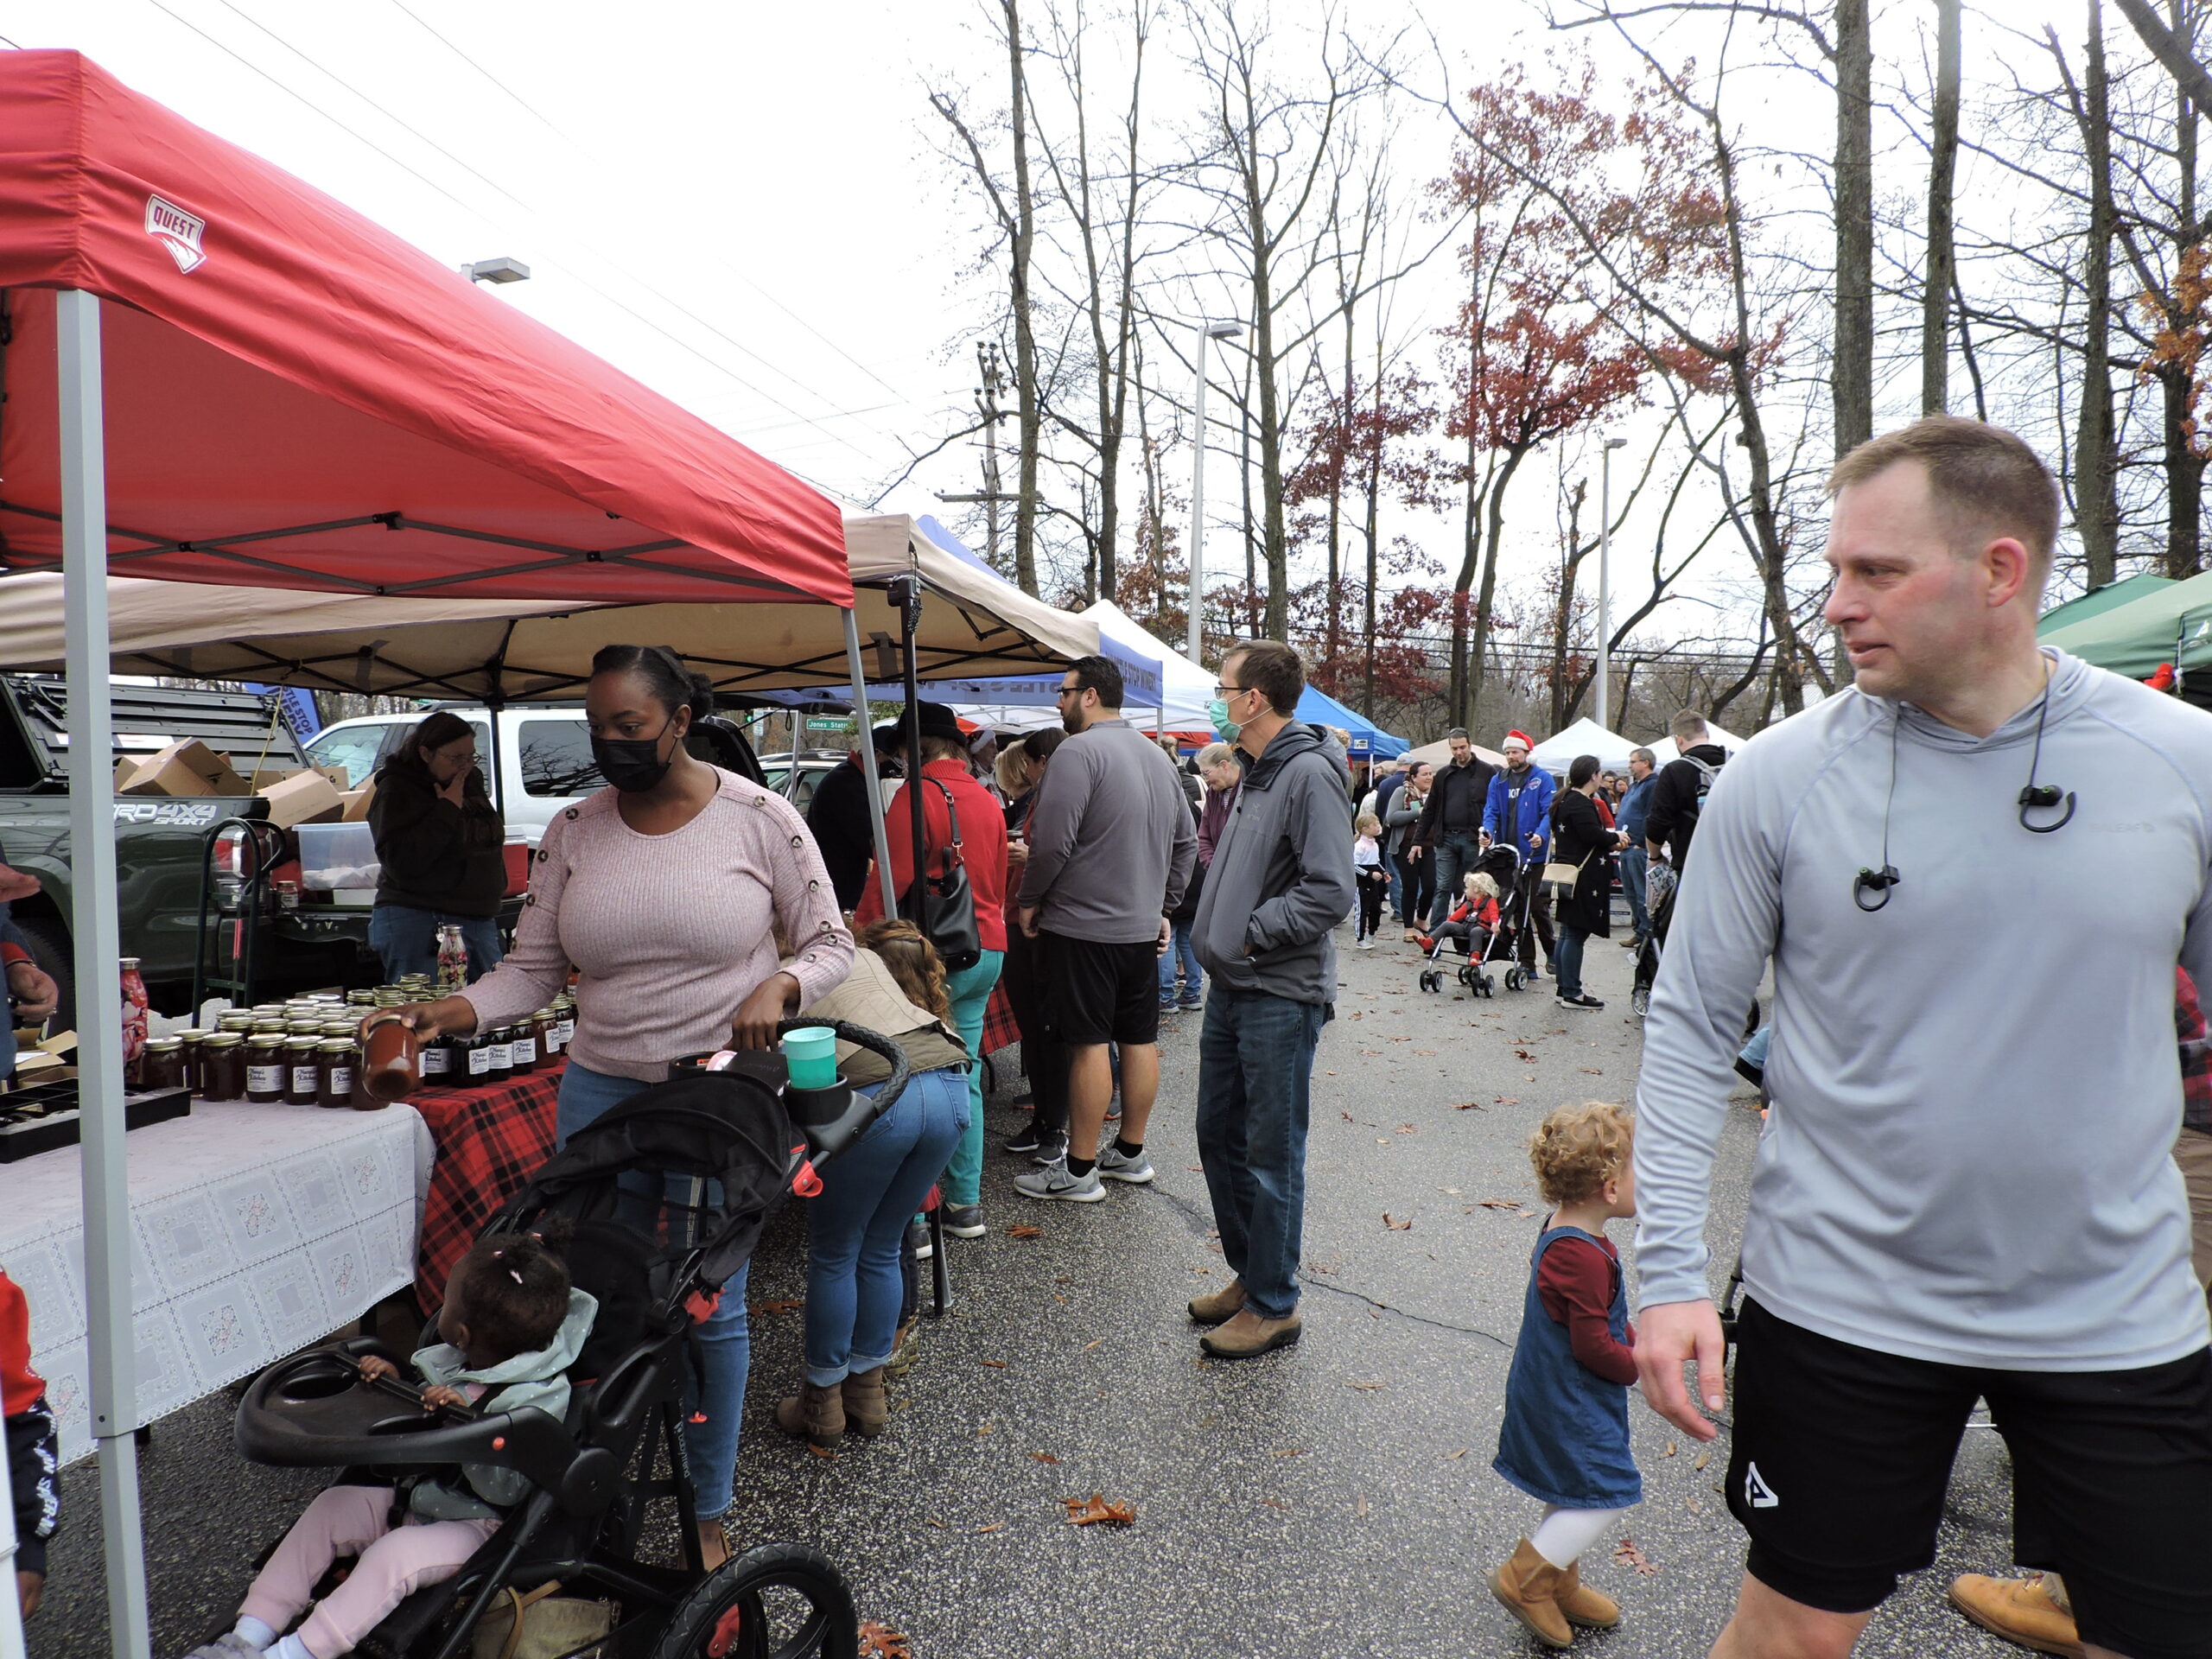
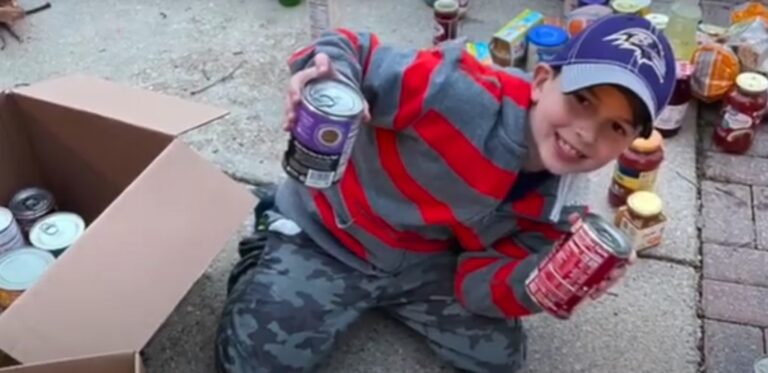
Over the course of four days, neighborhood captains will volunteer their homes as collection points for donations of food and household items. The items tend to spill across every unoccupied space – from back porches and garages to kitchen counters, dining room tables, living room or bedroom floors. Entire families get involved in the process, with children happy to help out.
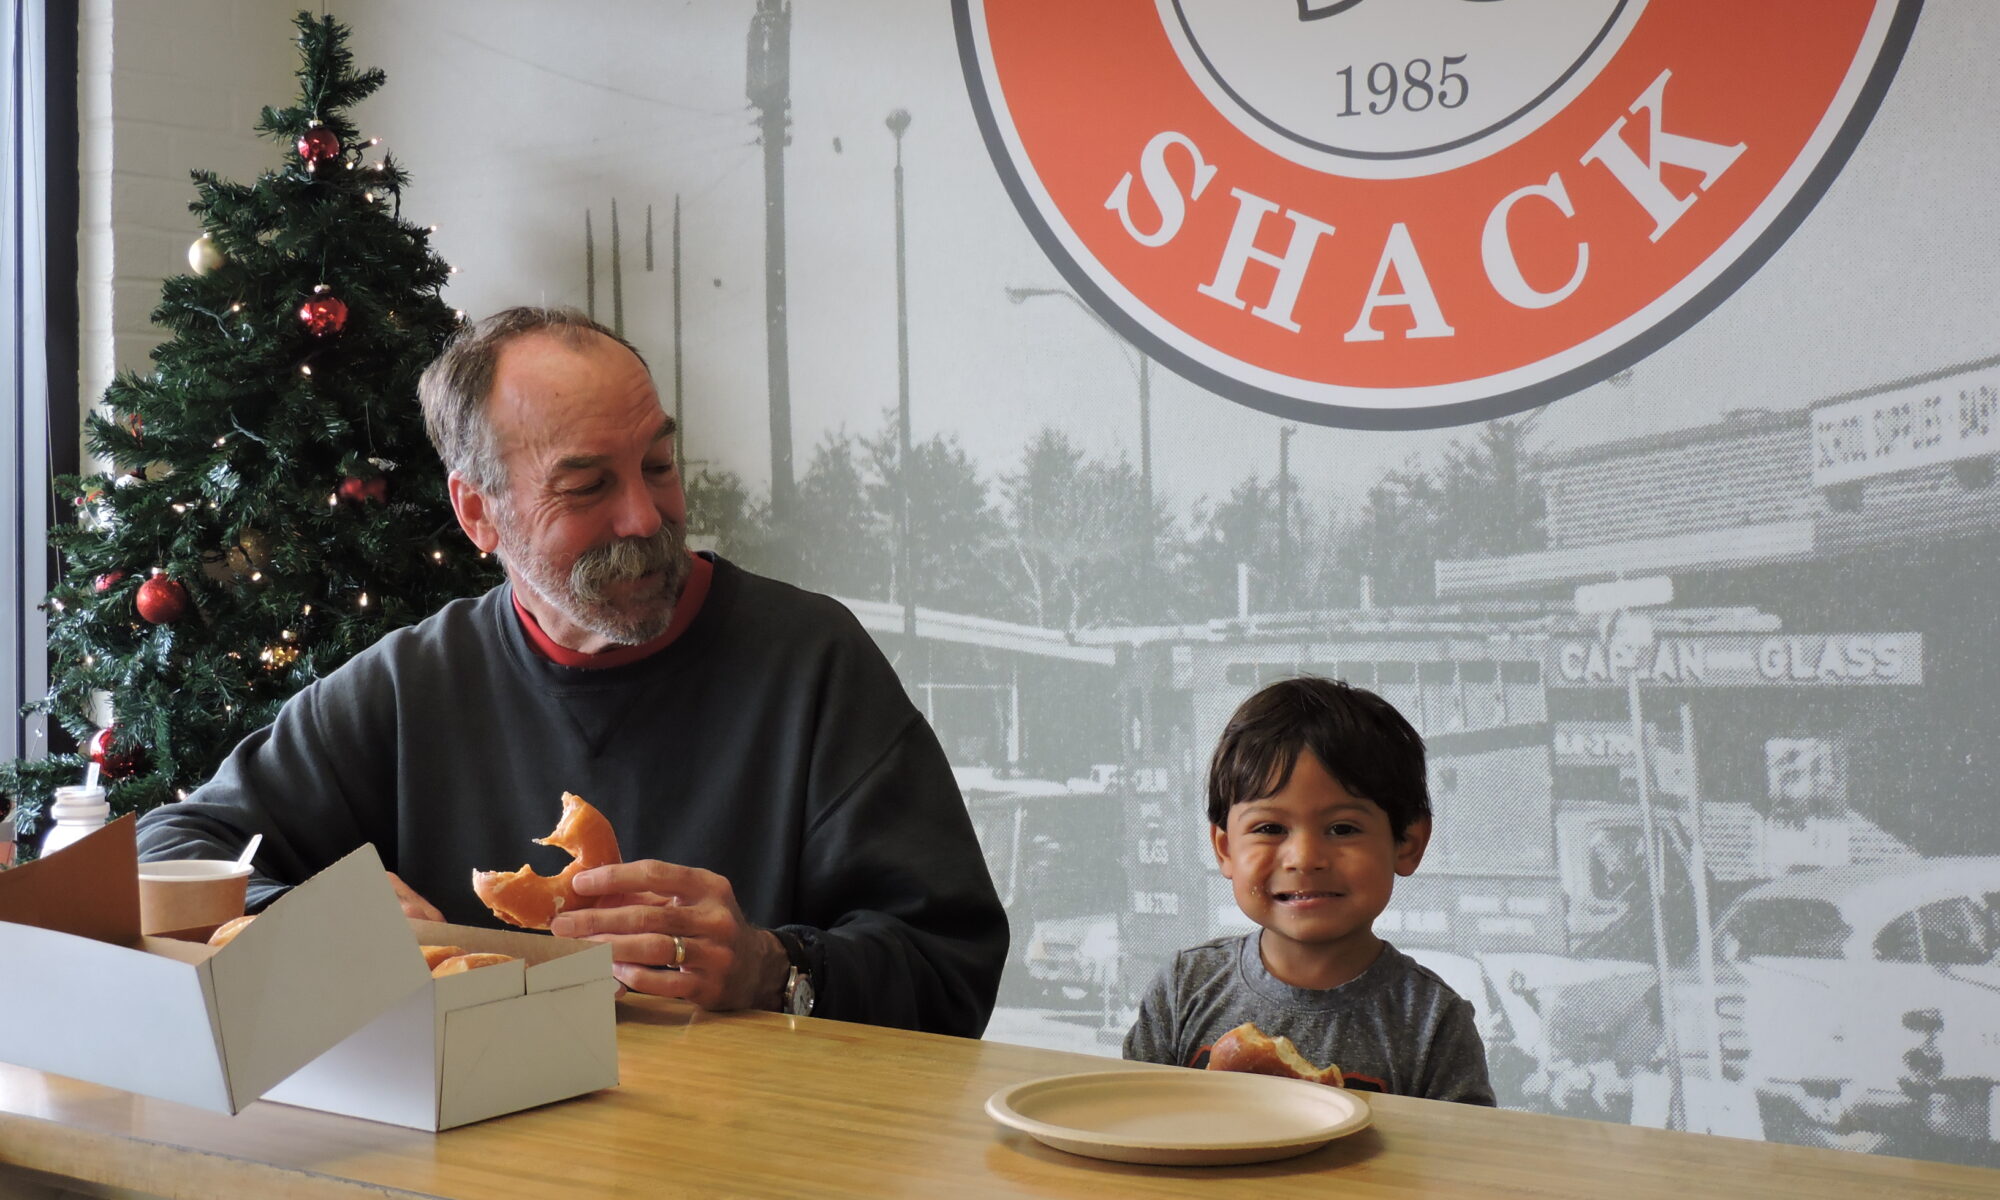
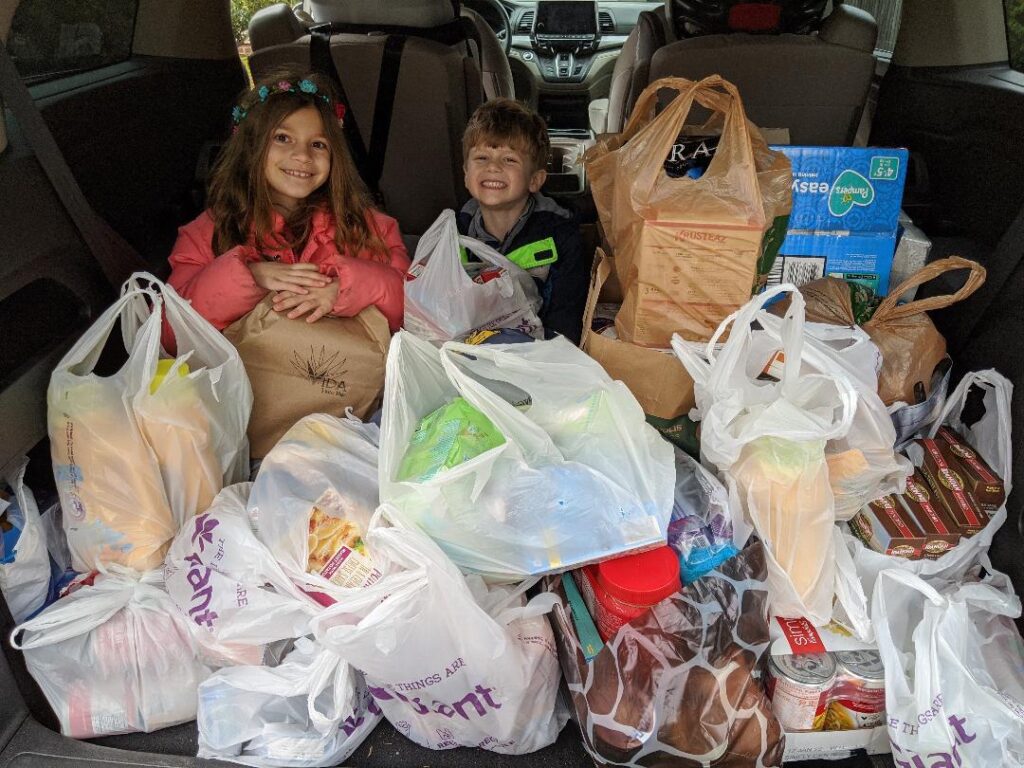
Delivery days are quite an endeavor as neighborhood captains load the items into their cars and head for their designated drop off organizations. Last year, Mackenzie Grossman and her younger brother Emerson helped carry packages as their father Jeremiah, neighborhood captain for Olde Severna Park, packed donations into the family SUV, then sat in the middle of it all.
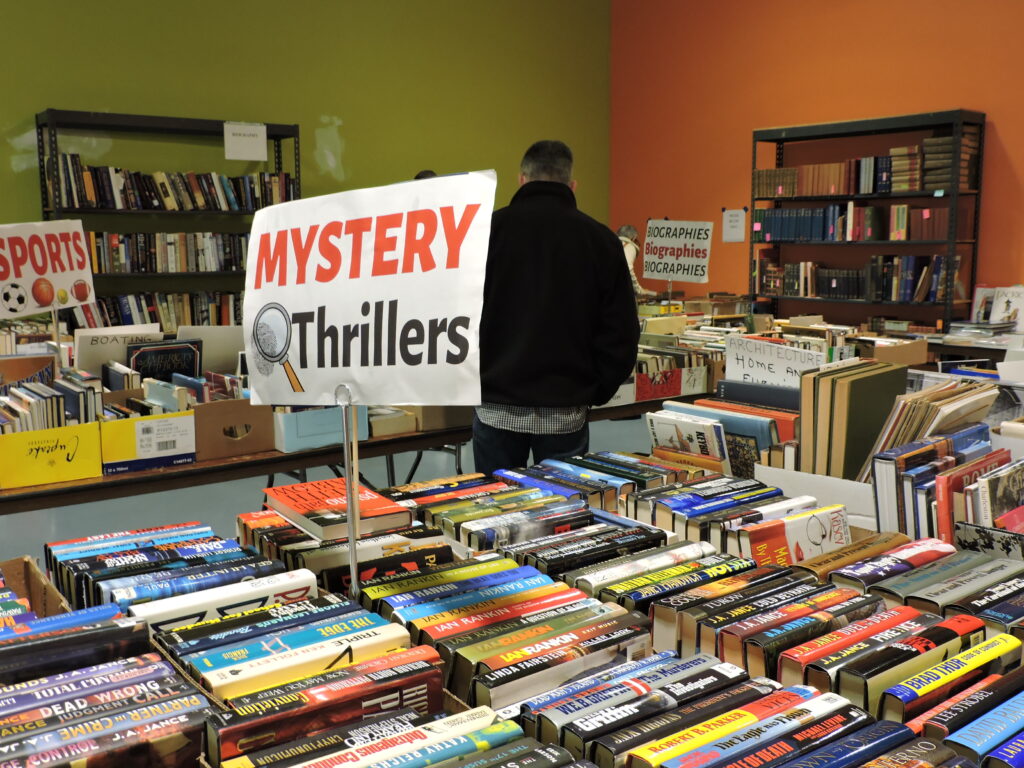
It was quite an accomplishment to deliver almost 21,000 food pantry donations but the neighborhood captains persisted to the delight of the recipient organizations.
Volunteers truly enjoy being involved in all the GNG initiatives.
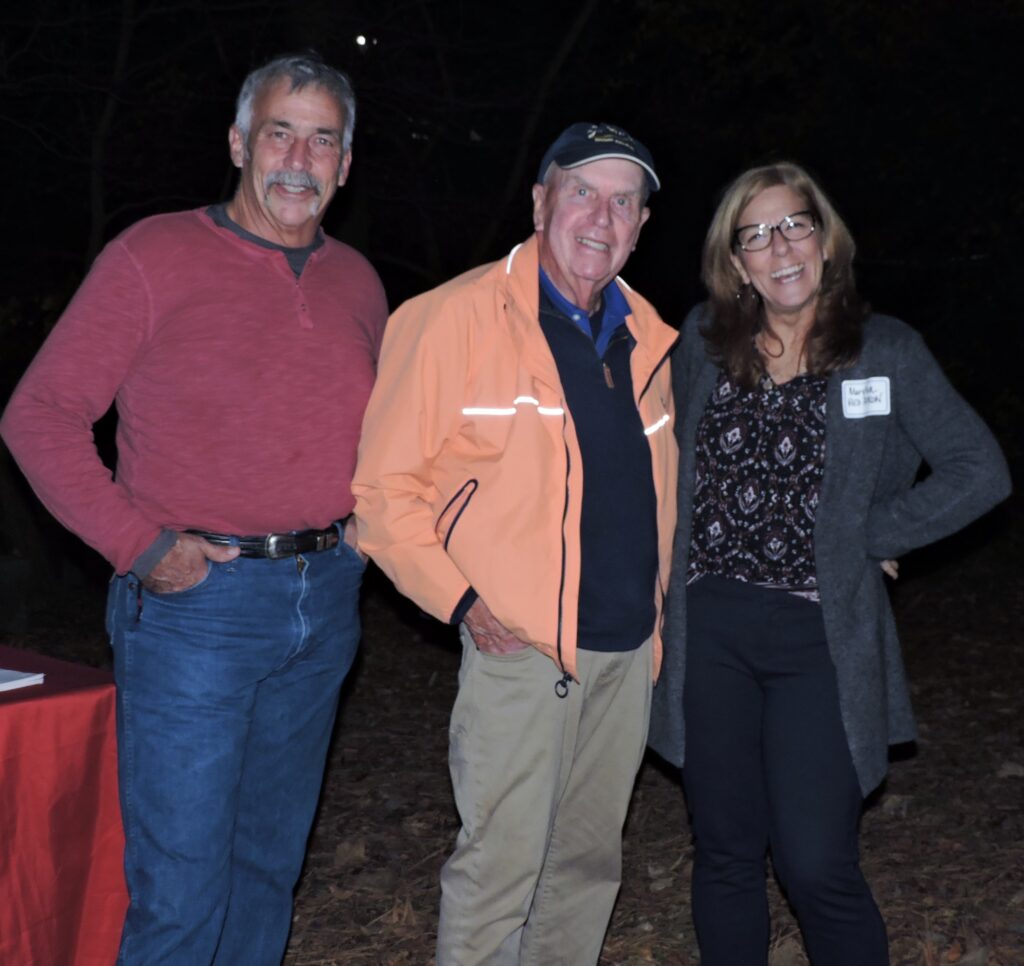
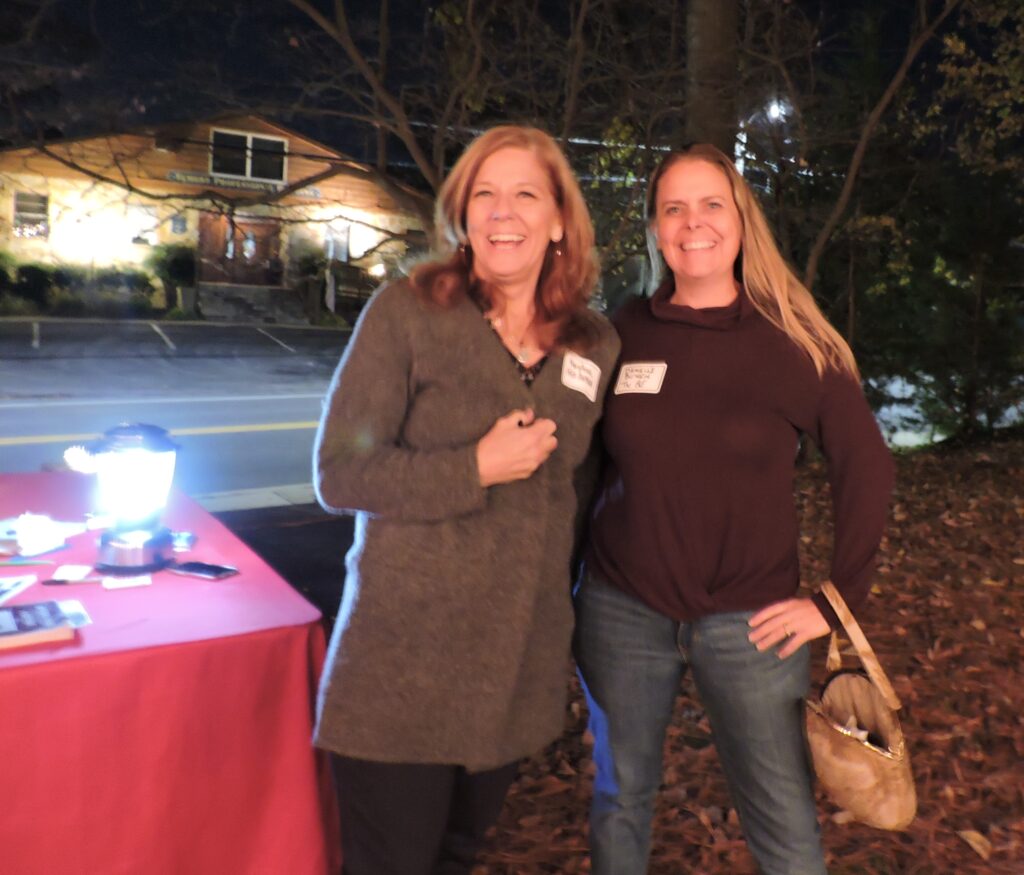
Kathie Hamlett began volunteering with GNG a few years ago. She started as a “project” volunteer meaning she would help out when someone was needed for an hour or two for an event or when GNG was looking for donations. Eventually, her involvement evolved into helping out with the bimonthly Blood Drive during 2021. Currently, she’s looking forward to helping out with the S(o)UPER BOWL drive as it kicks off.
“I love supporting GNG because everyone can help in some capacity,” Hamlett said. “There is a place for everyone, the person who is able to give an hour and the person who is able to give more. I enjoy being a part of a group that is filling existing needs of the community. GNG offers the opportunity to get involved with my community and give back and meet new friends. One time I was volunteering collecting coats and discovered one of my dear friends was volunteering on the other end delivering the coats that I had helped to collect. It makes me feel good that I am able to help others.”
Hamlett’s and the other volunteers’ help will be needed more than ever this year. According to Shay, several community food drives like Harvest For The Hungry, an annual mail carrier’s drive and a Boy Scouts’ drive that have been instrumental in filling food pantries shelves during the winter months did not happen because of the pandemic.
In addition to continuing with ongoing programs, Shay and GNG board members including Chris Myers are hoping to relaunch their annual Earth Day Festival.
“We’re waiting to see what happens with the schools as we’ve held the festival in the past at Severna Park Middle School or Severna Park High School,” Shay said. “We reserved the date of the last Saturday in April and we’re hoping to hear by the end of the month if we will be able to hold it at one of the schools. If not, we’ll do something different but we are definitely doing some sort of outdoor Earthday celebration.”

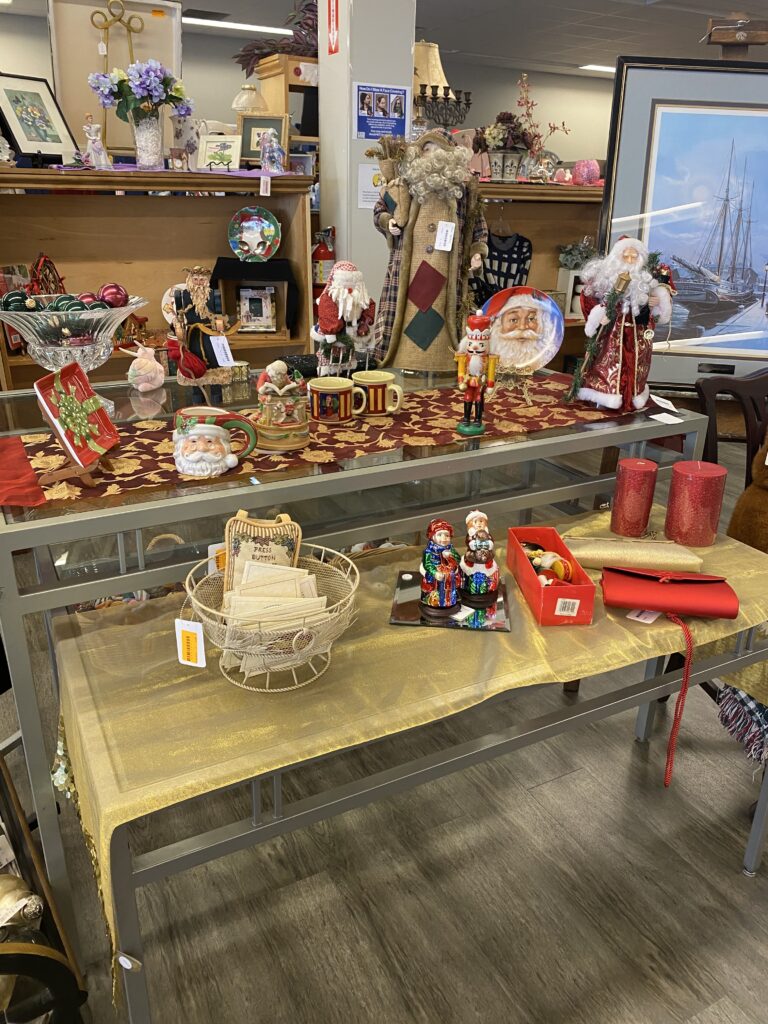
GNG is also working on a new effort called “Donations Before Dumpsters” which is aimed at making it easy for people to find homes for items they no longer need instead of sending them to the landfill.
“We need to make it quick and convenient for people to find information and sources. We’re getting the word out to residents in hyper-local circles.” said Shay. “However, we also want to reach realtors and contractors who know of people who are renovating, moving or downsizing.”
Shay’s original idea in forming the Good Neighbors Group was to bring people together. She’d noticed that the more technology we have, the more people feel isolated; the more our neighborhoods are developed and overcrowded, the more people fence themselves off. She foresaw GNG as a perfect antidote through making the effort to unite people in good causes. In doing so, the group has recreated a sense of community.
For information or to volunteer follow Good Neighbors Group on Facebook or at Home – Good Neighbors Group.
Greater Severna Park Council passes motion opposing development of Mt. Misery
We received a tip from Magothy River Association member Karen Royer that the organization’s president Paul Spadaro built the model pictured below to show how steep the slopes are on the hill in Round Bay called Mt. Misery where a developer wants to build two houses. (Mt. Misery is historically significant in that it was the sight of a Union fortification during the Civil War. The fort was later used as a camp for local Boy Scout Troops.)
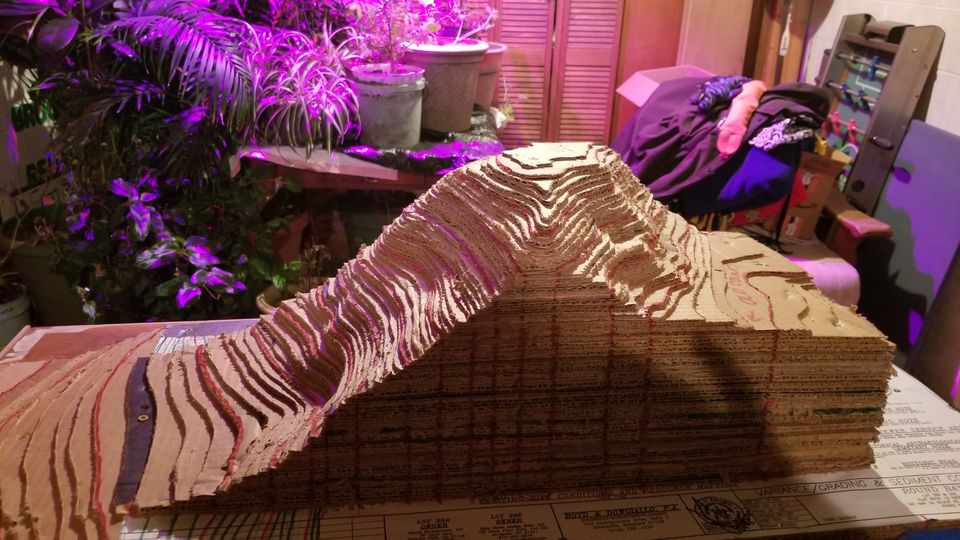
The developer was granted a variance to the County code that says nothing can be built in the Critical Area on anything greater than a 15 degree slope. The slopes on Mt. Misery are 51% on the Severn River side and 33% on the Magothy side, so the variance never should have been granted. The Greater Severna Park Council just passed a motion that unanimously opposes the plans to build on the Mt Misery hill. The Magothy River Facebook page has some pictures and Spadaro is going to post a drone video showing the narrow top of the hill and the steep slopes.
For more information on the Magothy River Association, follow them on Facebook or visit Home – Magothy River Association.