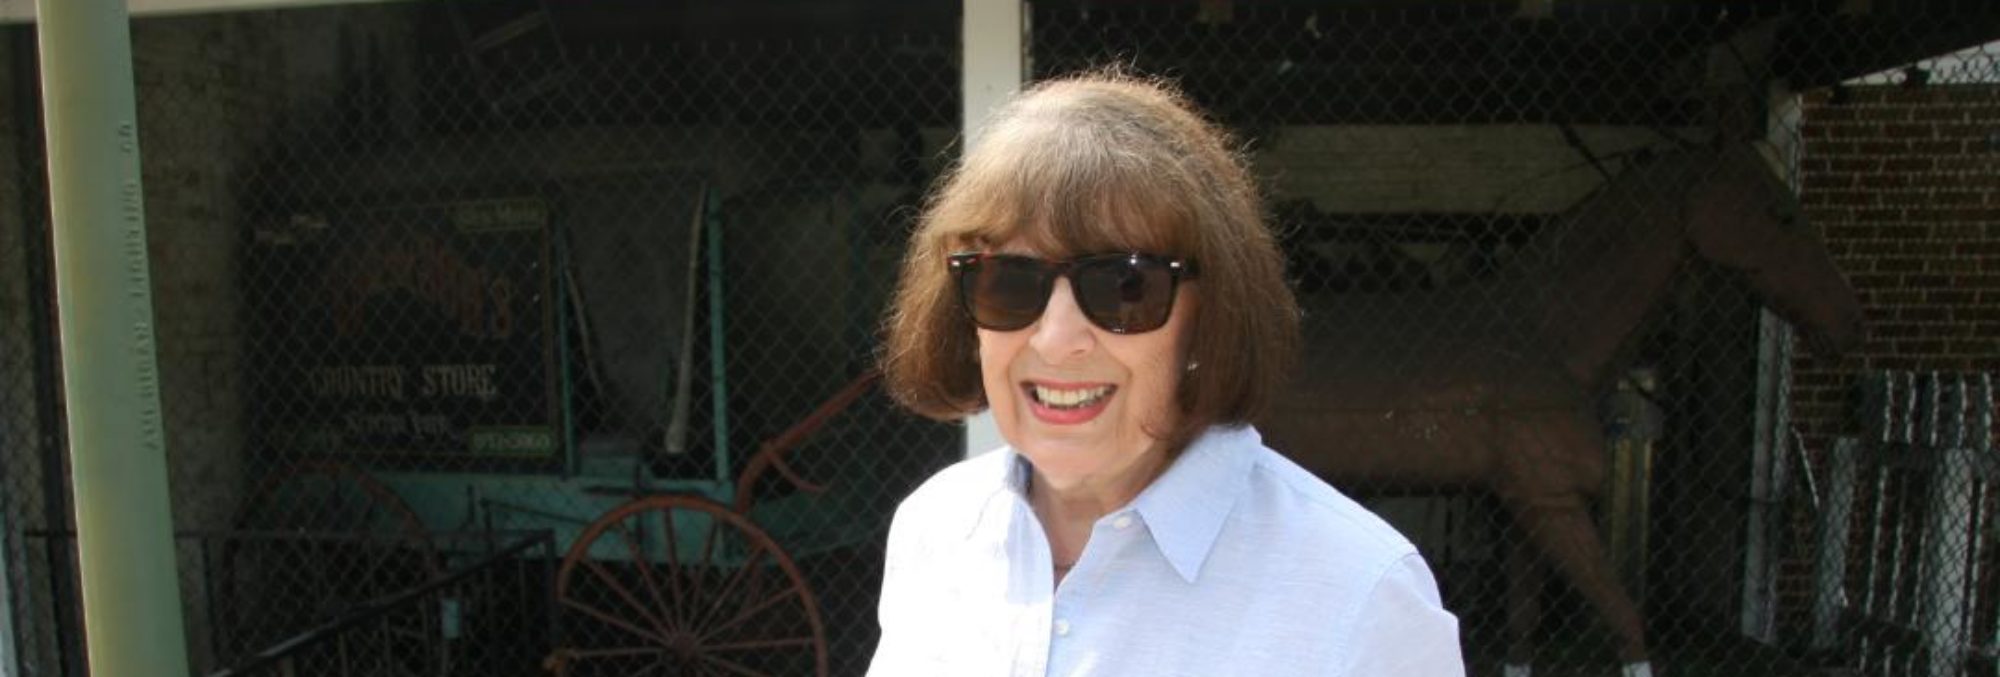
AROUND THE PARK AGAIN By Sharon Lee Tegler
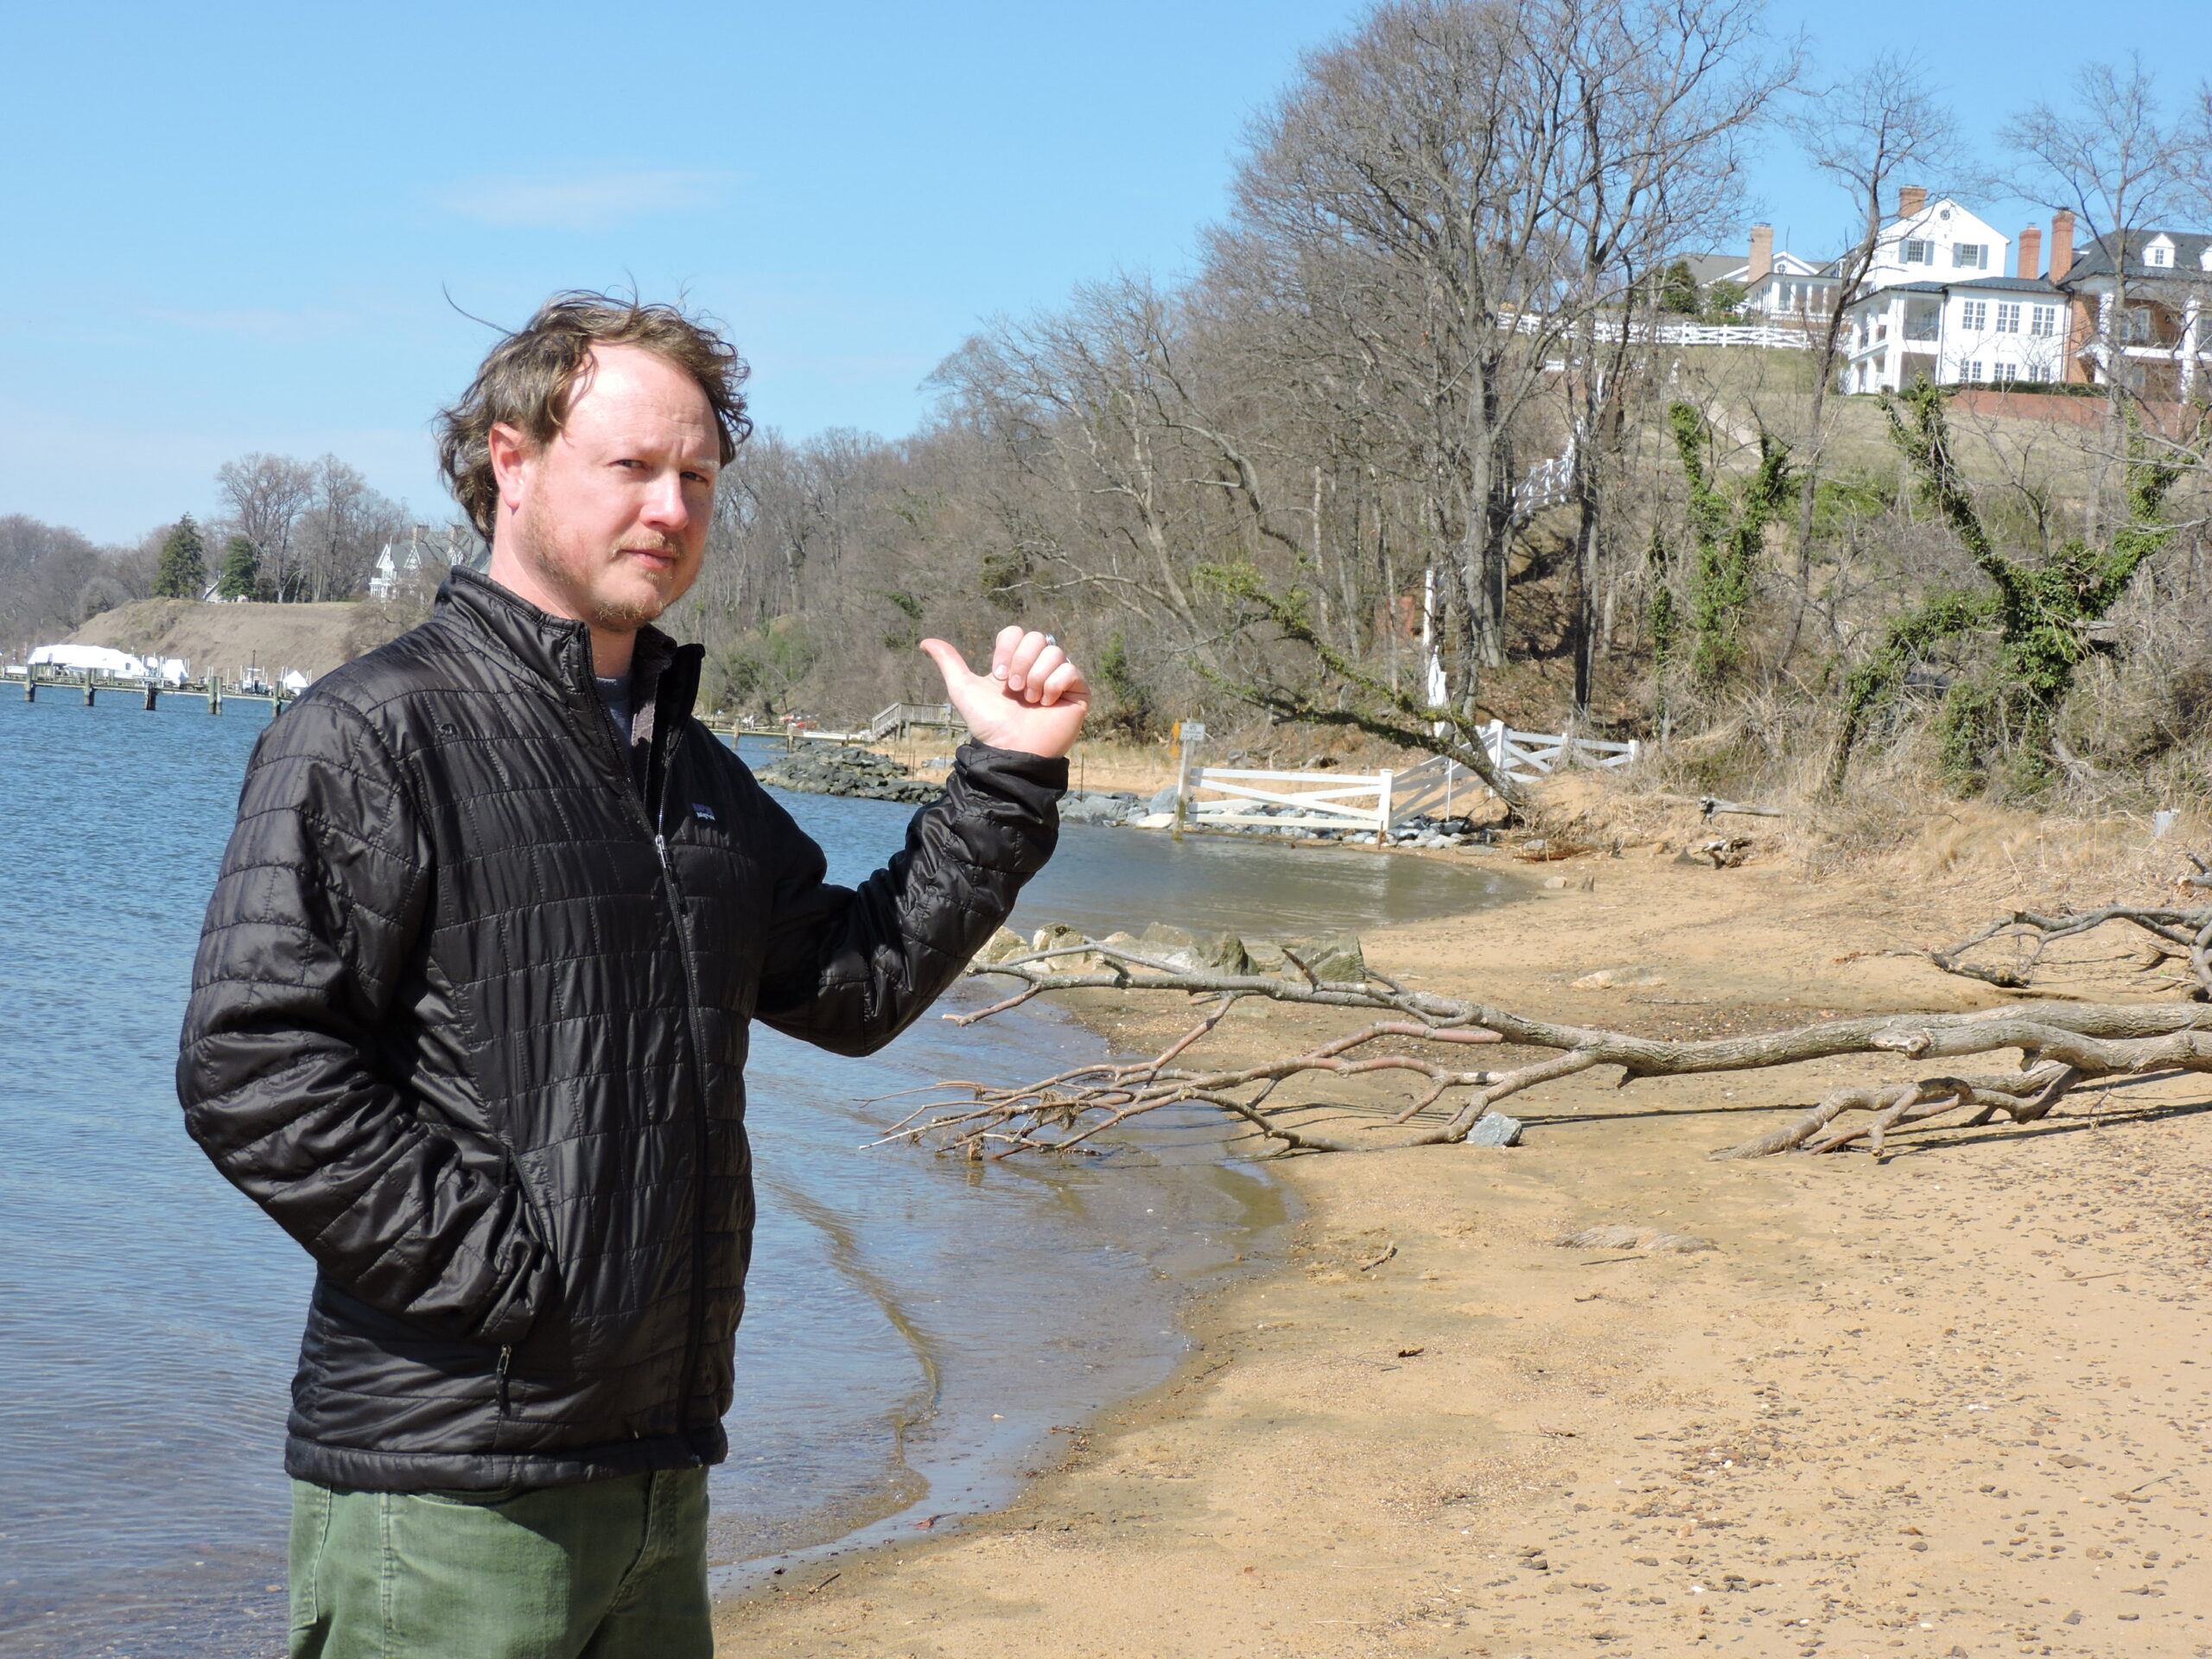
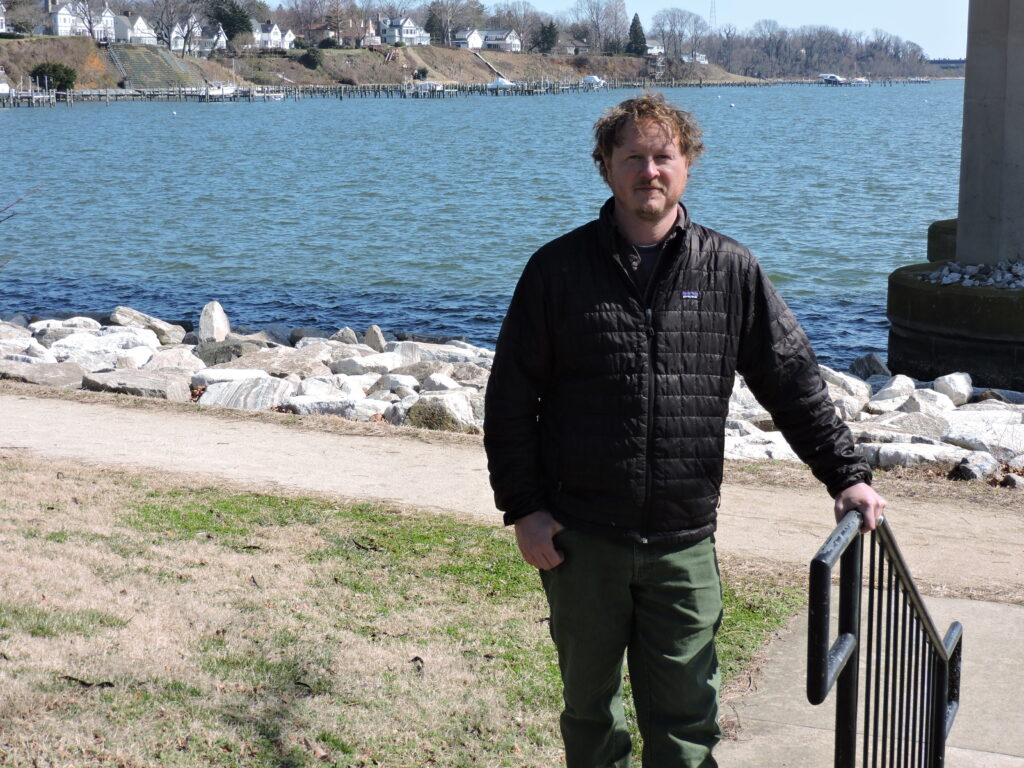
The sunny March afternoon, with gentle breezes blowing off the shoreline at Jonas and Anne Catharine Green Park, had the Severn River Association’s new executive director Jesse Iliff wondering why he didn’t get out of the office more often.
Pointing toward an area protected by white fencing, he indicated it was the living shoreline created by the owners of a private home with new beachfront that came from the river naturally. Pointing behind him and slightly northward toward Manressa, he noted that one of the oyster restoration beds monitored by SRA is located there.
Formerly Riverkeeper for the South River as well as the West and Rhode Rivers, Iliff said he learned a great deal about the Anne Arundel County watershed while serving in that capacity. Now, just over a month into his new job as executive director, he realizes he’s just beginning to get a handle on the daily flow of information provided by SRA volunteers’ research, restoration and monitoring efforts along the Severn, particularly as it pertains to the 70 million oyster spat-on-shell they’ve planted to restore four reefs.
Iliff grew up living on the banks of the Severn and thought he knew the river well. He also profits from his experience as a riverkeeper but finds the learning curve as SRA’s executive director is steeper than he imagined.
“There was no college or training for my original position of Riverkeeper,” Iliff said. “I’m a lawyer by training and went to the University of Maryland Law School with a concentration on environmental law. I was hired more for my advocacy background than my science background but, as Riverkeeper, I definitely had to learn the science very well. Now that I’m involved with the Severn, I’m internalizing new information at an astonishing rate.”
Iliff is most interested and impressed by the success of SRA’s efforts to restore a healthy oyster population to the Severn. Since 2018, the Severn River Association, the Oyster Recovery Partnership and private donors have placed millions of the tiny larvae produced when oysters spawn on oyster shells.
The combination is known as spat-on-shell. The organizations and donors have planted more than 70 million oyster spat-on-shell to restore oyster reefs in the Severn River at Manressa (traditionally known as the Peach Orchard reef), the Traces Hollow Reef, the Weems Upper Reef, and the Wade Reef.
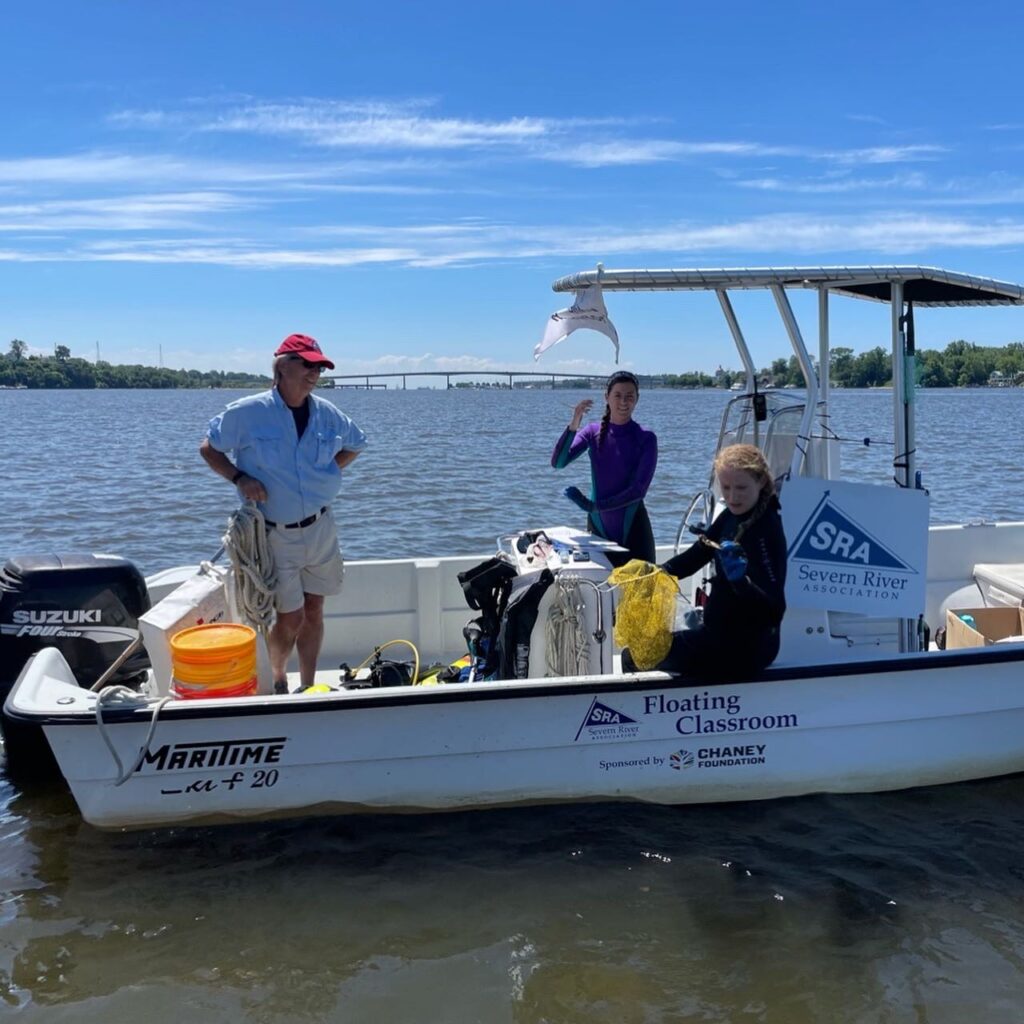
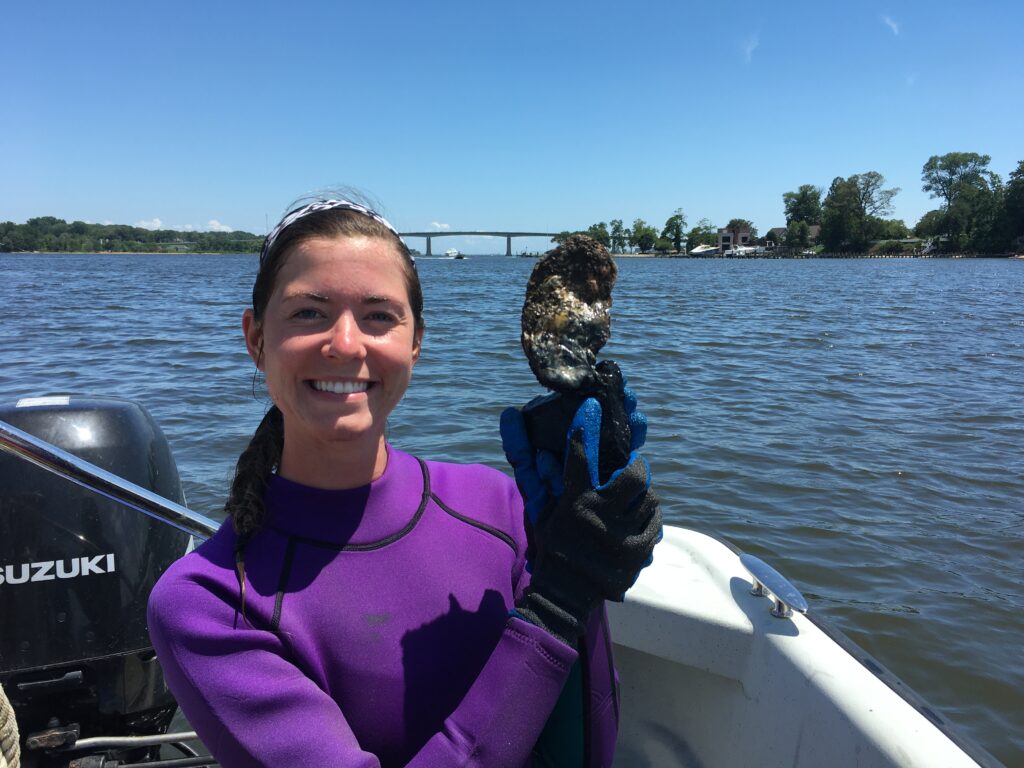
Thanks to a grant from the Chesapeake Bay Trust, SRA created a scuba diving team to conduct a formal scientific oyster dive to study the oysters and report on their progress. SRA’s dive team leader Audrey Pleva and Emi McGeady spent considerable time diving on each reef and inspecting and measuring the oysters.
Pleva and McGeady found that the planted spat-on-shell oysters were healthy and, on three of the four reefs dived on, the oyster populations exceeded restoration targets.

According to Iliff, one of the oyster recovery project’s main concerns is how well oysters can reproduce naturally. He said it’s not too difficult for the oysters that were planted to survive. The Severn’s water quality is capable of sustaining them and there are enough firm bottom areas where they can live out their lives naturally.
The hope is that they can reach a tipping point where natural reproduction occurs to replace the oysters that die off. They’re a long way from reaching that tipping point but there’s now evidence that some natural reproduction is going on.
“Imagine the excitement when Audrey and Emi discovered an oyster growing off a piece of granite rock. None of the planted oysters were placed on rock but on shell so that was their first evidence of natural reproduction,” Iliff said.
Asked how many oysters would have to be planted or reproduce naturally to significantly improve the health of the river – based on the fact that a healthy mature oyster can filter 50 gallons of water a day – Iliff figured it would have to be in the hundreds of millions.
According to SRA communications director Thomas Guay, the current estimate is that it would take between 1.3 and 3 billion oysters to bring the river back to optimum conditions.
“That is the number of oysters growing along the river historically before they were overharvested to extinction,” Guay said.
Iliff noted that the Severn River has many more problems to contend with now than in the past.
“In this part of Anne Arundel County, we don’t have big time agricultural operations or big time industrial operations contributing to harmful runoff. What we have is development pressure because, up to now, our area has been a nice place to live,” he said.
Development just may be outpacing the infrastructure needed to support it.
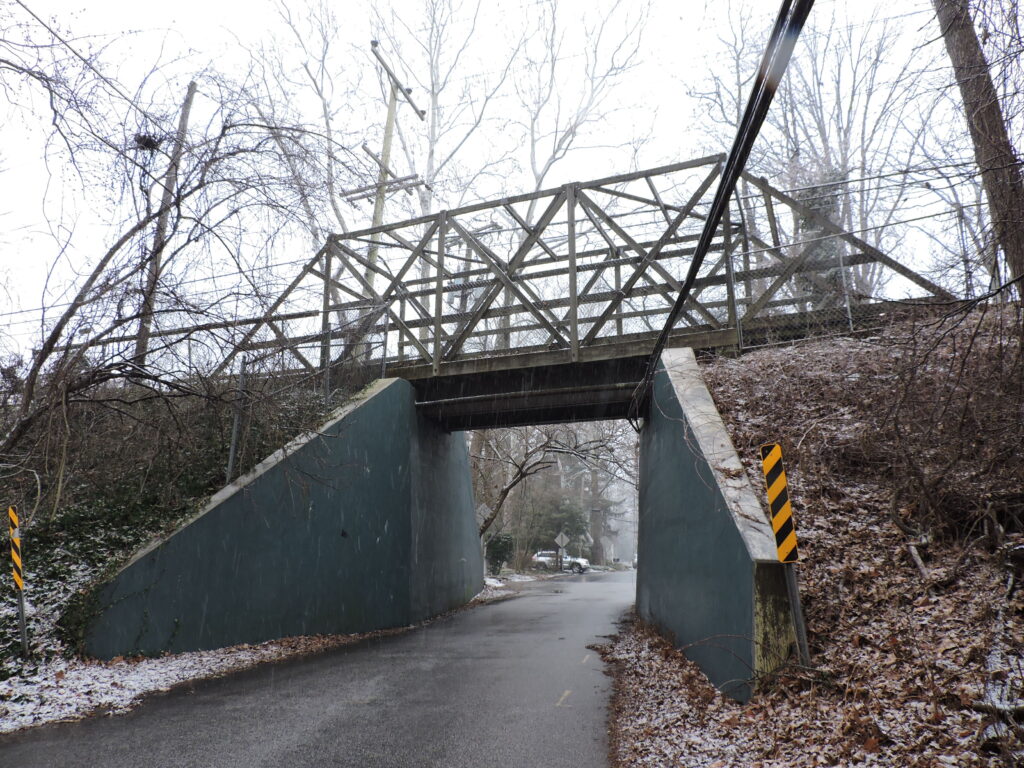
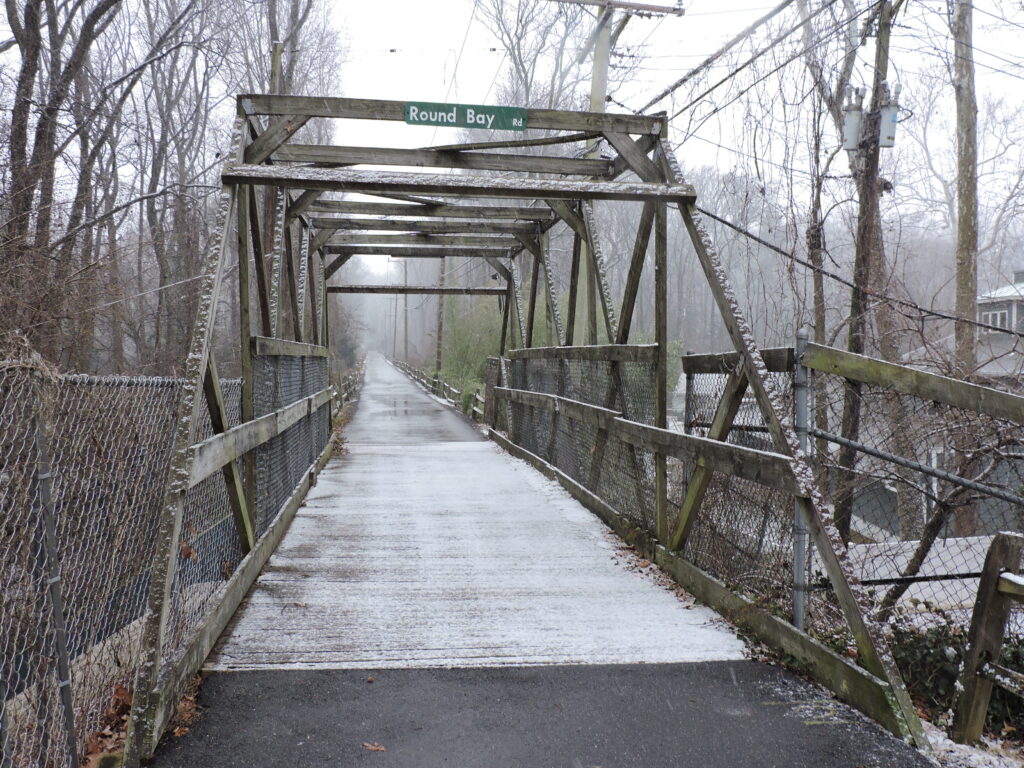
Iliff pointed out that maintaining acceptable water quality in certain areas of the watershed is difficult. The waters off Round Bay, for example, suffer from the profusion of septic tanks serving the hundreds of homes dotted along the hillsides. There’s a concern – especially during rainy periods – for bacterial pollution from those septic systems. The waste and effluence from them also deliver high levels of nitrogen that fuels blooms of algae. When the algae dies off, it is digested by aerobic bacteria which uses up the oxygen in the water column and causes dead zones in the river. Areas served by Anne Arundel County sewage systems fare somewhat better because the pumping stations are relatively well maintained with only occasional overflows.
“Development pressure is also a factor because open construction sites deliver more runoff to receding waterways than any other land use,” Iliff added. “Sediment from the runoff will bury oysters and cloud over the light that allows underwater grasses to grow and pump oxygen into the water. The sediment also carries phosphorous and other harmful elements within the soil.”
Peoples’ practice of buying homes in older communities and expanding the construction upward and outward from the original footprint is a problem too because plumbing for additional bathrooms, pools and other amenities adds increasing pressure on existing infrastructure.
Iliff mentioned that the Severn River Association recently approved a strategic plan with the goal of having a thriving Severn River by 2050. The plan’s objectives are to identify priority areas to speed the recovery of the waterway, build a local movement to protect and restore the river, and inspire residents and donors to invest in SRA.
He admits that the second and third goals would be easier if there was more public access to the Severn which would inspire more interest. Unfortunately, there is little access to the water except at Jonas and Anne Catharine Green Park where you can fish or launch a paddle board or kayak. There are a few small street-end parks in Annapolis. However, all beachfront land from the end of Jonas and Anne Catharine Green Park to Severn Run ten miles up the river is privately owned.
SRA does have a floating classroom program during the summers to give students a taste of what the river is like but there are few other reminders. Iliff says the cost of real estate is so high that buying or even leasing public access is prohibitive unless some generous benefactor donates land for such a use.
Meantime, he’ll be keeping an eye on SRA’s water quality monitoring and oyster monitoring programs and searching for more ways to acquaint the public with the wonders of the Severn River. For more information on the Severn River Association, its newsletters and activities visit Severn River Association.
Save the date for the return of Good Neighbor Group’s Earth Day Festival
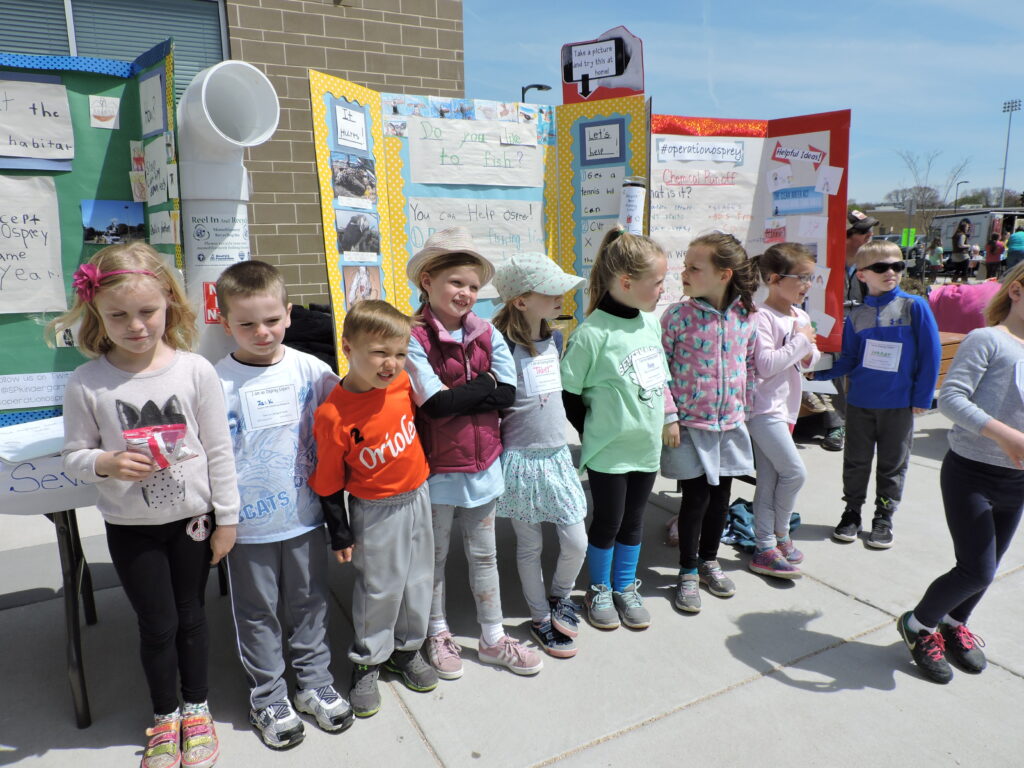
Those of you who’ve loved attending Good Neighbors Group’s previous Earth Day celebrations will be happy to know the event will come roaring back on April 30th from 10 am to 1 pm at Severna Park High School.
Good Neighbors Group president Julie Shay says this year’s theme will be “Do a World of Good: Think Outside the Landfill”.
“We’re looking forward to some really great displays focused on recycling or upcycling discarded or second-hand materials,” Shay said.
Booths will feature interactive activities for children of all ages, as well as materials and information for homeowners striving to make eco-friendly improvements in their homes. Exhibitors include environmental organizations and service providers, animal welfare organizations, recycling and composting exhibitors, and alternative energy specialists.
Shay hopes people will put spring cleaning into action with a mindset of sustainability and environmental awareness. GNG invites attendees to take advantage of this one-day event to dispose of their unwanted items while benefiting others and doing the least environmental harm. Visit Good Neighbors Group’s EDF page for more details and a growing list of what they’ll be collecting for donation and proper disposal.