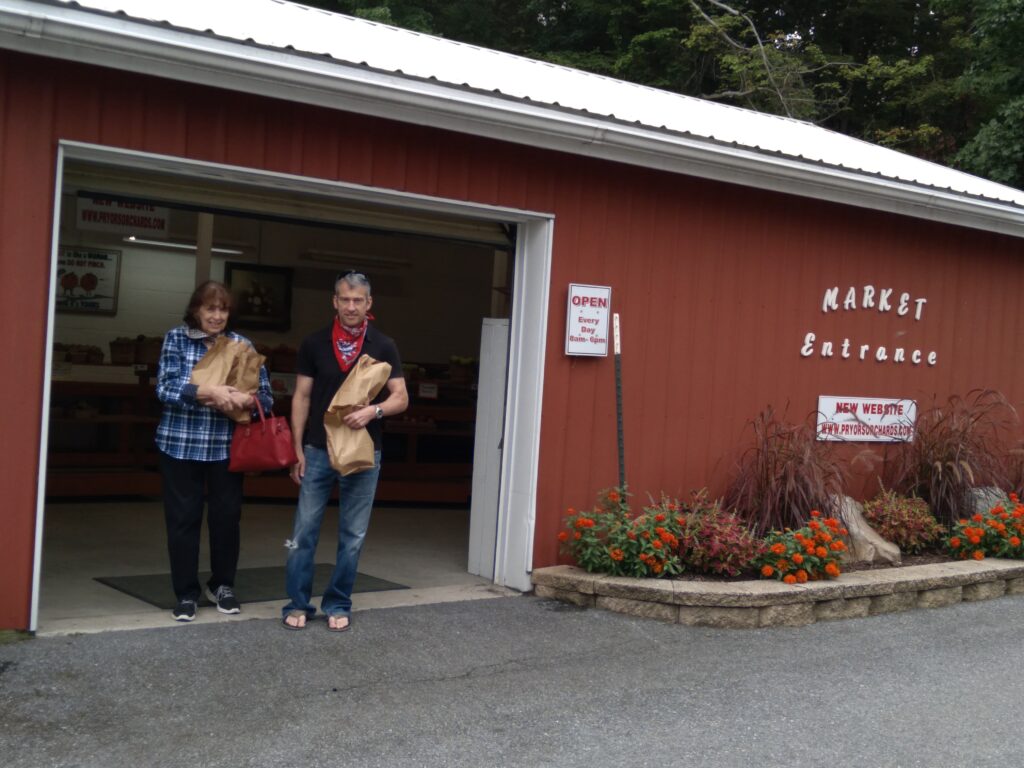
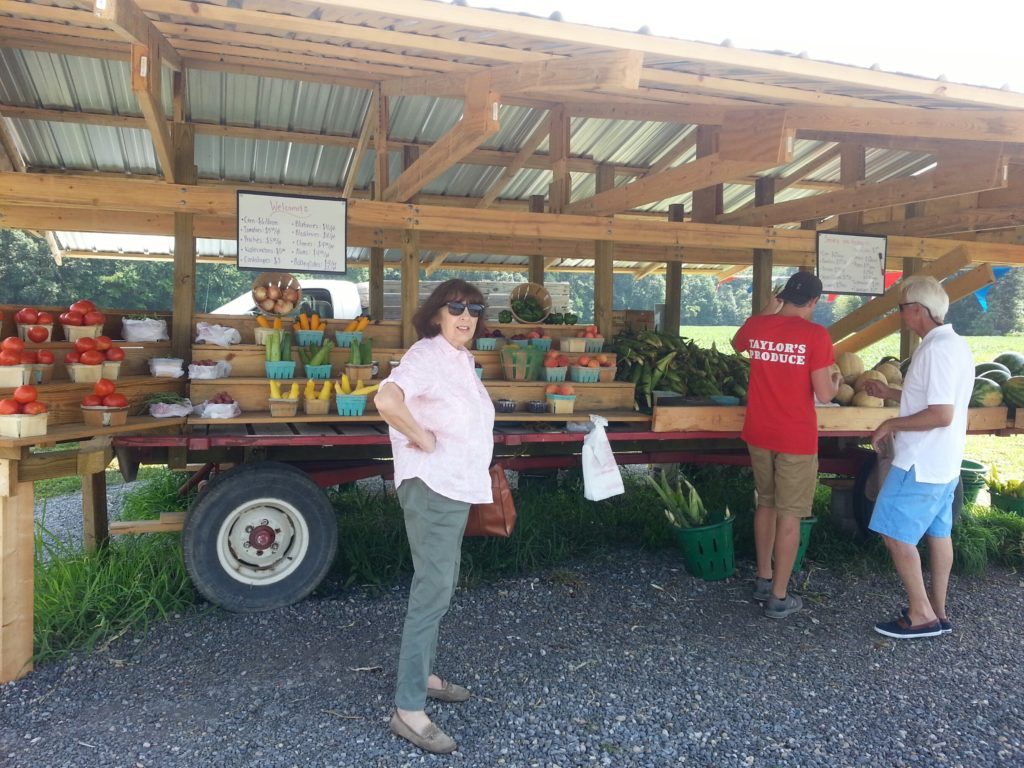
Autumn’s clear skies, cooler temperatures and crisp air arrived just in time for my trip to Catoctin Mountain Park near Thurmont, Maryland. Not only was the trip up and down the mountain breathtakingly scenic, but signs at the foot of the mountain as we came back down pointed the way to Pryor’s Orchard.
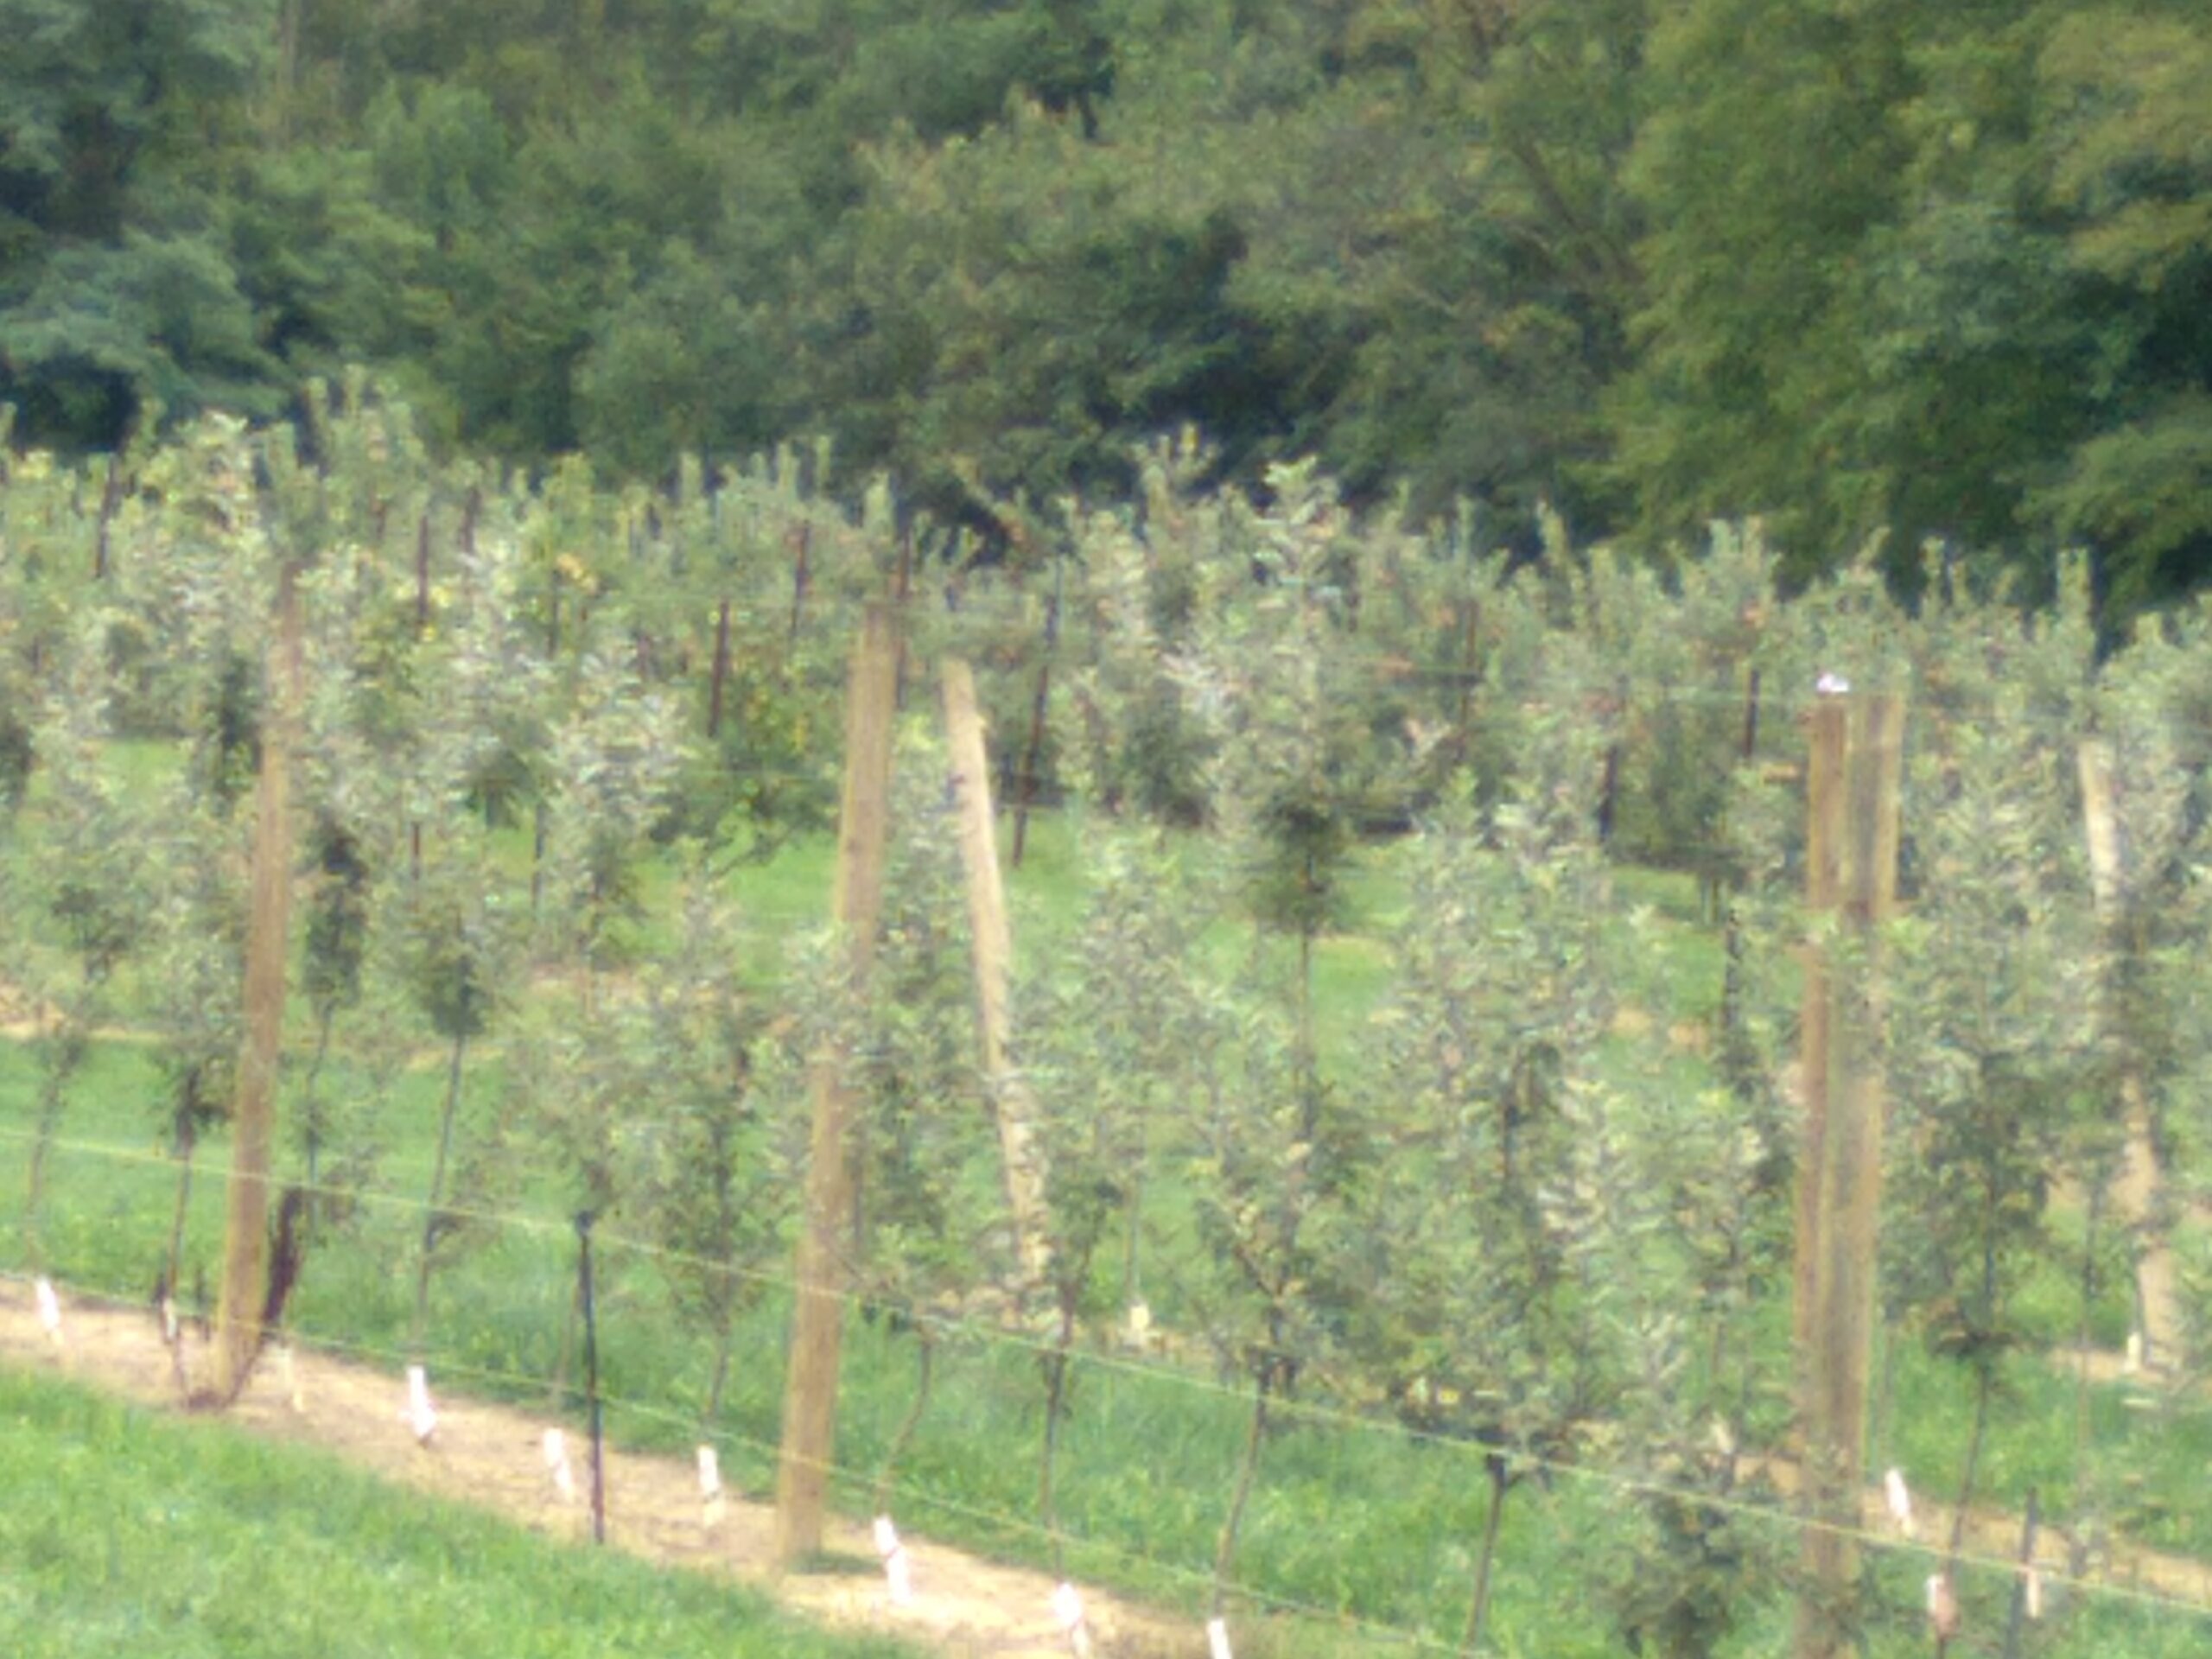
Peach, plum, cherry, apple trees spread 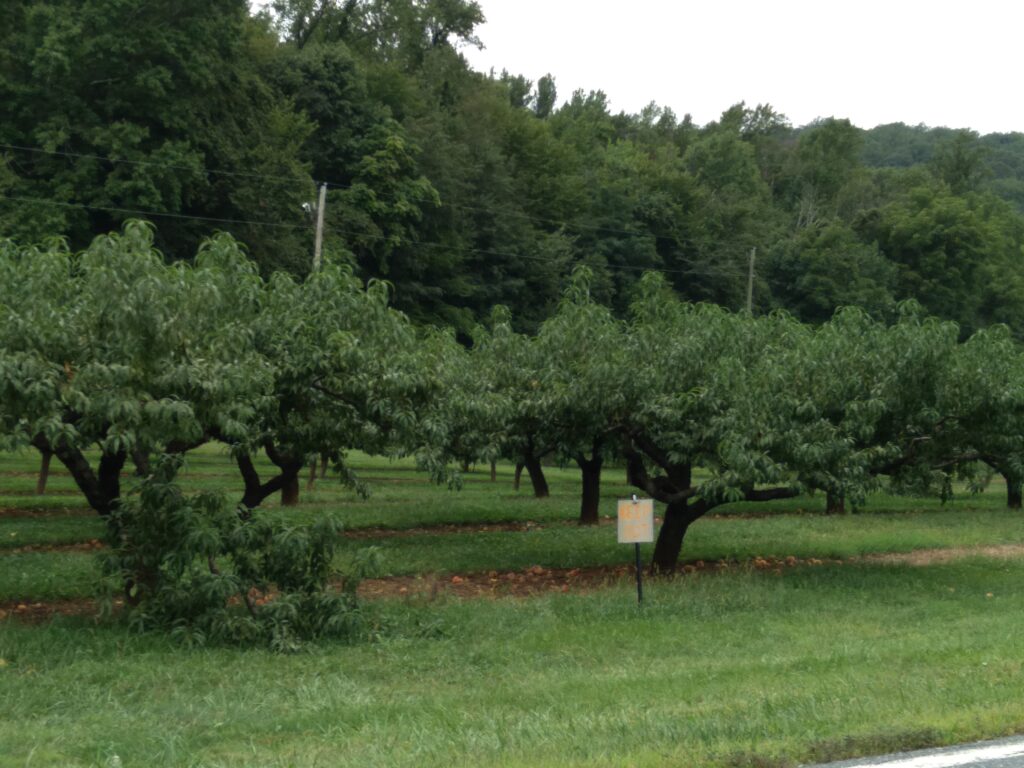
across the acres at Pryor Orchard.
With acres of apple, peach, cherry, plum and other fruit trees, the orchard was beautiful and reminiscent of those I visited as a child with my father Sheldon Owings when he made his annual pilgrimages to orchards for apples to make cider.
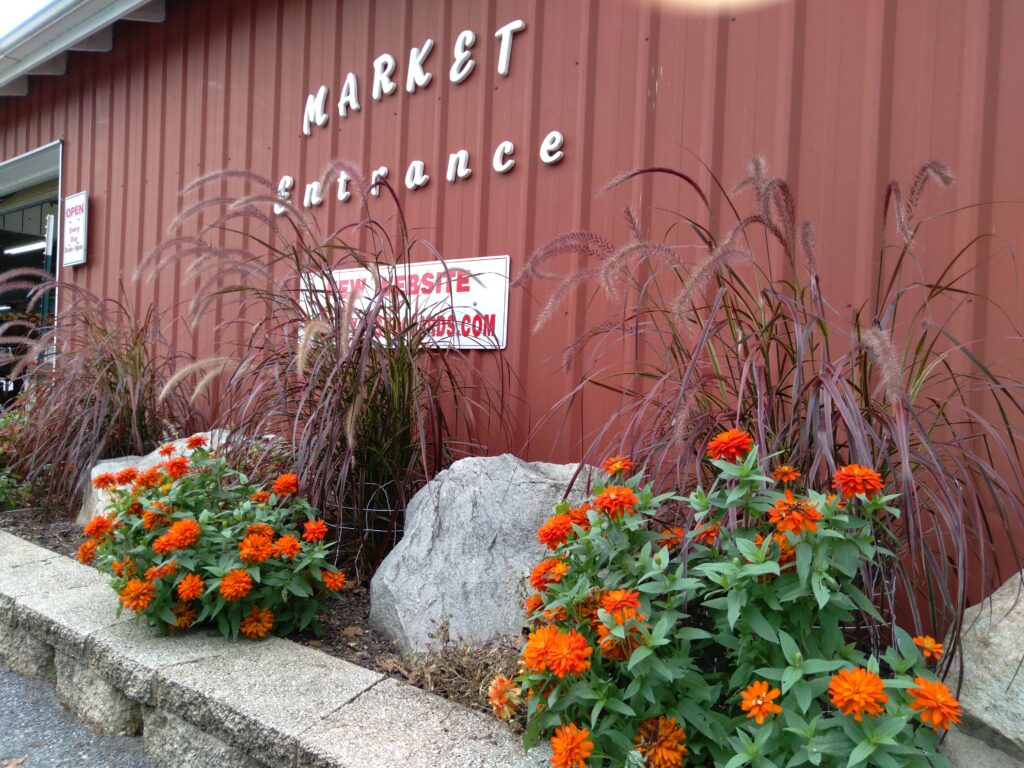
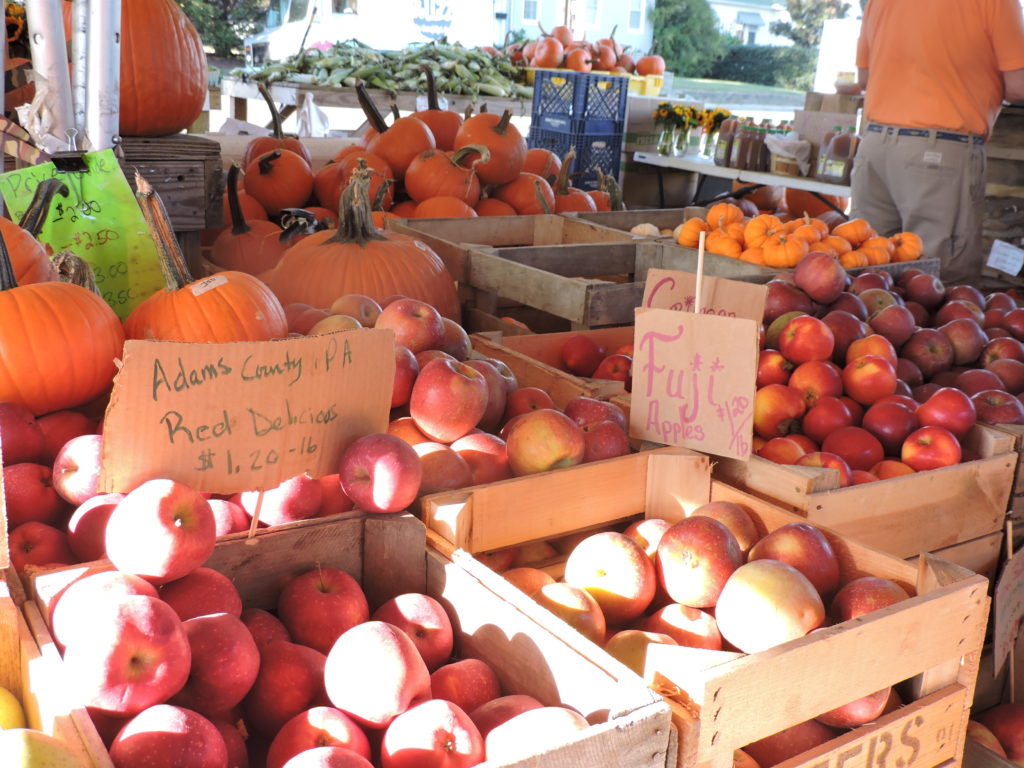
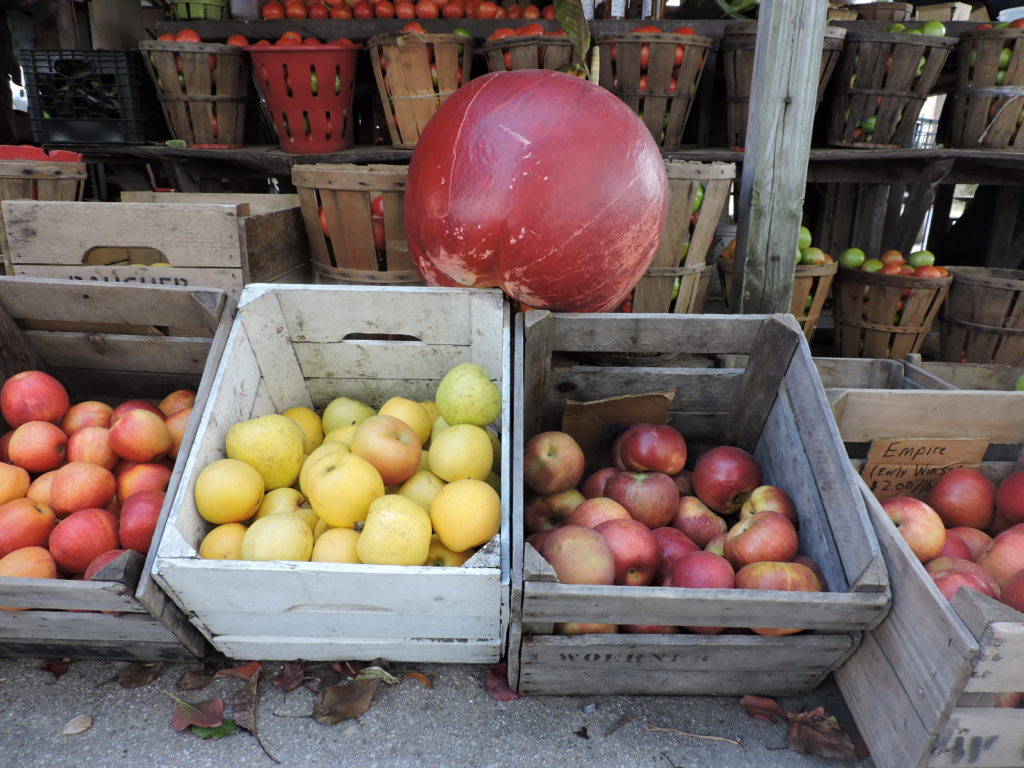
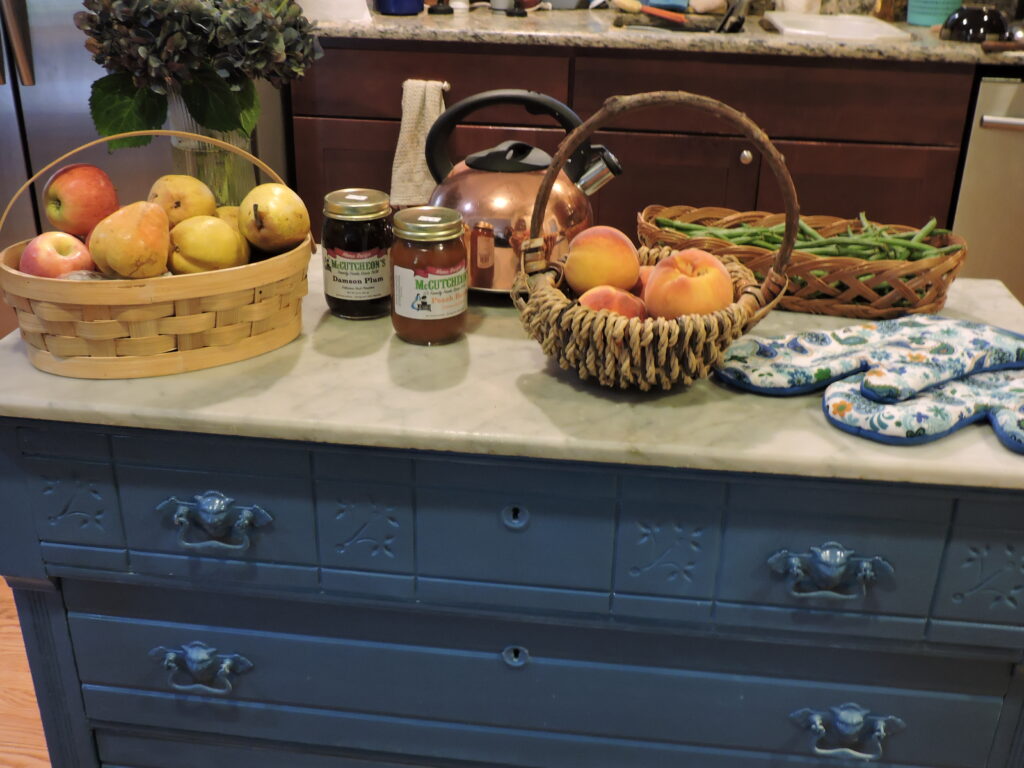
The market building at the end of Pryor Road was filled with myriad varieties of apples, peaches, pears and plums plus fresh-from-the field green beans, jams and wines. There were antique farm implements on display that dated back to the orchard’s beginnings as a dairy farm in 1905. There was an amazing display of ribbons won in past competitions

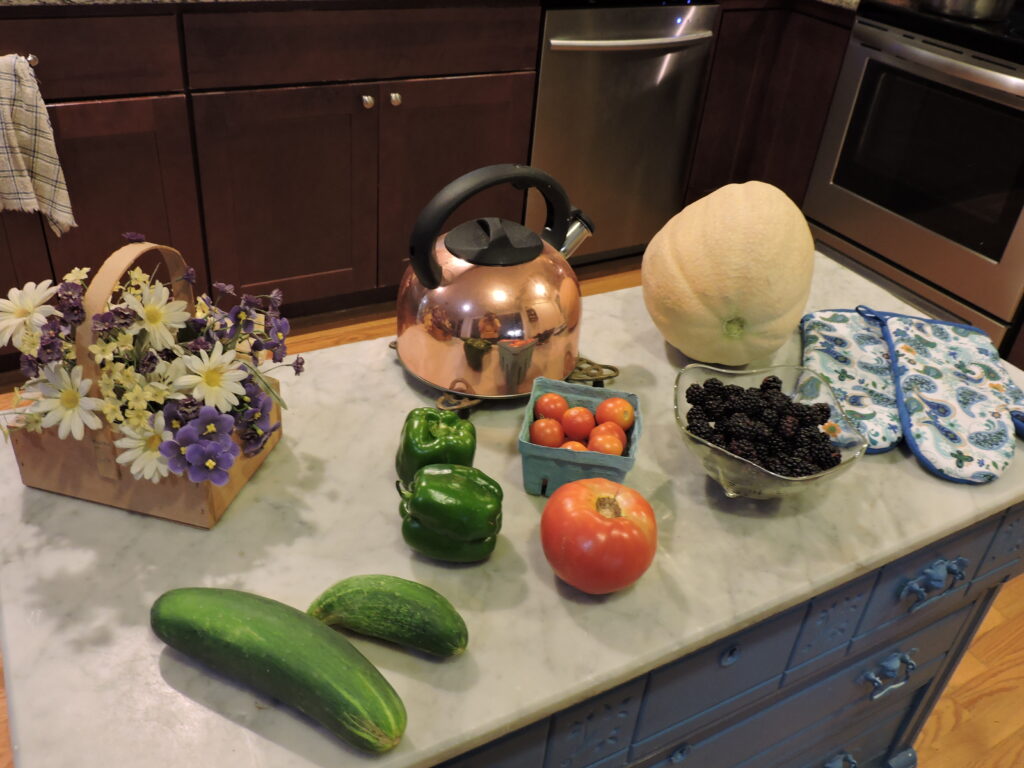
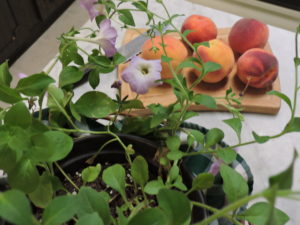
The peaches were the best I’ve ever tasted and that went for all varieties. So were the apples. 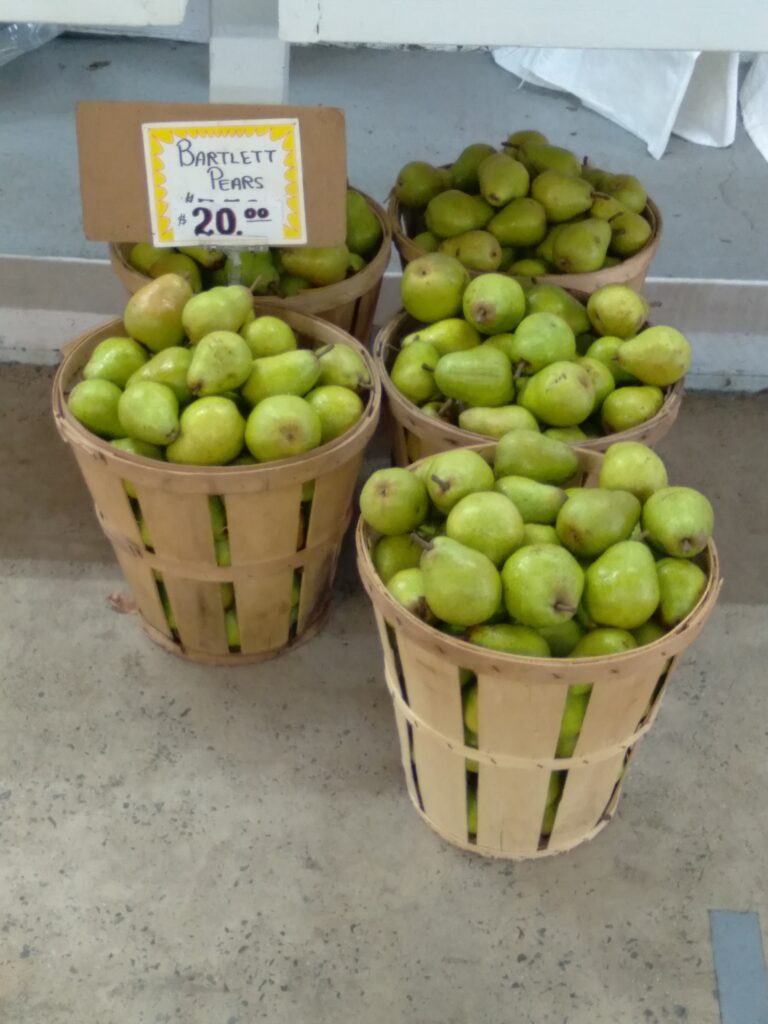
The Bartlet Pears were scrumptious as well.
I left the market carrying bags of deliciousness…..with the exception of wine which I planned to buy at our next stop, Springfield Manor Winery, where the surrounding fields were filled with lavender and the tables were filled with very satisfied customers, many of whom came out from Washington, D.C. for the day.
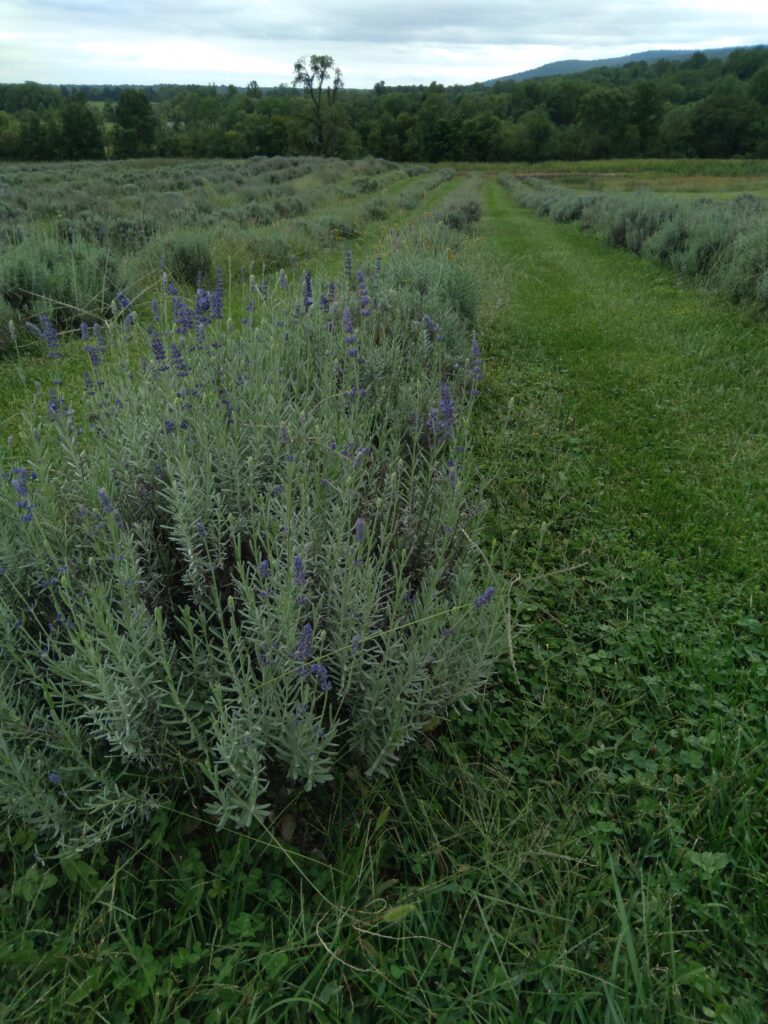
Fields of lavendar greeted guests …. 
and the tables were filled with happy customers.
Needless to say, I arrived home a very happy camper and immediately set out my bounty. Then I pondered what to make.
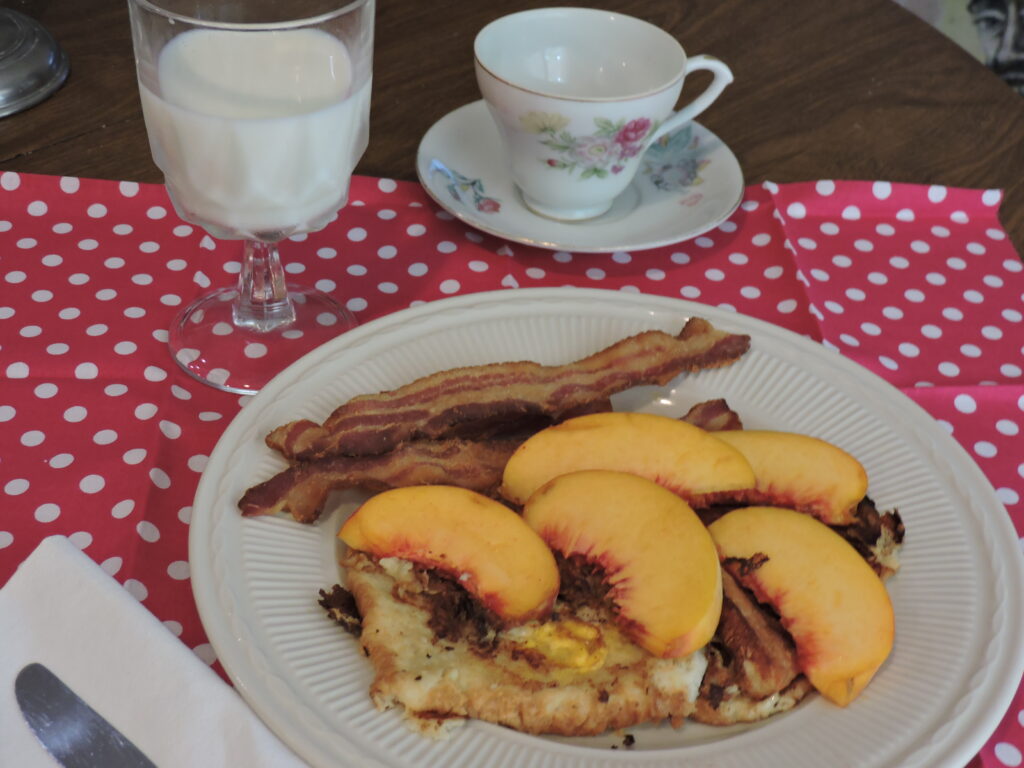
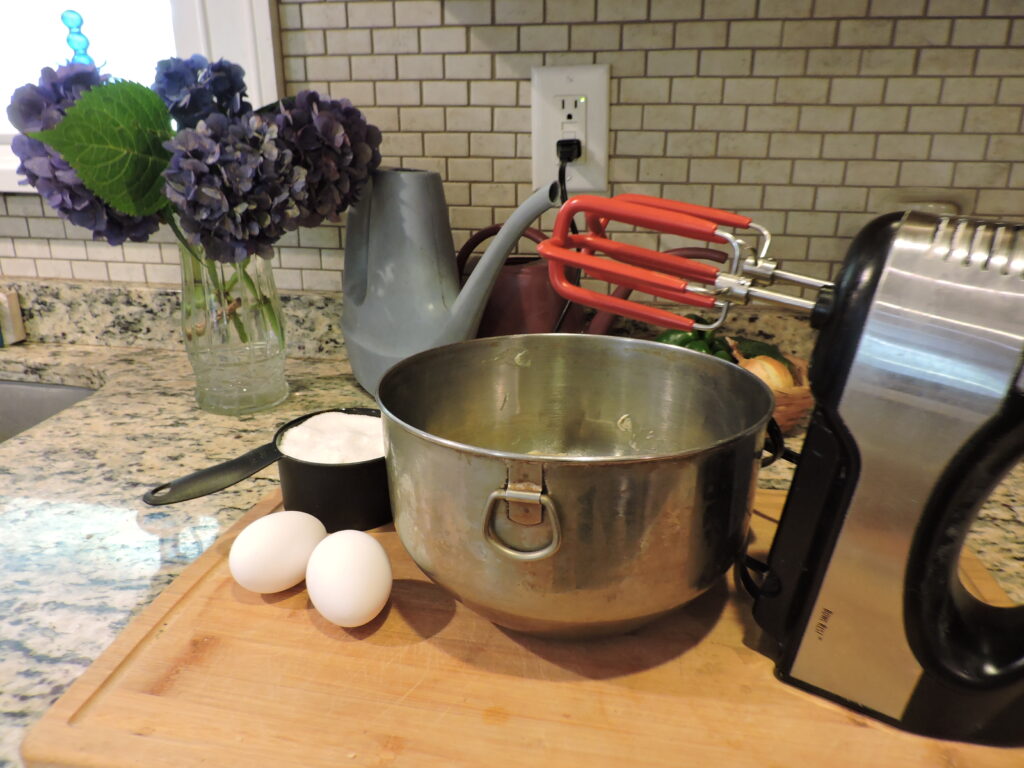
Answers came easily. I had eggs, milk and bread on hand so I sliced some of the peaches over a quick batch of French toast for breakfast.
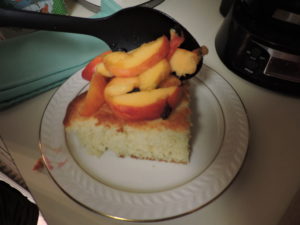
The peaches were so good, I simply sliced the rest over store-bought pound cake and topped them with whipped cream. for a splendid dessert.
The green beans were cooked with a ham bone from my freezer just as my grandmother made them.
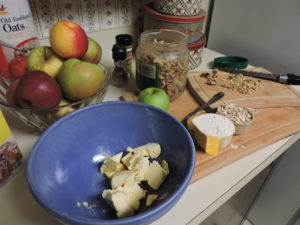
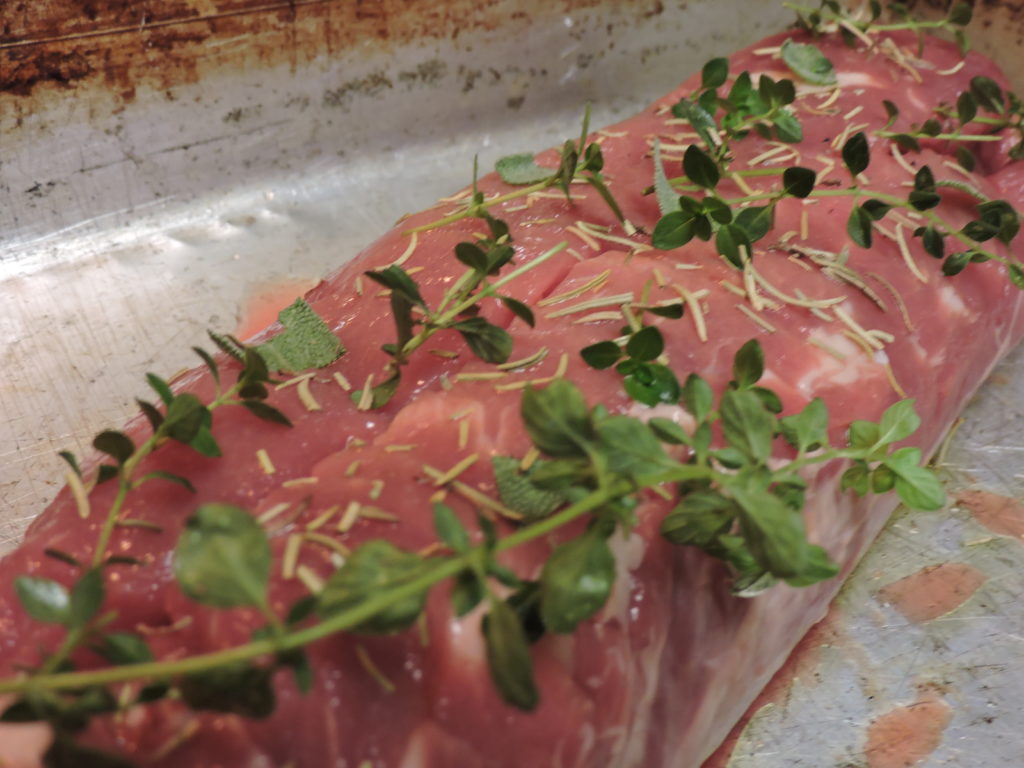
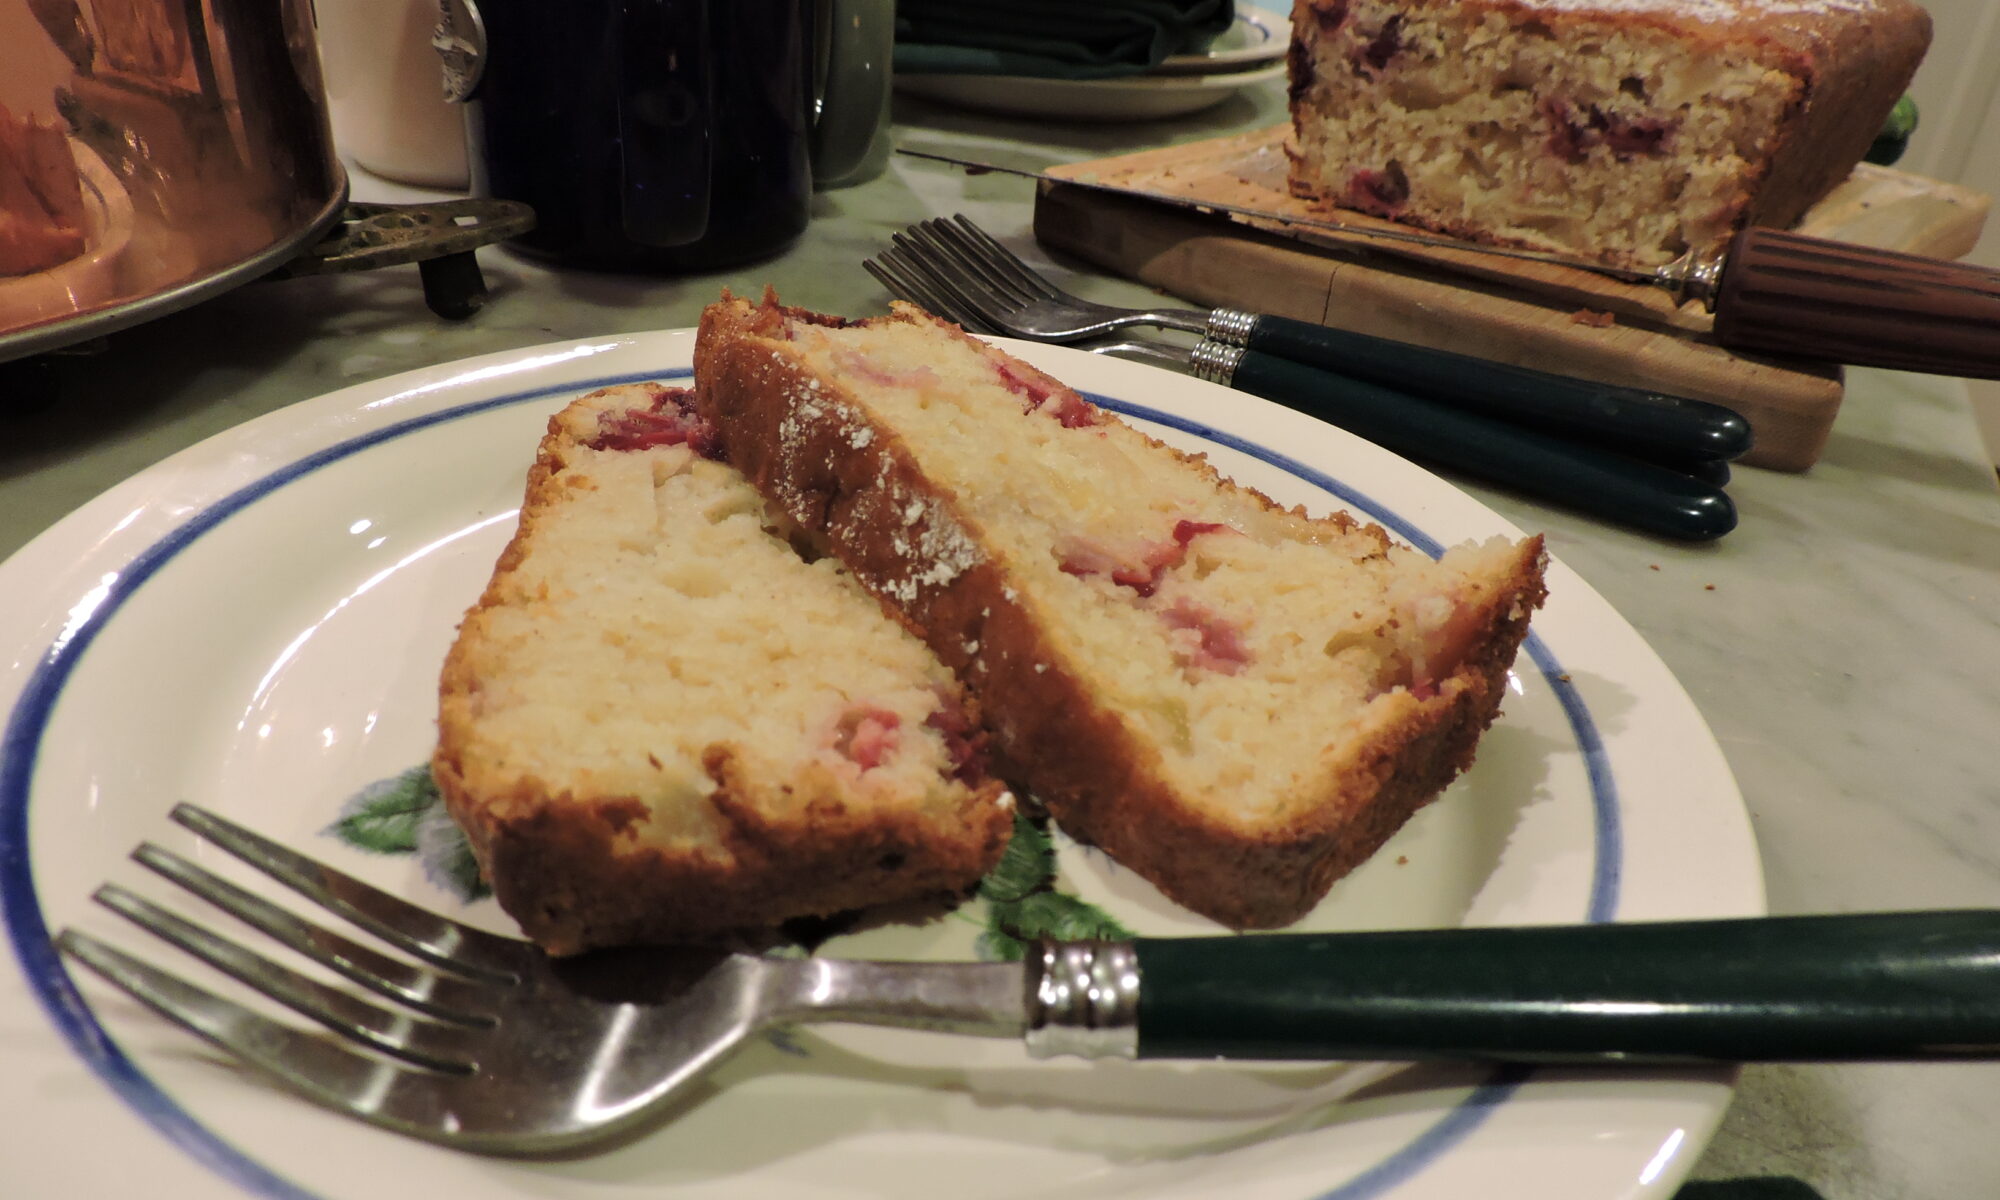
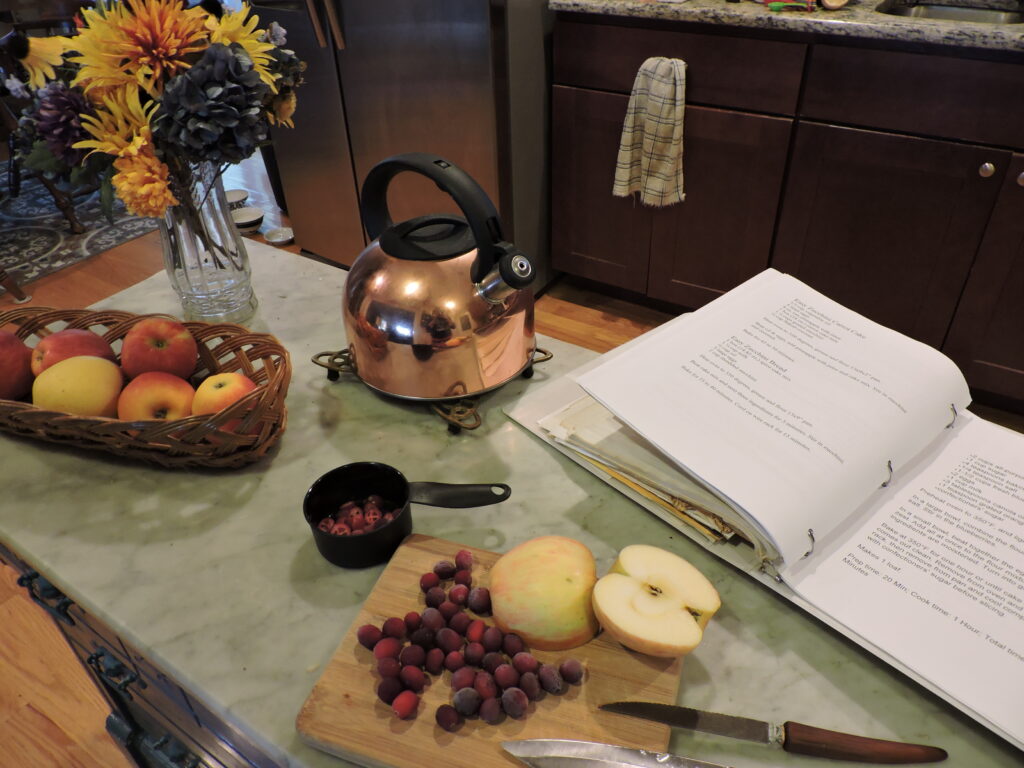
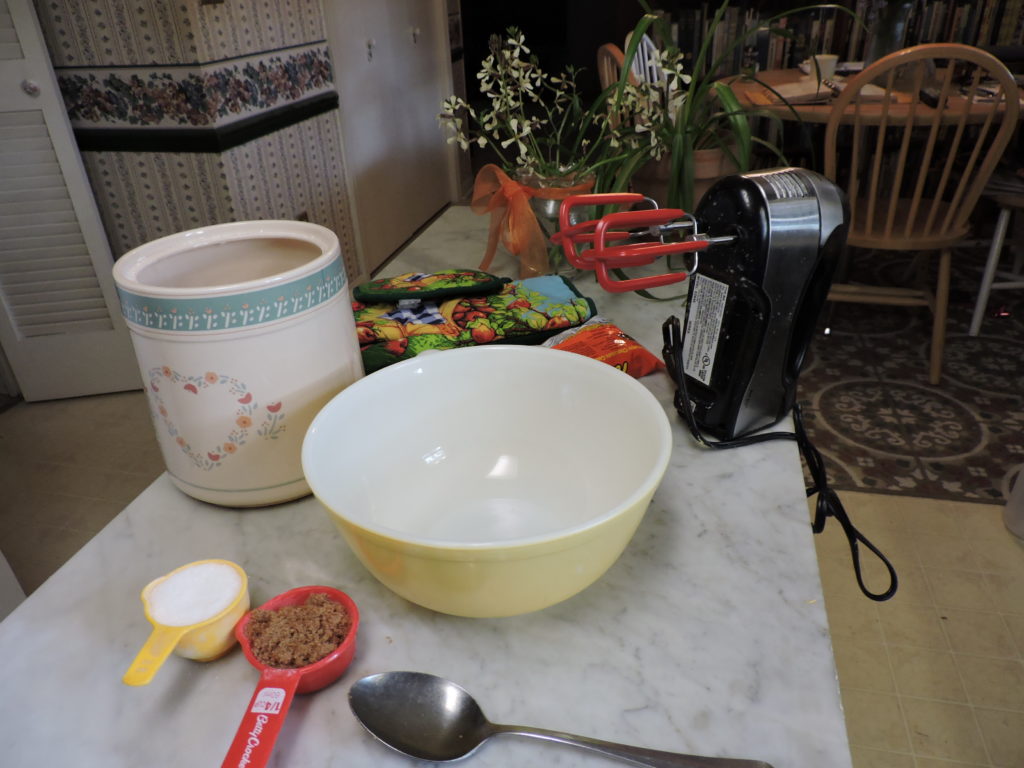
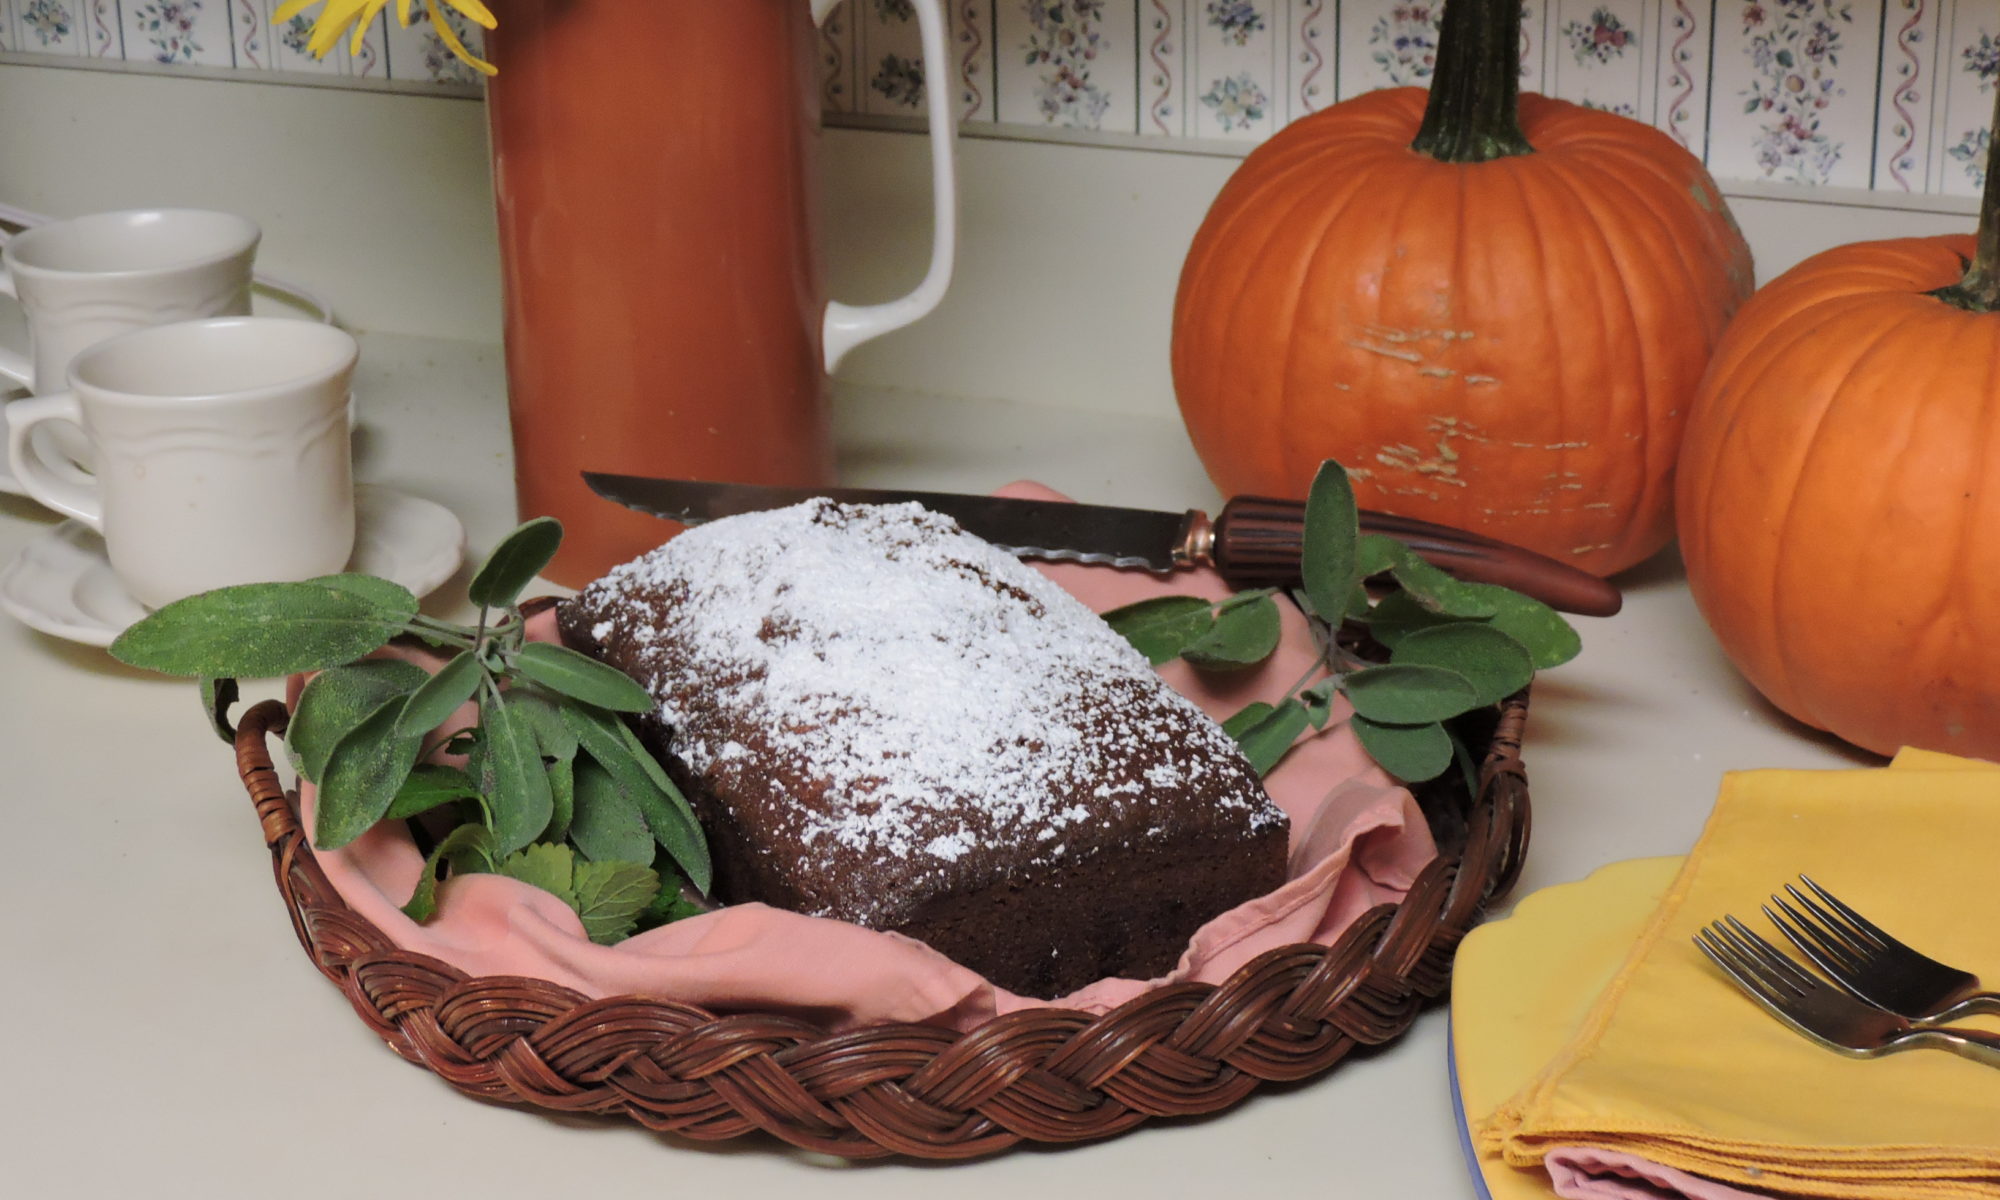
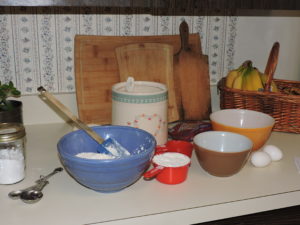
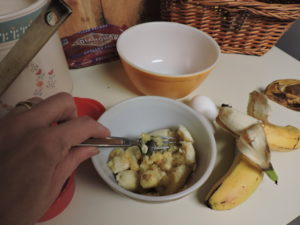
For the apples, however, I concocted a new quick bread I called Catoctin Mountain Apple Cranberry Bread in honor of the fun trip. I based it on a wonderful recipe for Blueberry Tea Bread that was featured in the Severna Park Farmer’s Market 20th Anniversary Cookbook. I switched out the blueberries in the original recipe for apples and cranberries, added a touch of yogurt and changed the spice. A bit of prep work is required but it’s simple to make. Here’s the recipe:
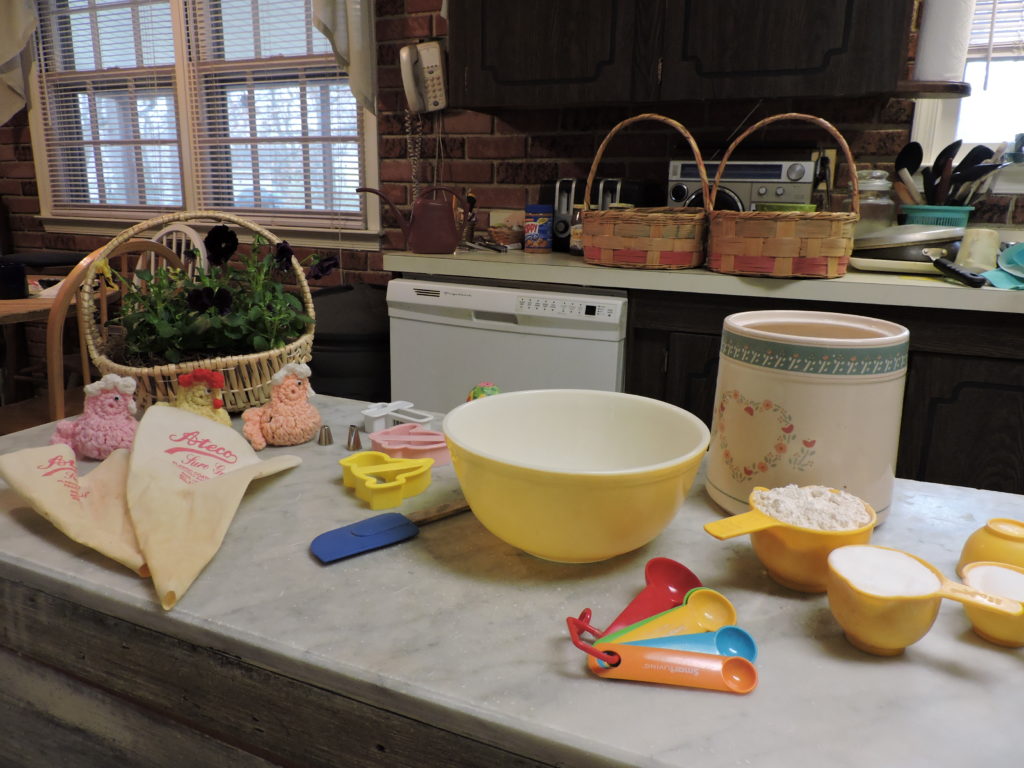
Catoctin Mountain Apple Cranberry Bread
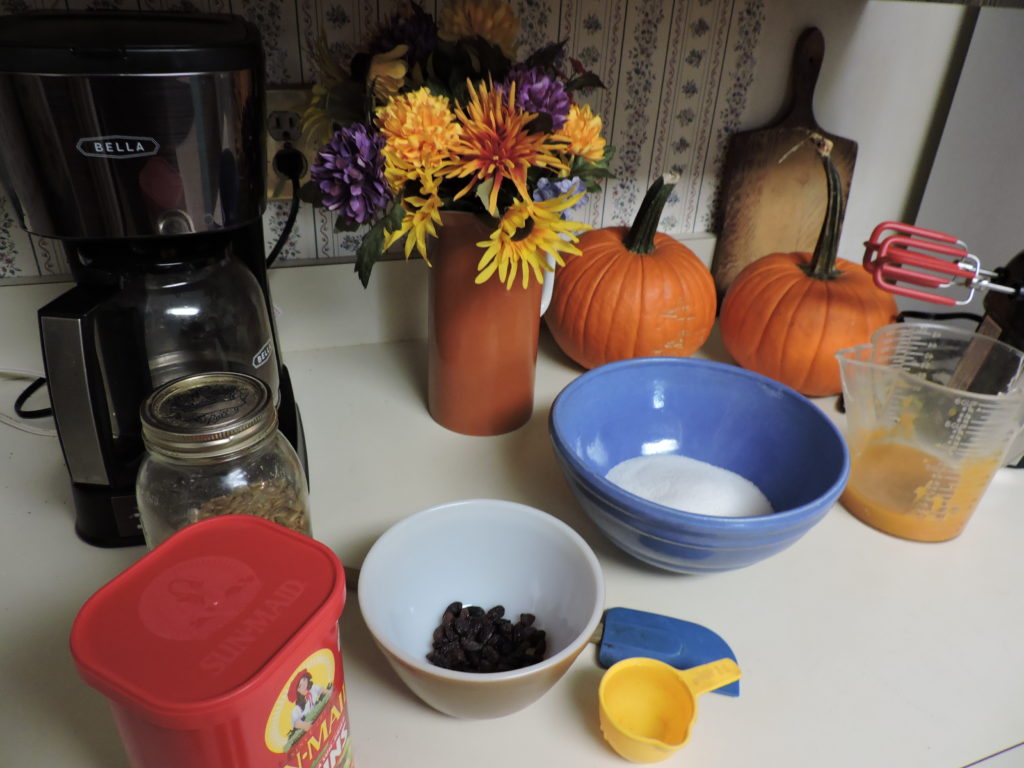
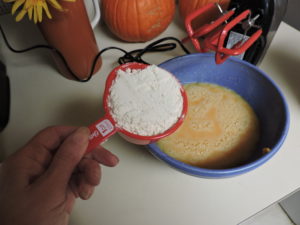
- 2 cups flour (all purpose or unbleached)
- 1 cup sugar
- 4 teaspoons baking powder
- 1/4 teaspoon salt
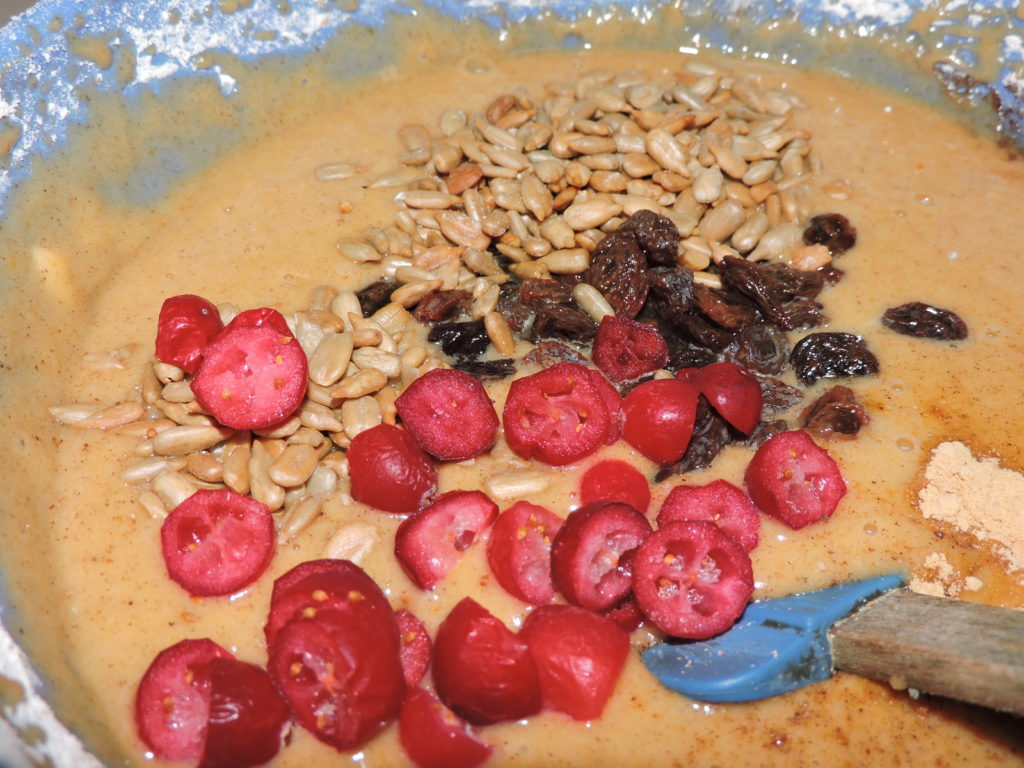
- 1 cup diced apple (preferably slightly tart ones like Winesap or Granny Smith)
- 1/2 cup fresh or frozen cranberries sliced in half
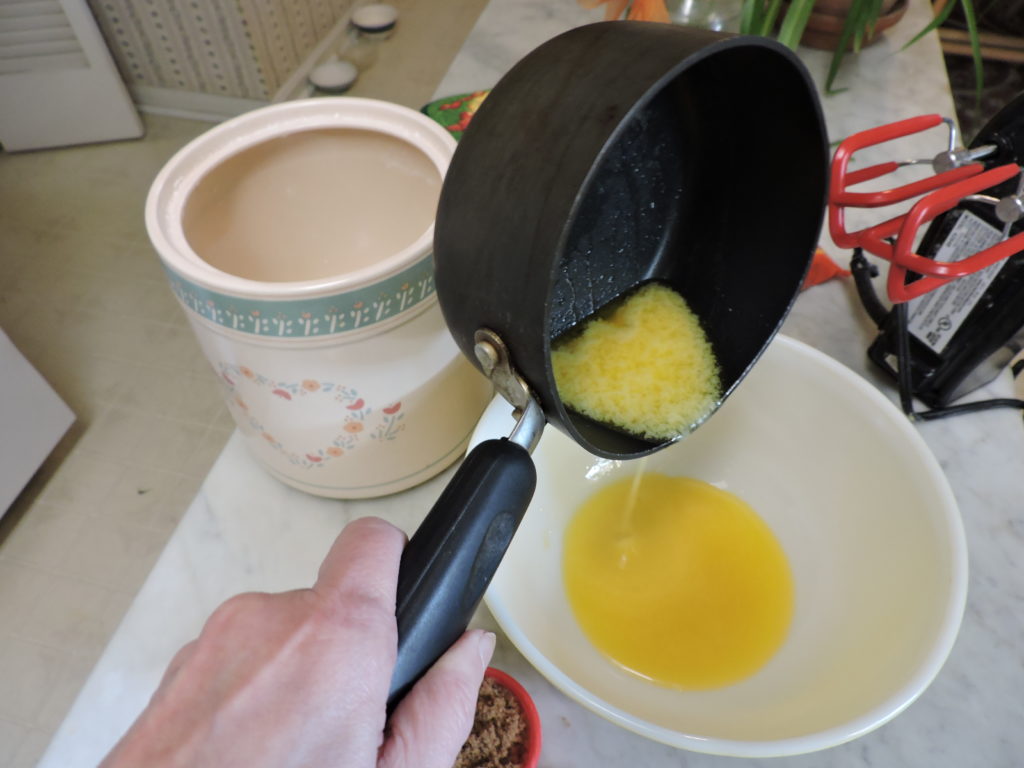
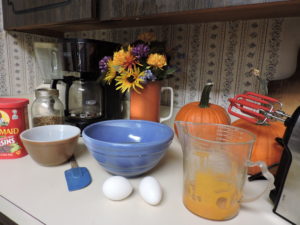
- 2 eggs
- 1 cup milk
- 3 tablespoons canola oil
- 1 tablespoon yogurt
- Between 1/4 and 1/2 teaspoon grated lemon or orange peel
- Dash of cinnamon and/or nutmeg

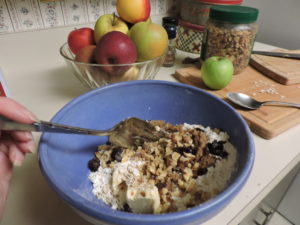
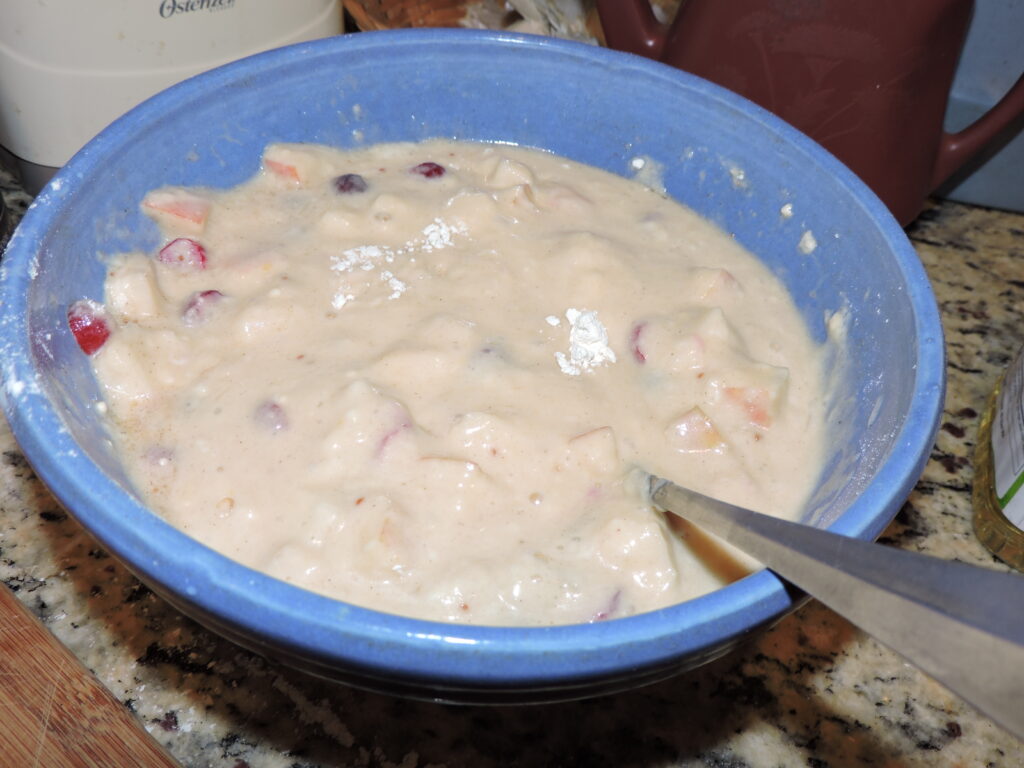
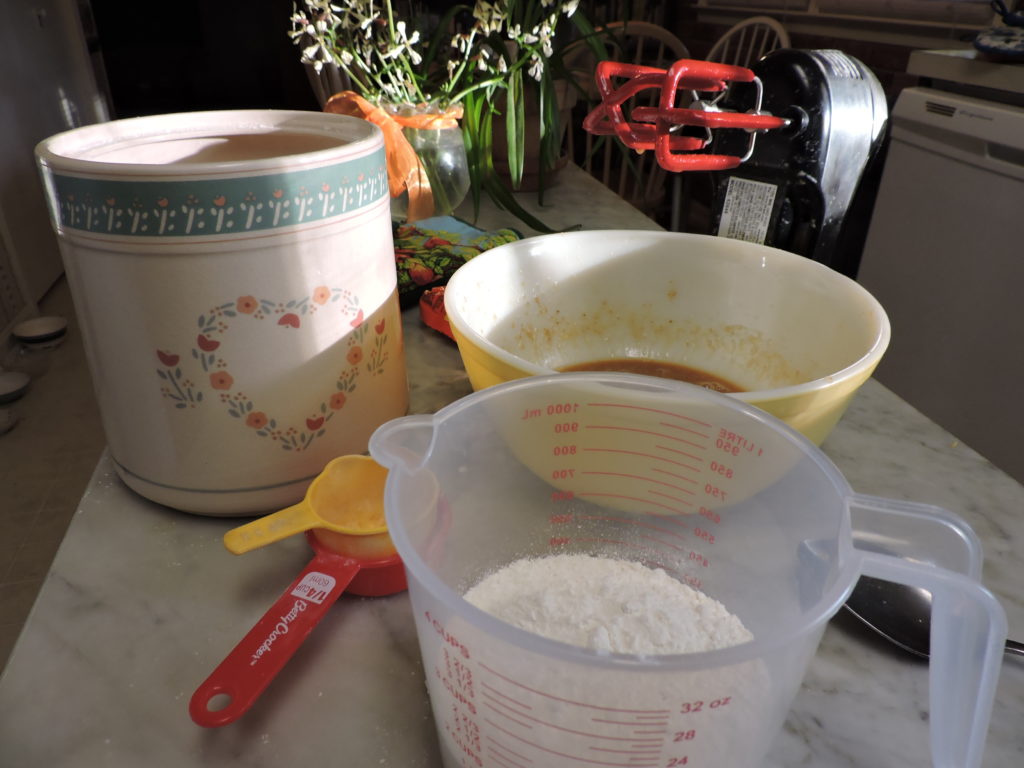
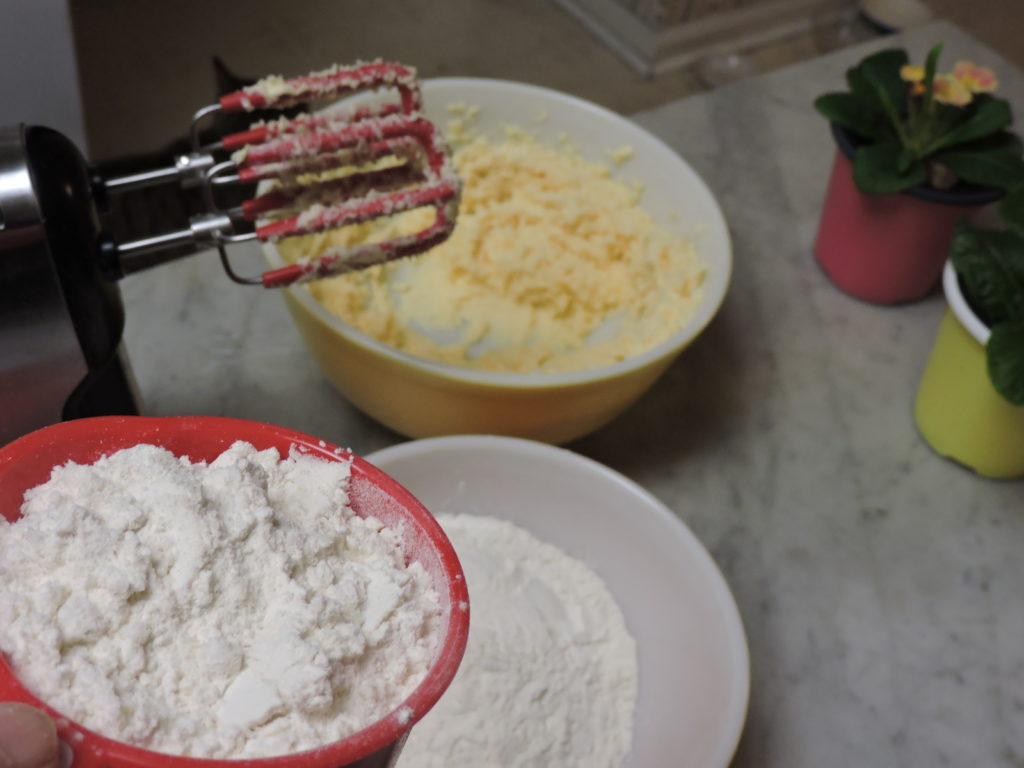
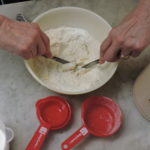
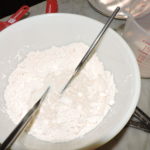
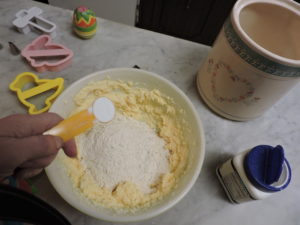
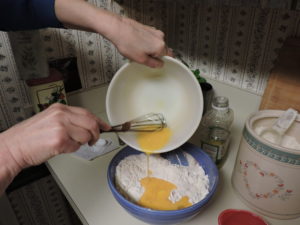
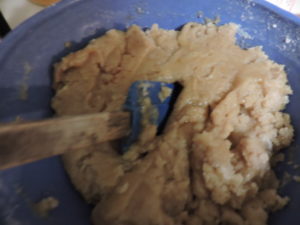
Assemble and stir together dry ingredients including 2 cups flour, 1 cup sugar, 4 teaspoons baking powder and 1/4 teaspoon of salt. Then prepare the fruit.
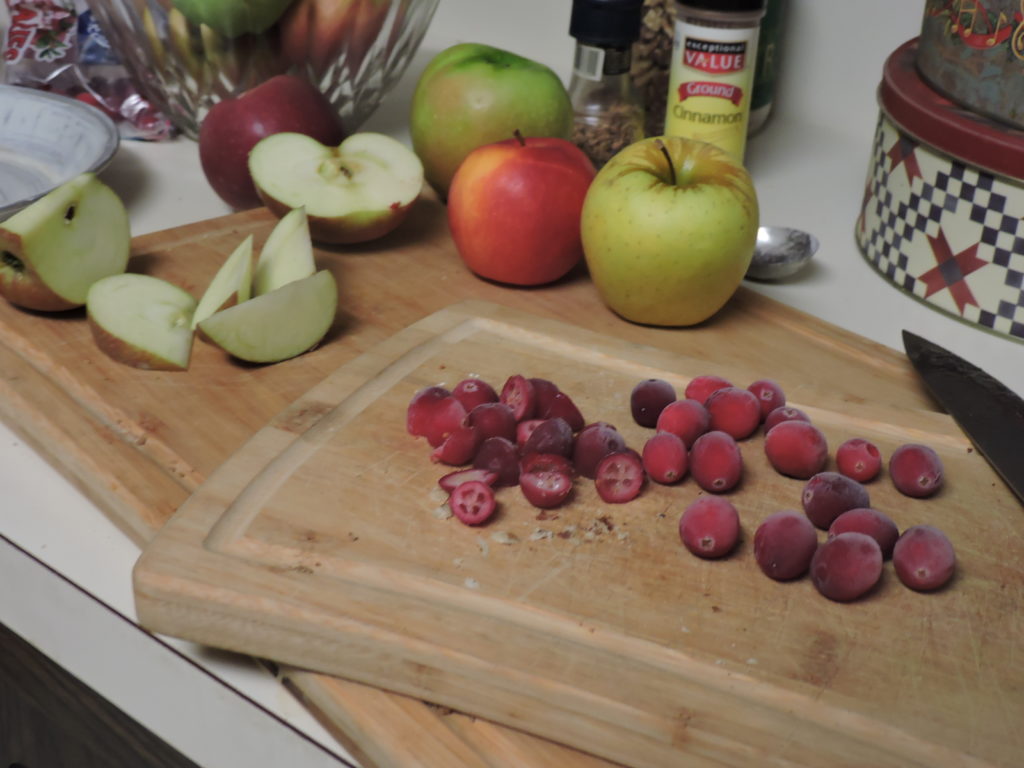
Slice the cranberries in two until you have half a cup.
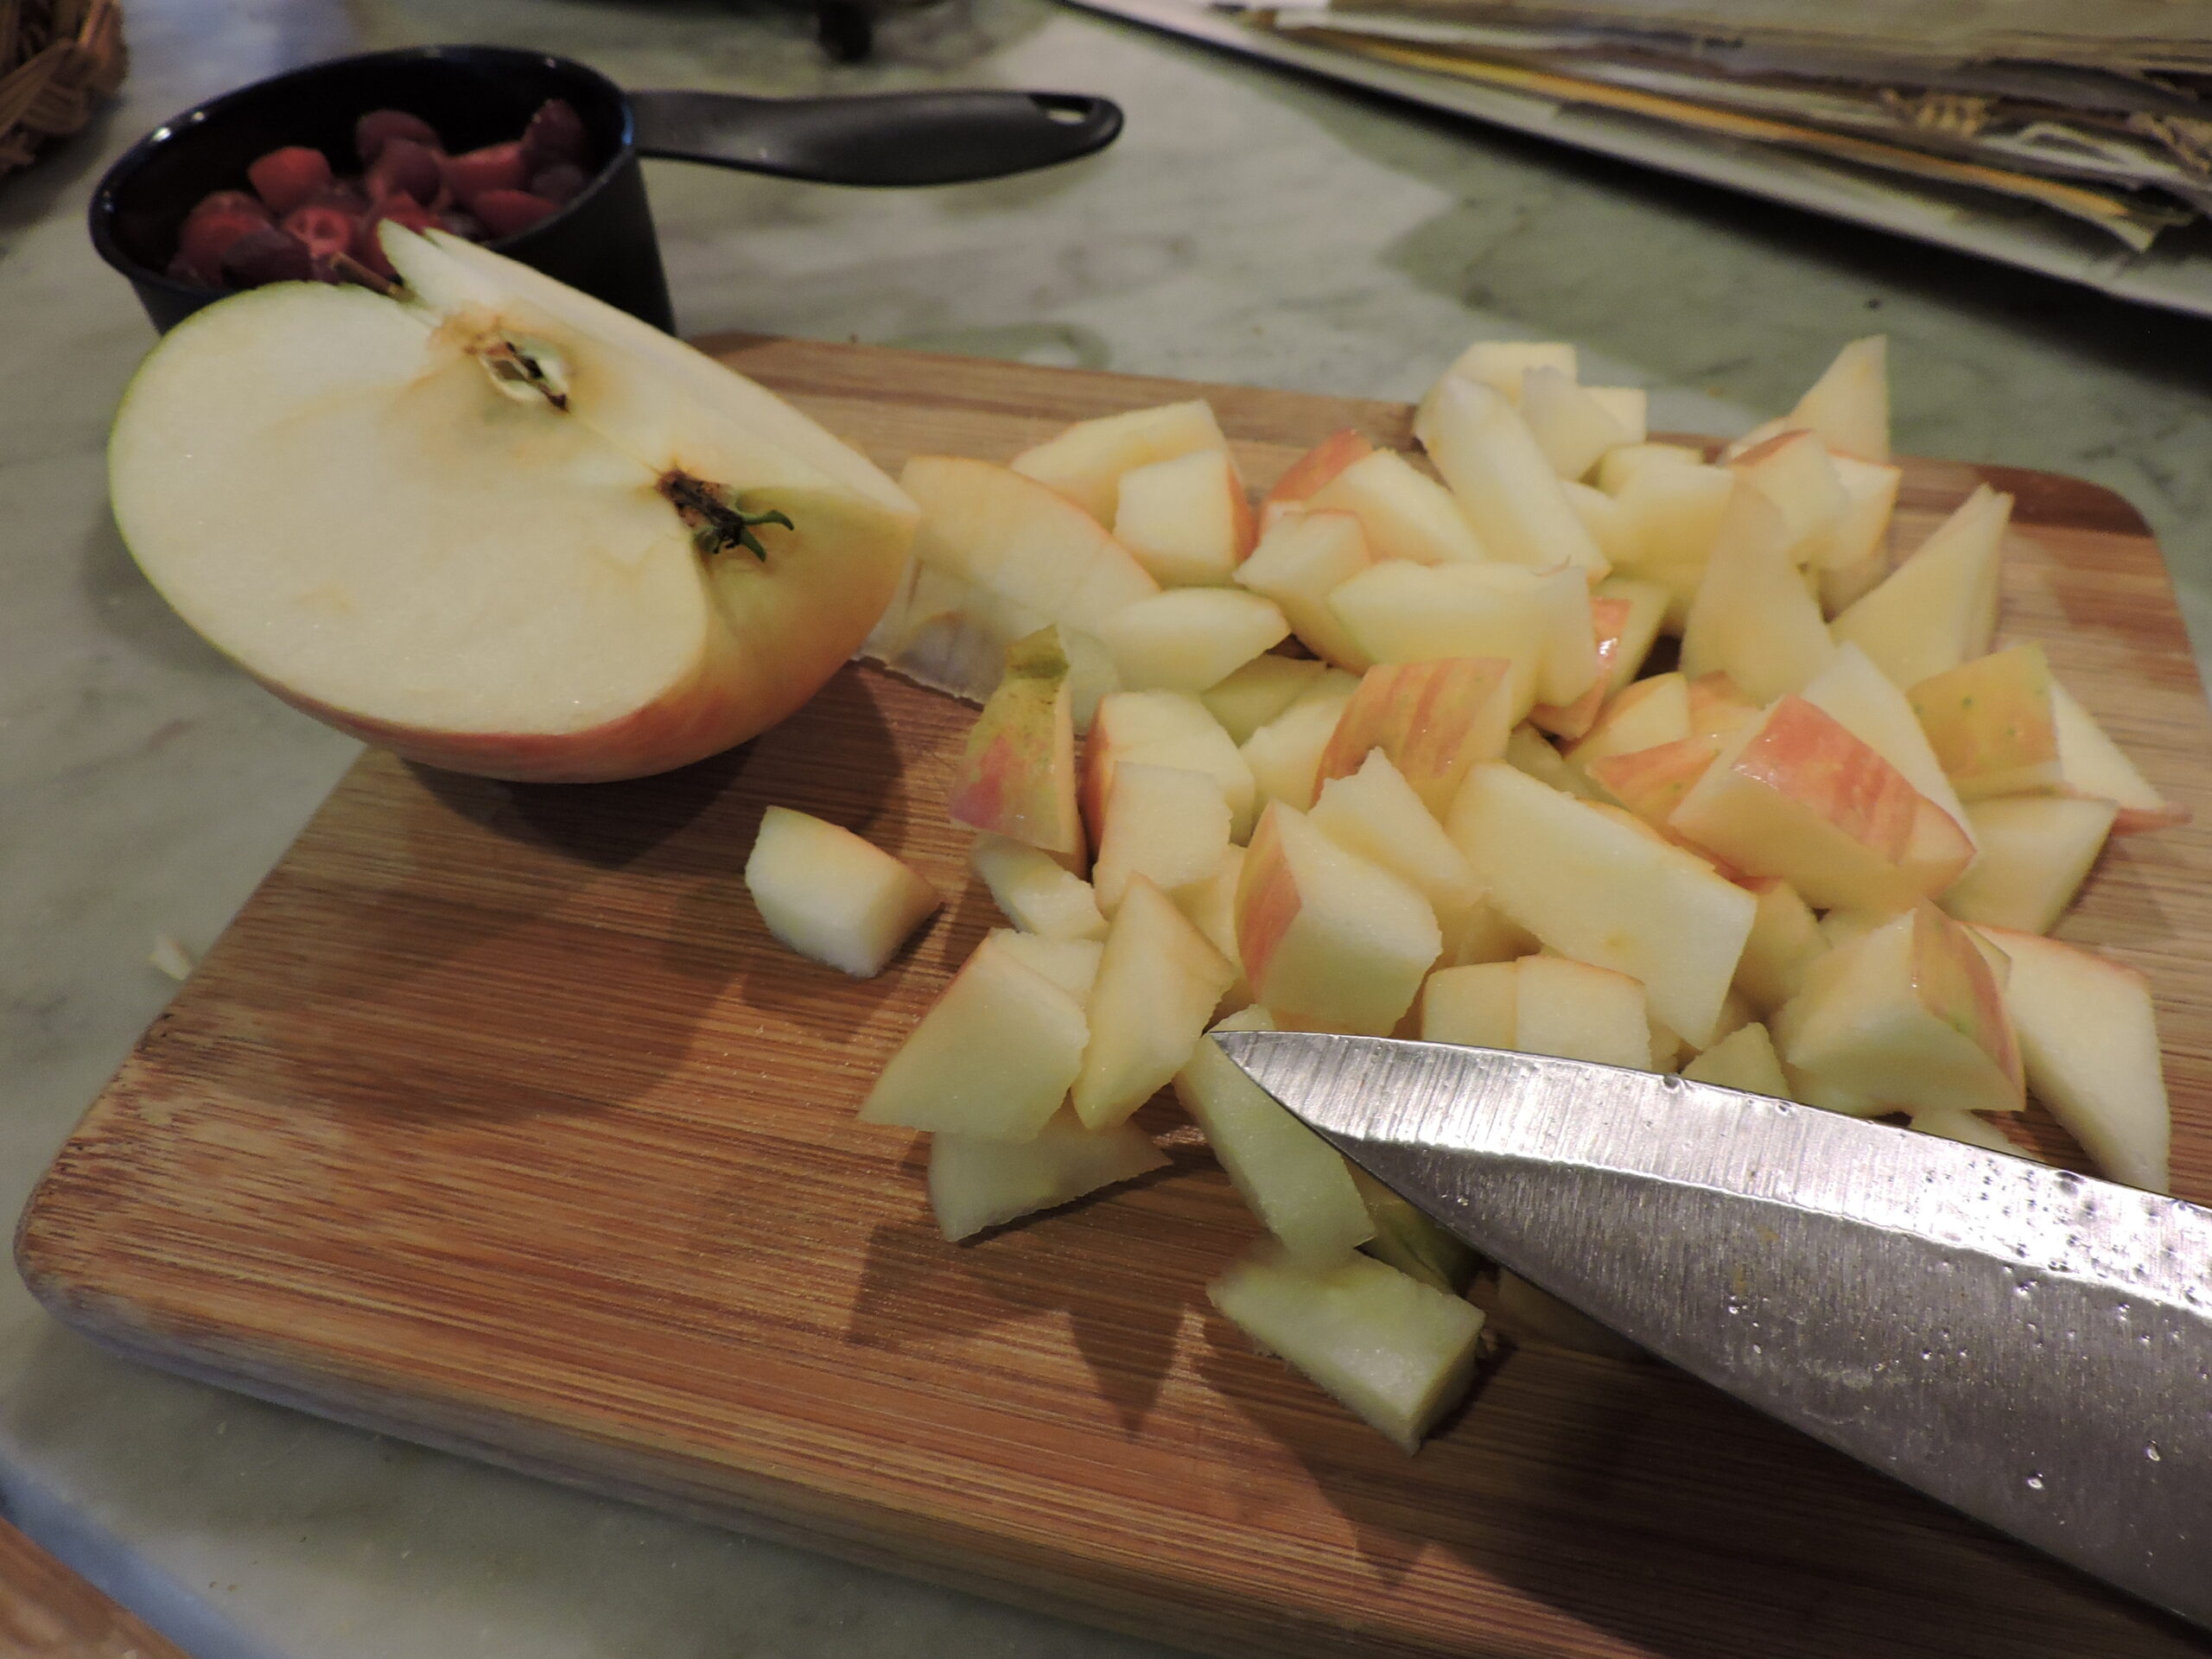
Dice enough apples to make a full cup. 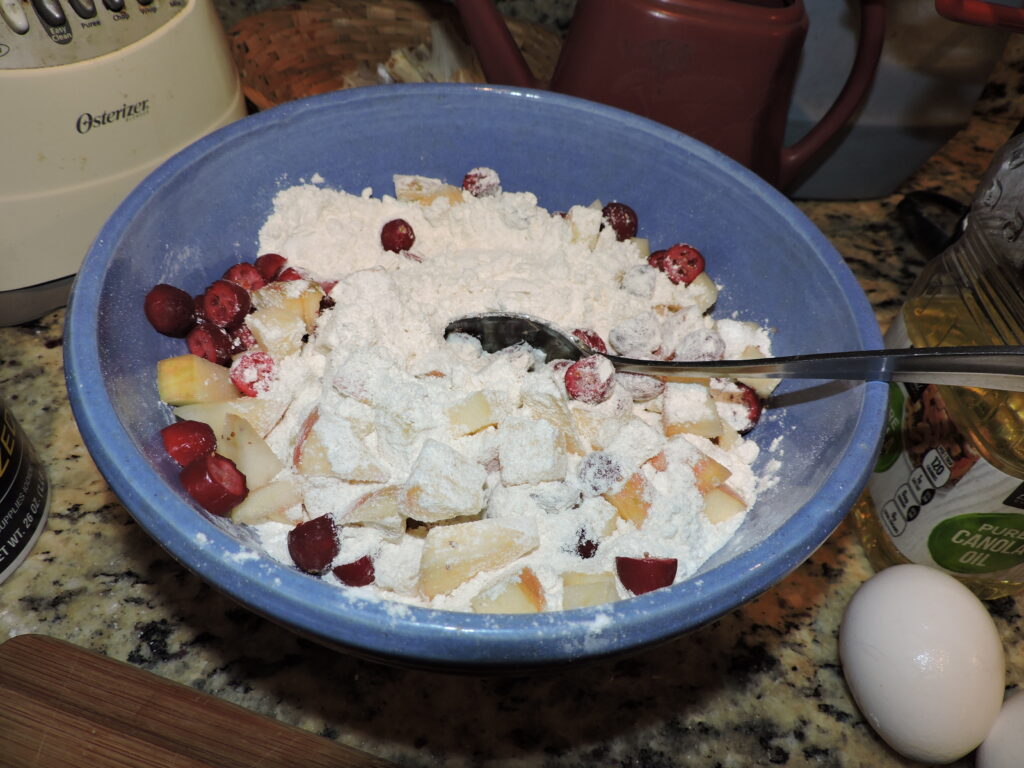
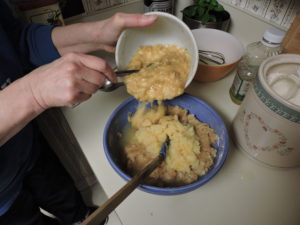
Then mix fruits with dry ingredients.
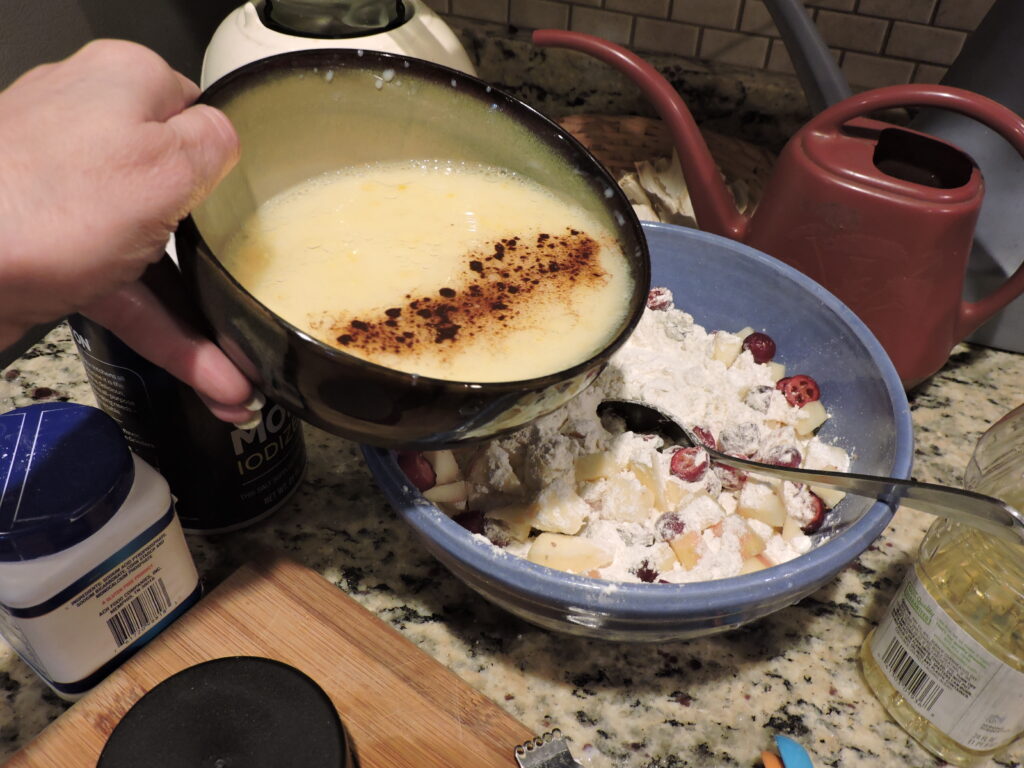
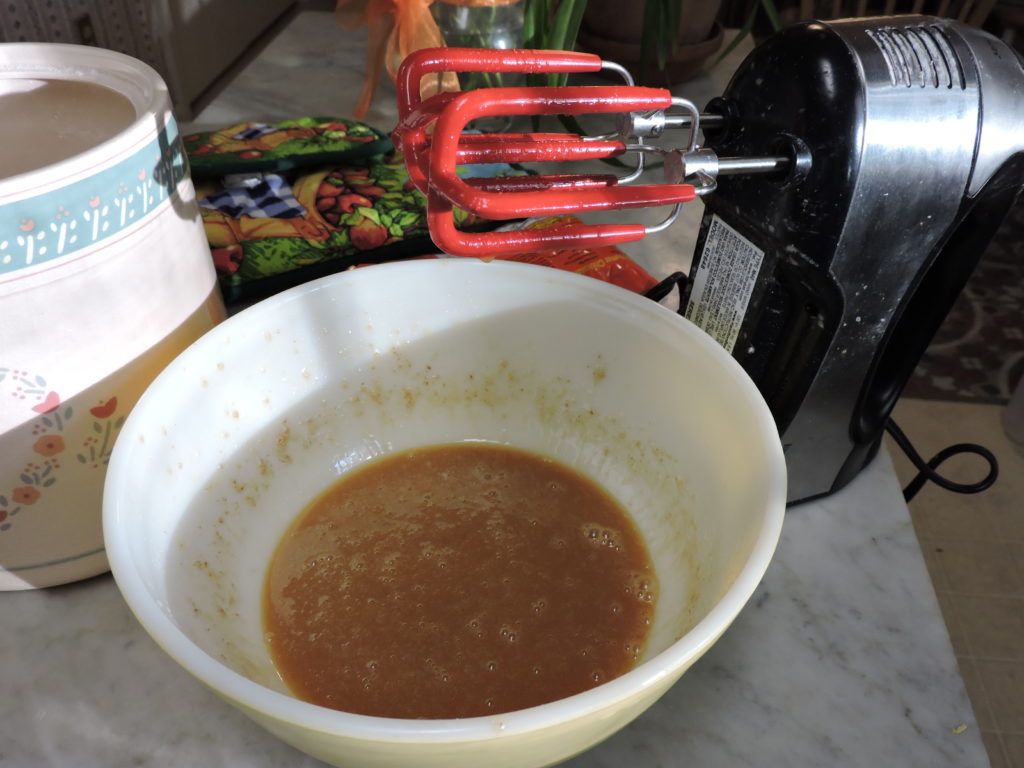
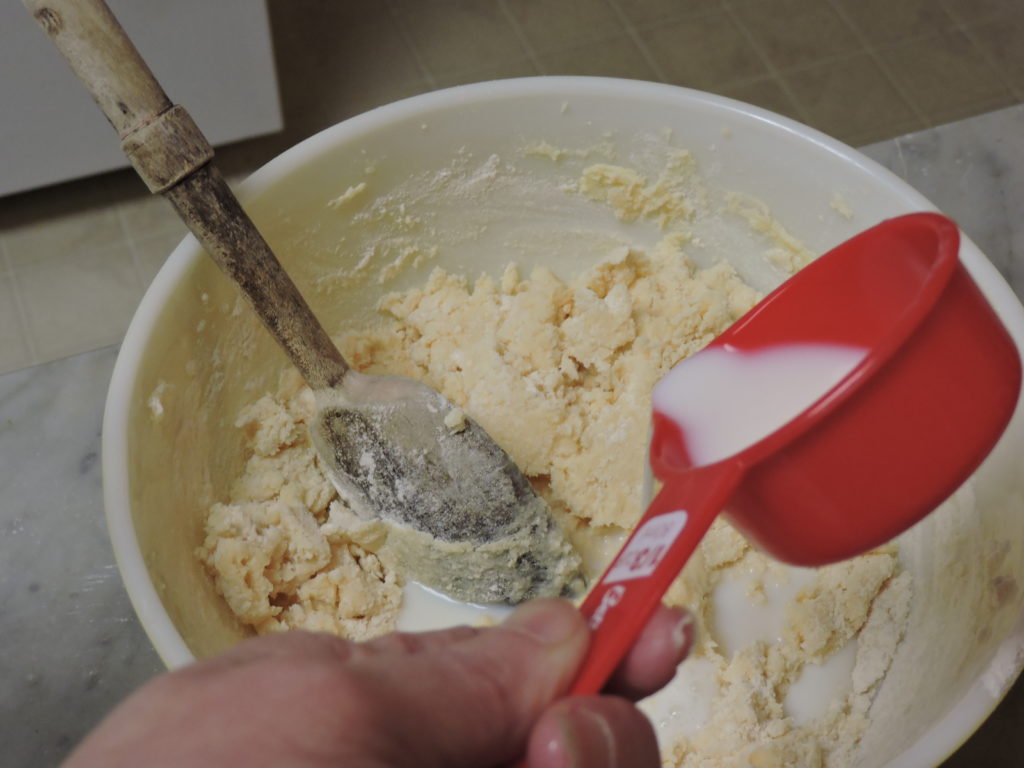
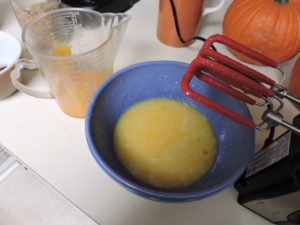
Stir fruits into the dry ingredients until well blended. Then whip eggs, milk, grated lemon rind and a dash of cinnamon together, pour into the dry mixture, and stir to combine.
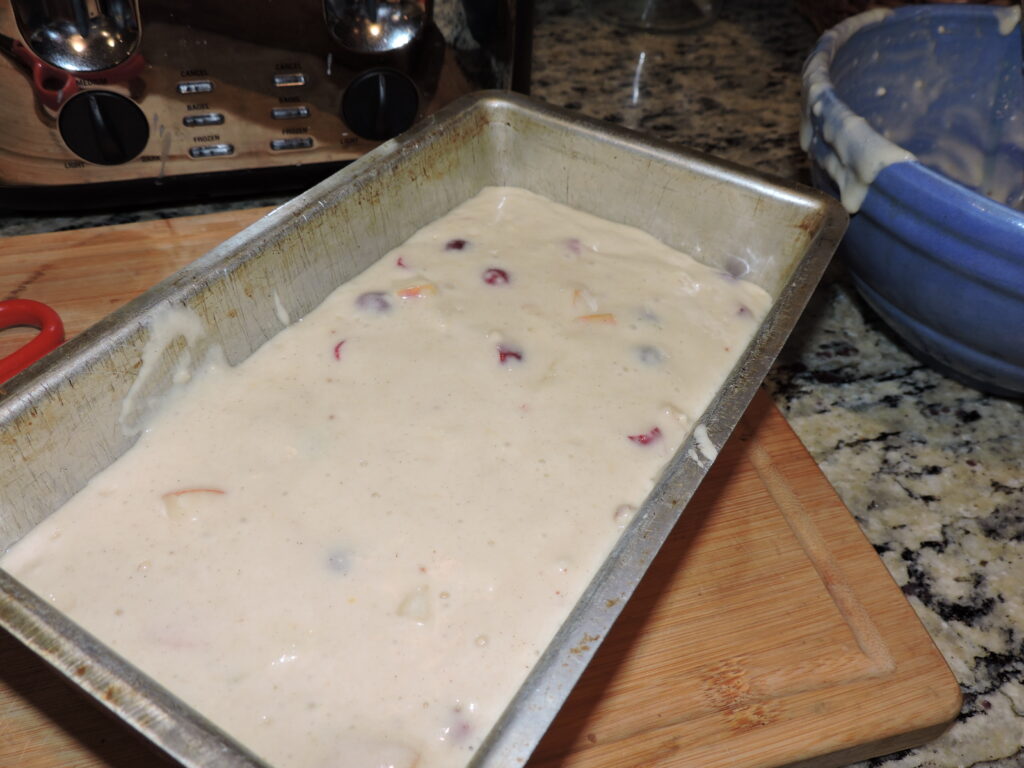
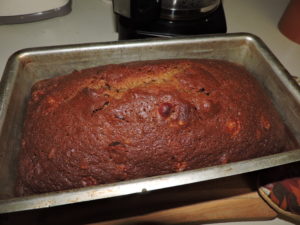
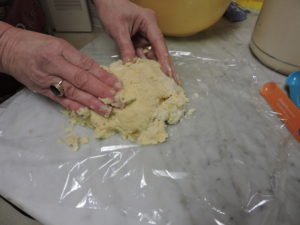
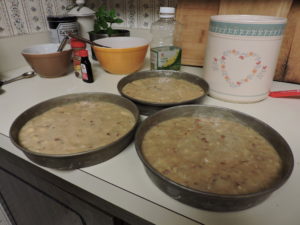
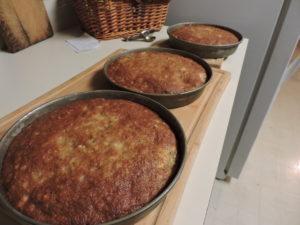
Pour batter into a lightly-greased 9×5-inch loaf pan. Bake at 350 degrees until a toothpick inserted in the center comes out clean. Remove from the oven and cool on a rack for 10 minutes.

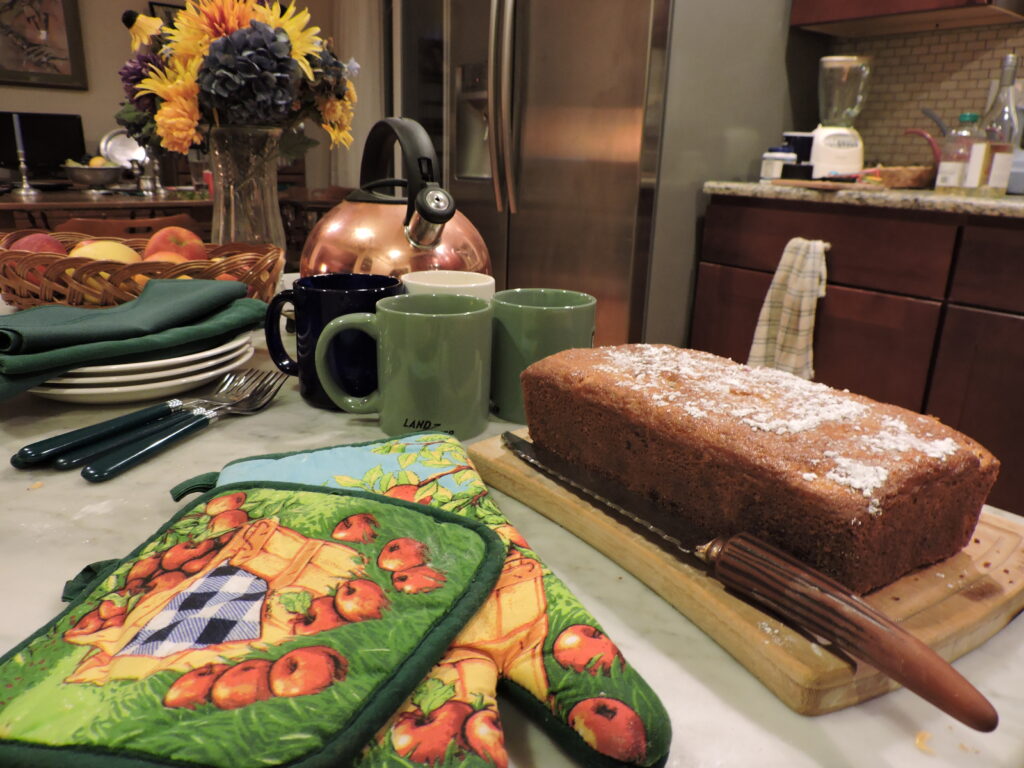
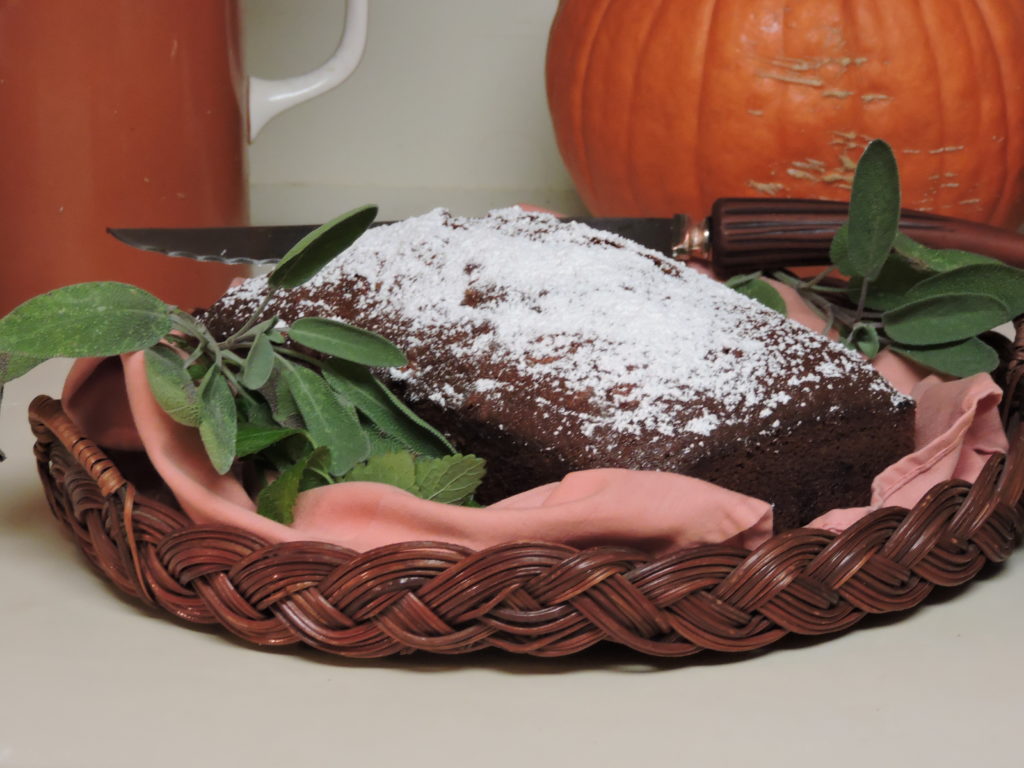
Then invert to remove from the pan, place on a serving plate or wooden board to cool completely and lightly sprinkle with confectioner’s sugar
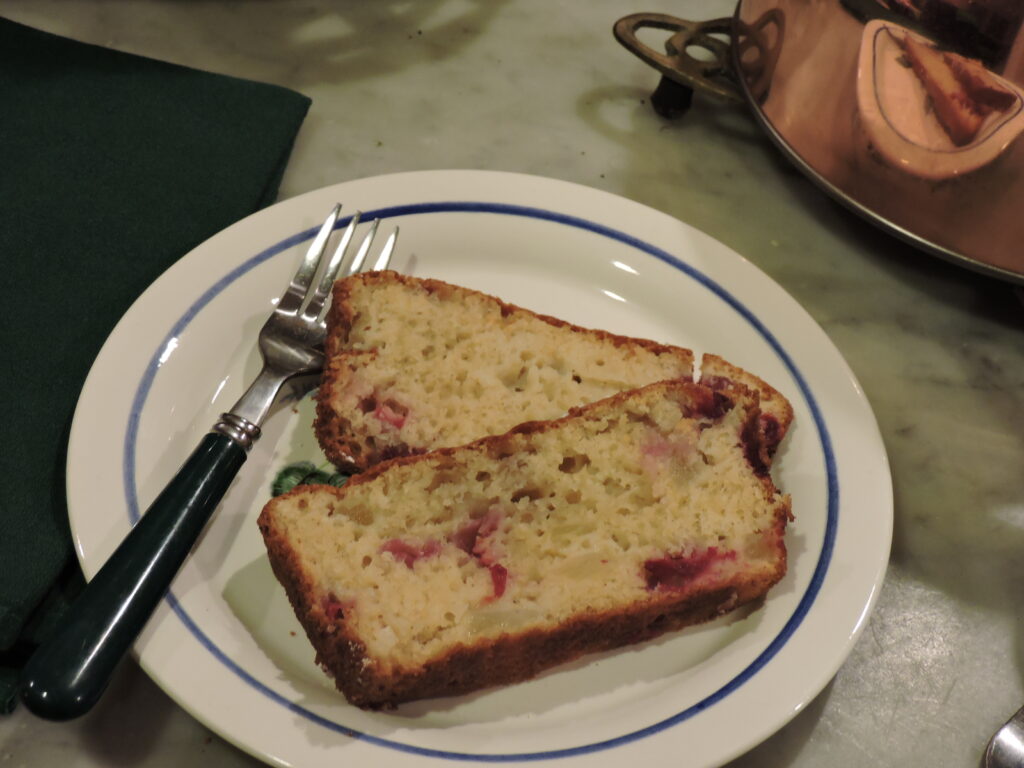
My experiment to transform the farmer’s market recipe for Blueberry Tea Bread to my own more autumnal Catoctin Mountain Apple Cranberry Bread worked. The contrast between the cinnamon flavored dough, mellow apples and tart cranberries was wonderful. I served the bread for brunch following omelets. It was so good that everyone wanted a second piece.
If you enjoy traditional and family recipes from Sharon Lee’s Table click the subscribe button below for updates.
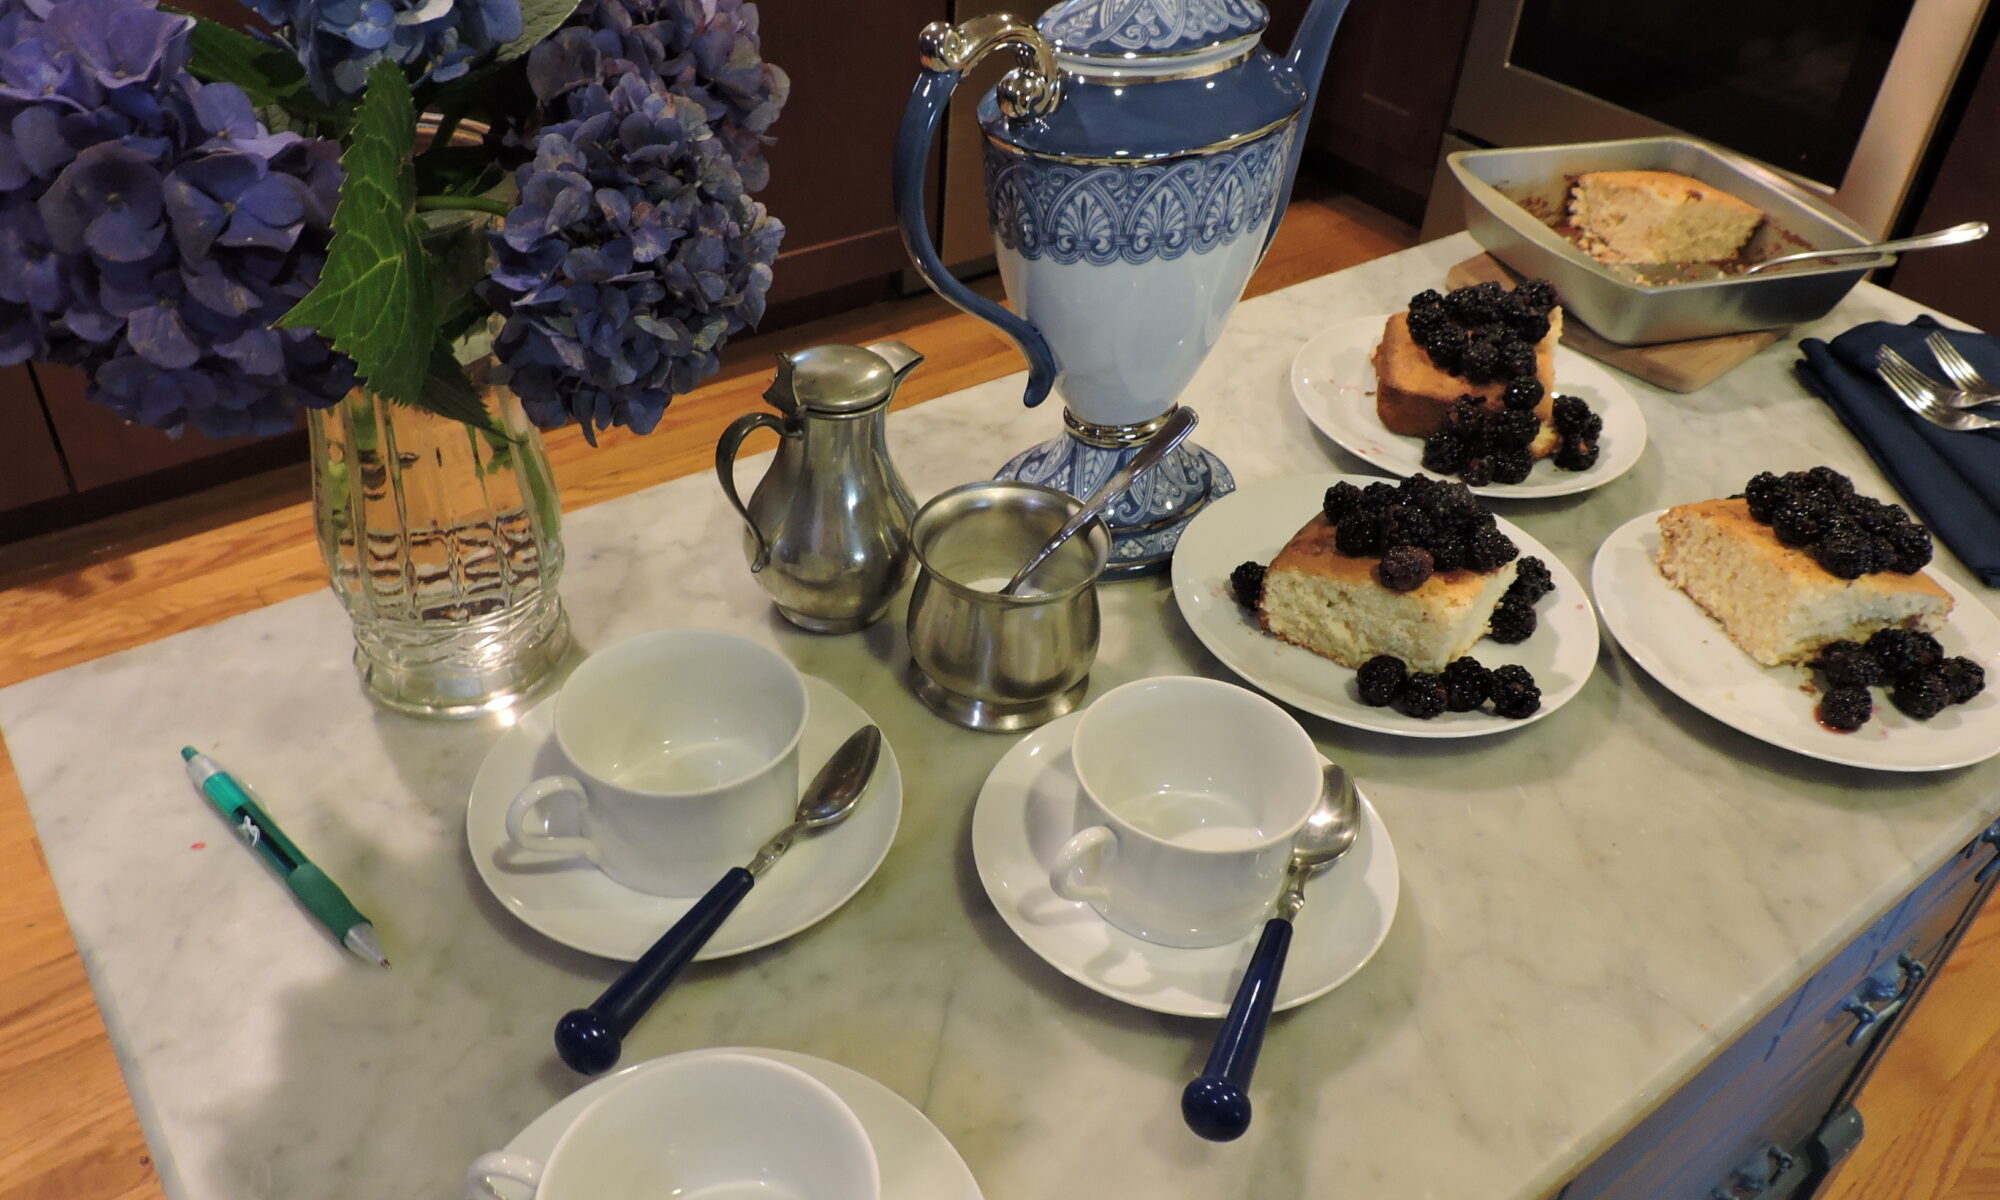

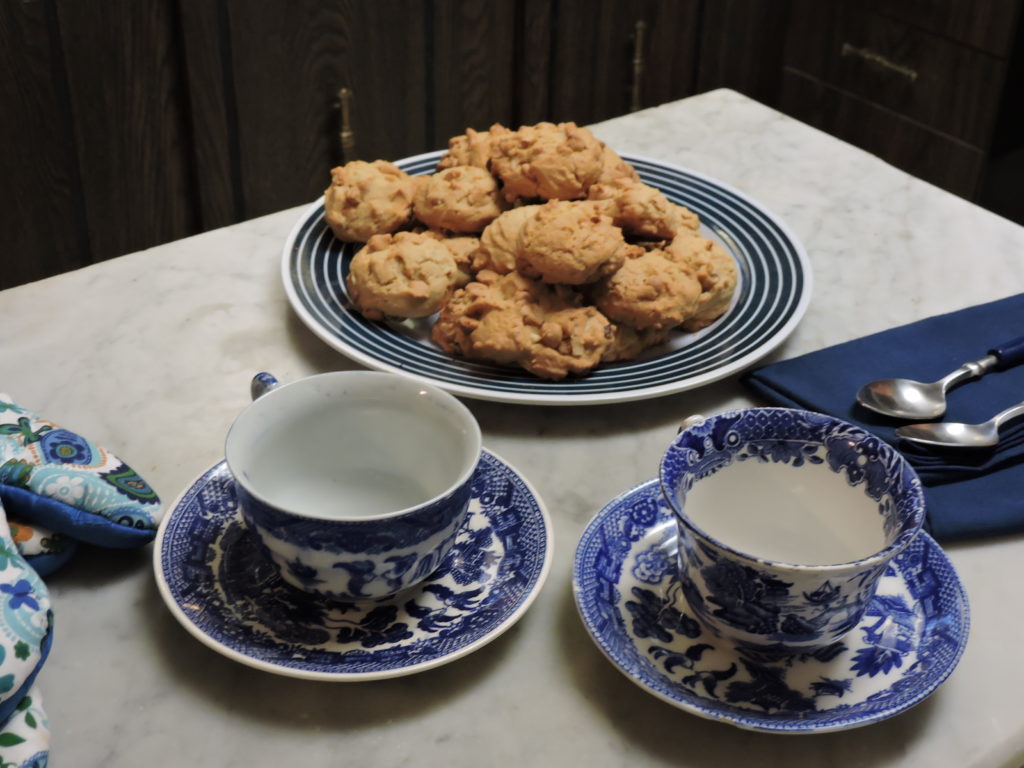


 Offer slices to your family and friends with a glass of milk or a cup of coffee or tea. They’ll likely ask for seconds.
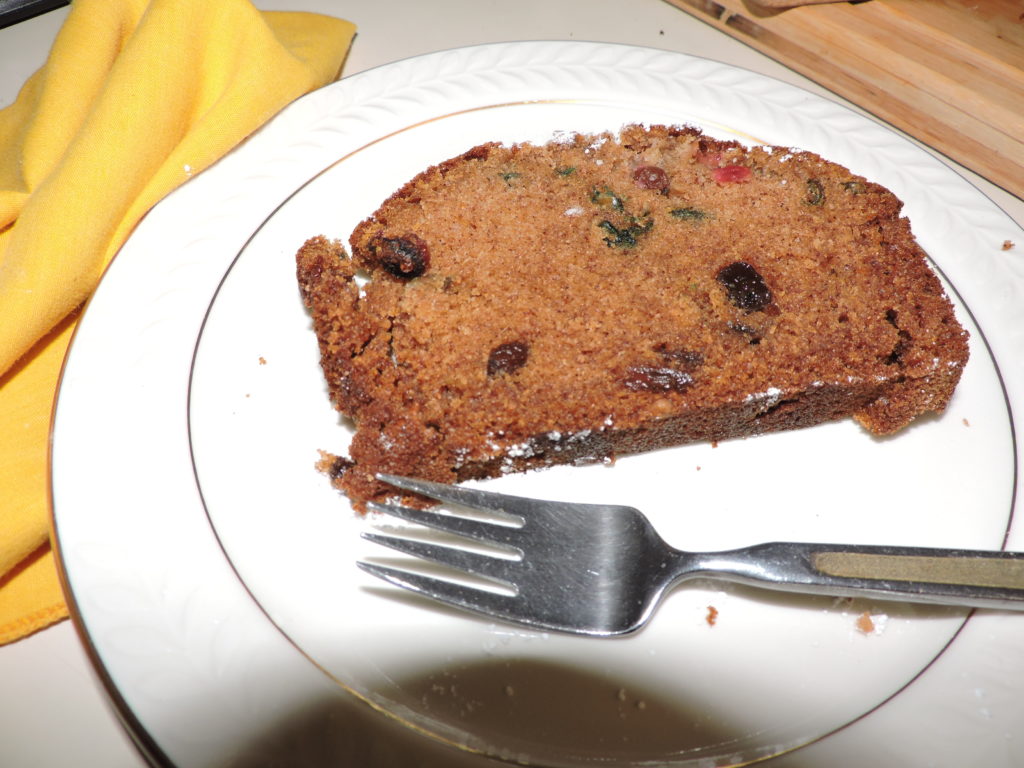


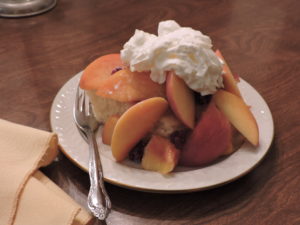
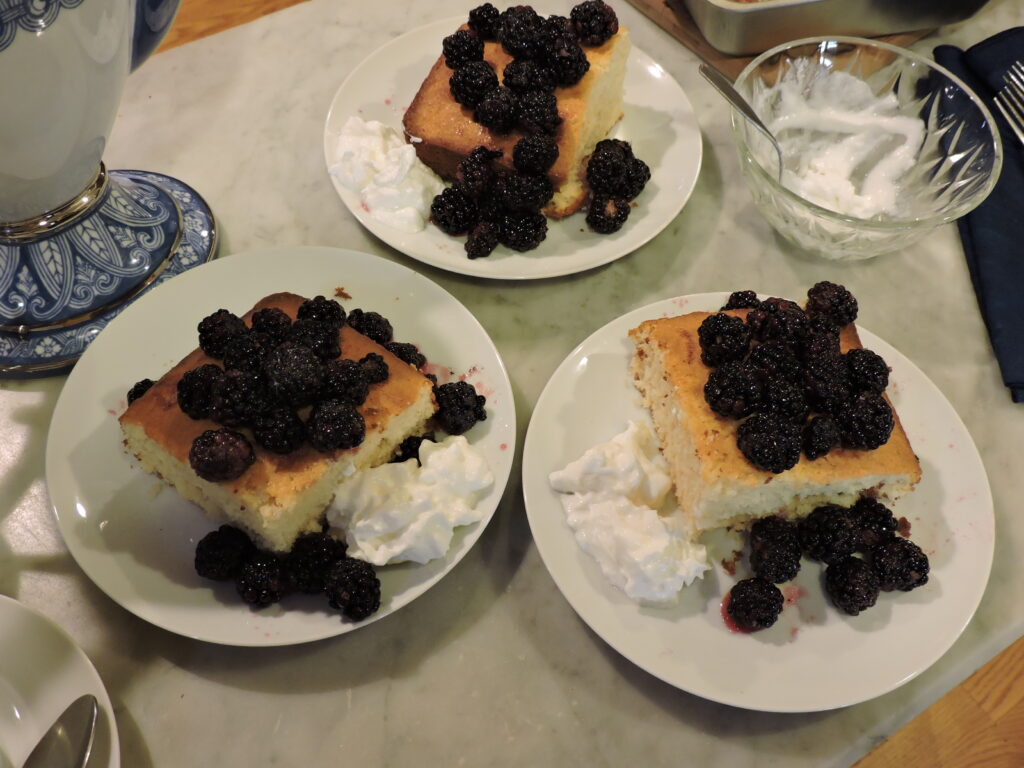
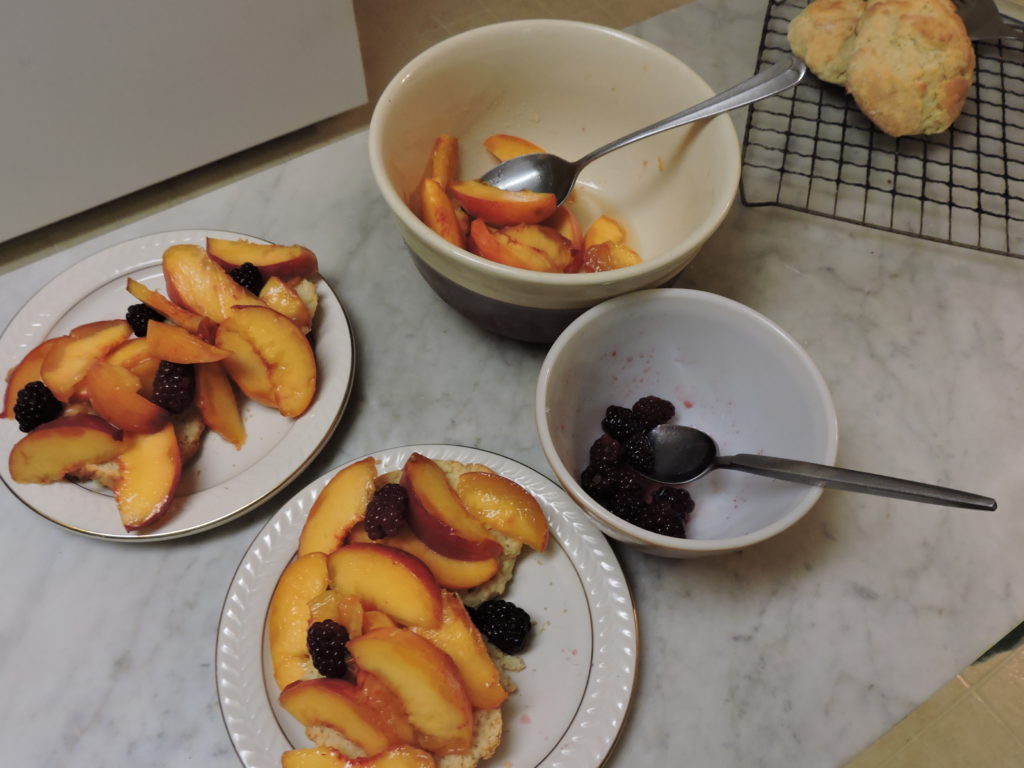
 to fancy them up. Unlike my grandmothers who sometimes topped peaches with cream straight from the cow, I offered
 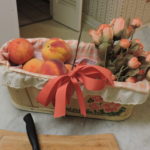 Luckily, I reserved enough peaches for that shortcake I was craving.
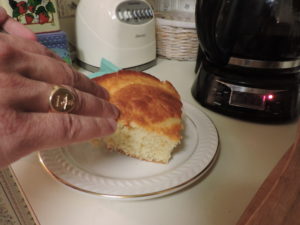
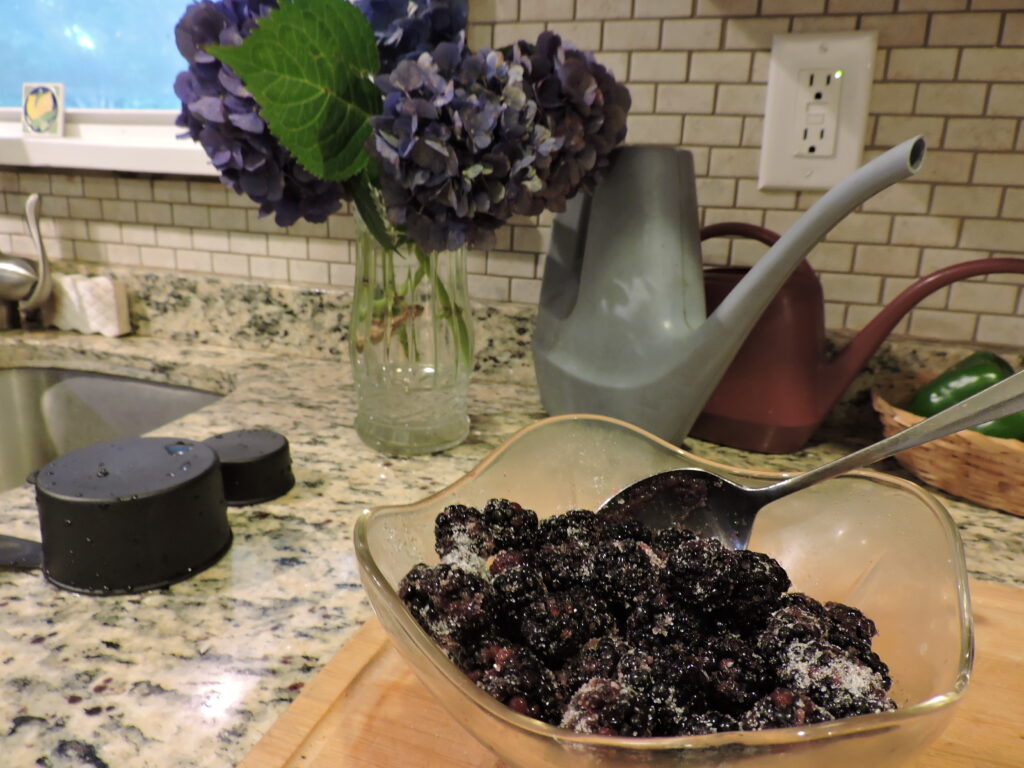
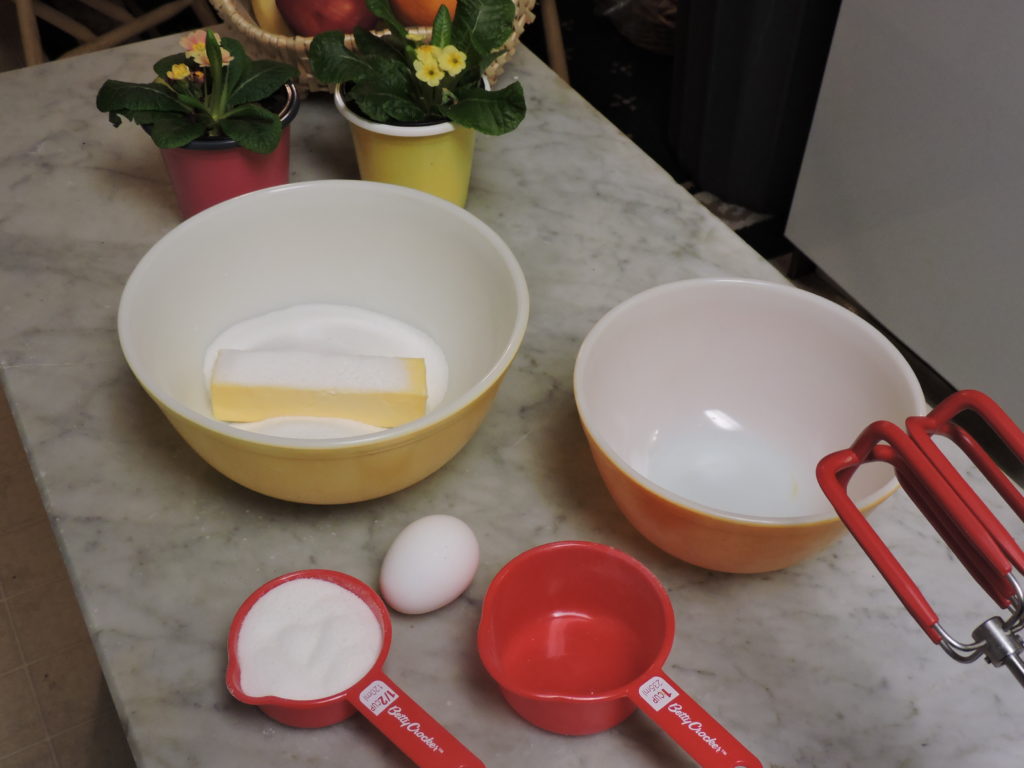
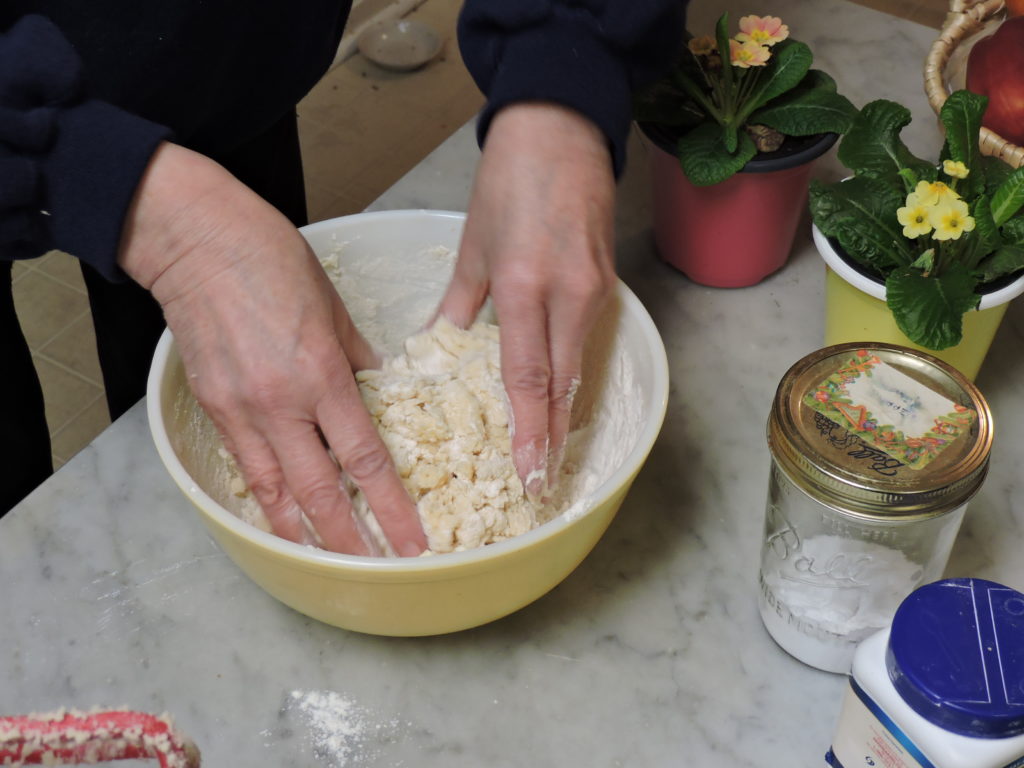
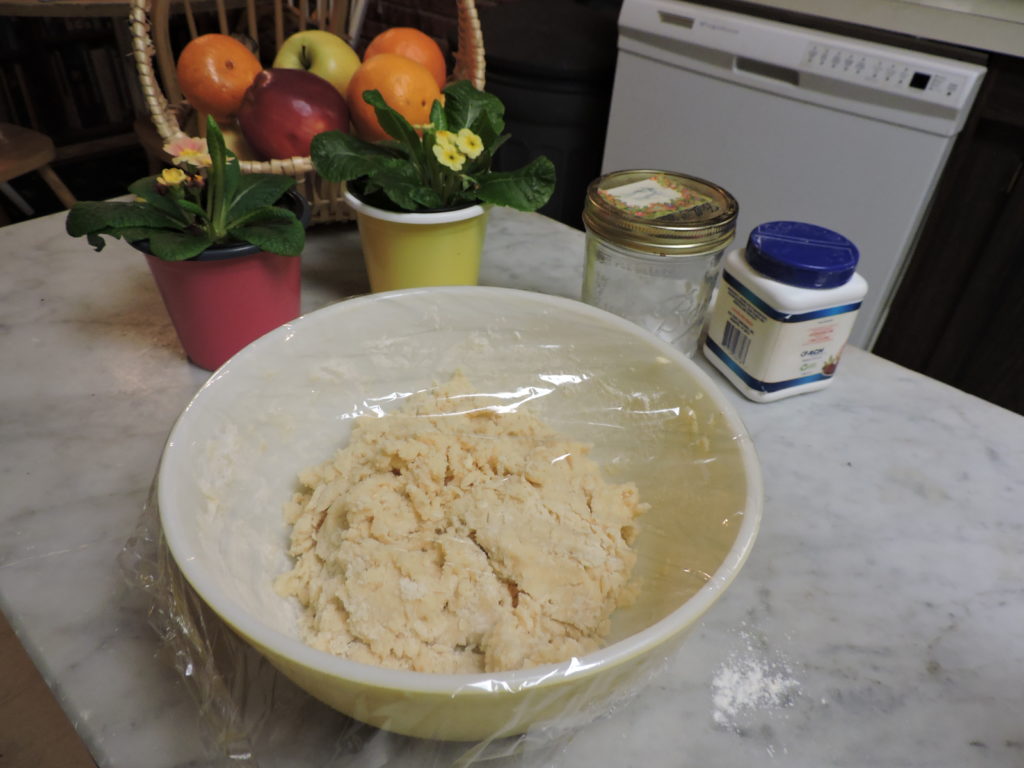
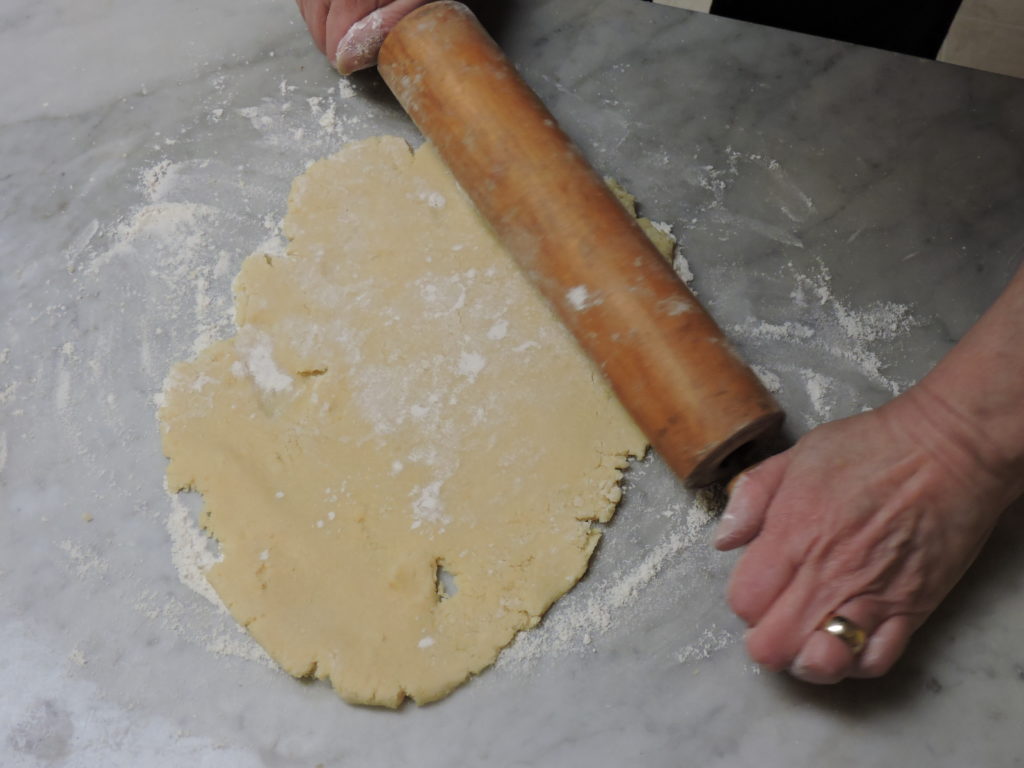
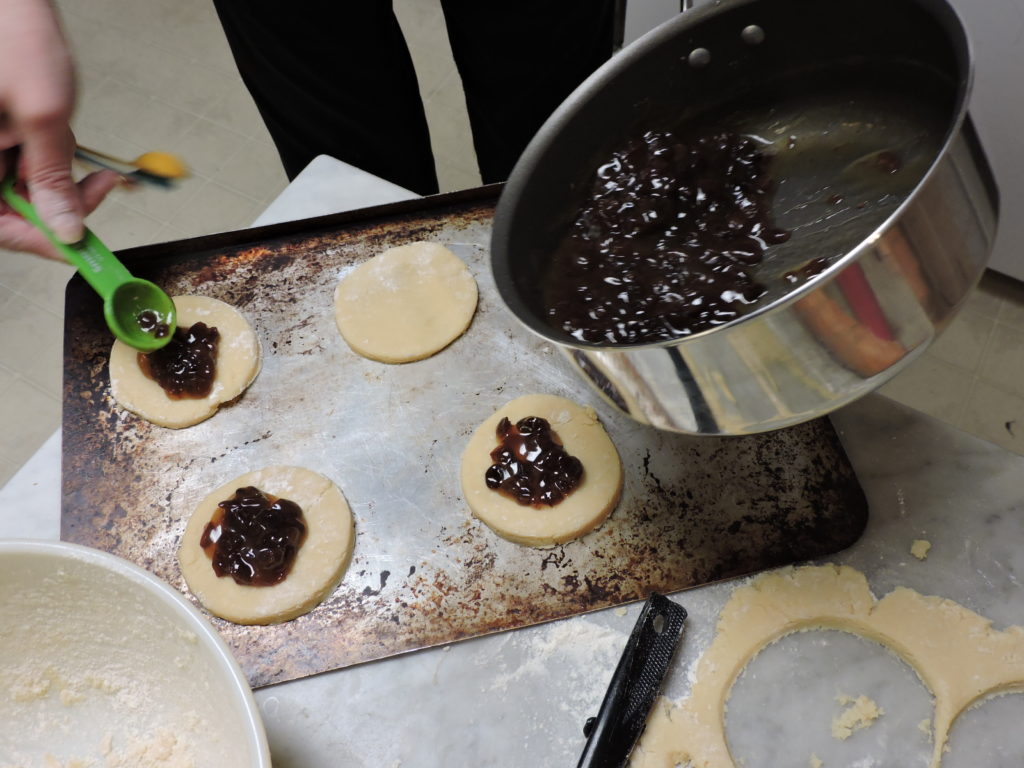
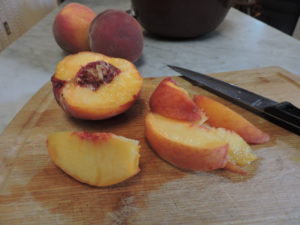 I first prepared the peaches by slicing them into a bowl, sprinkling a tablespoon or two of sugar over the top and placing them into the refrigerator. Then I got to work preparing the shortcake dough . Both grandmothers’ recipes are lost in time but I believe they modeled their shortcakes on biscuit recipes while my mother used
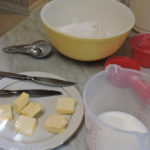
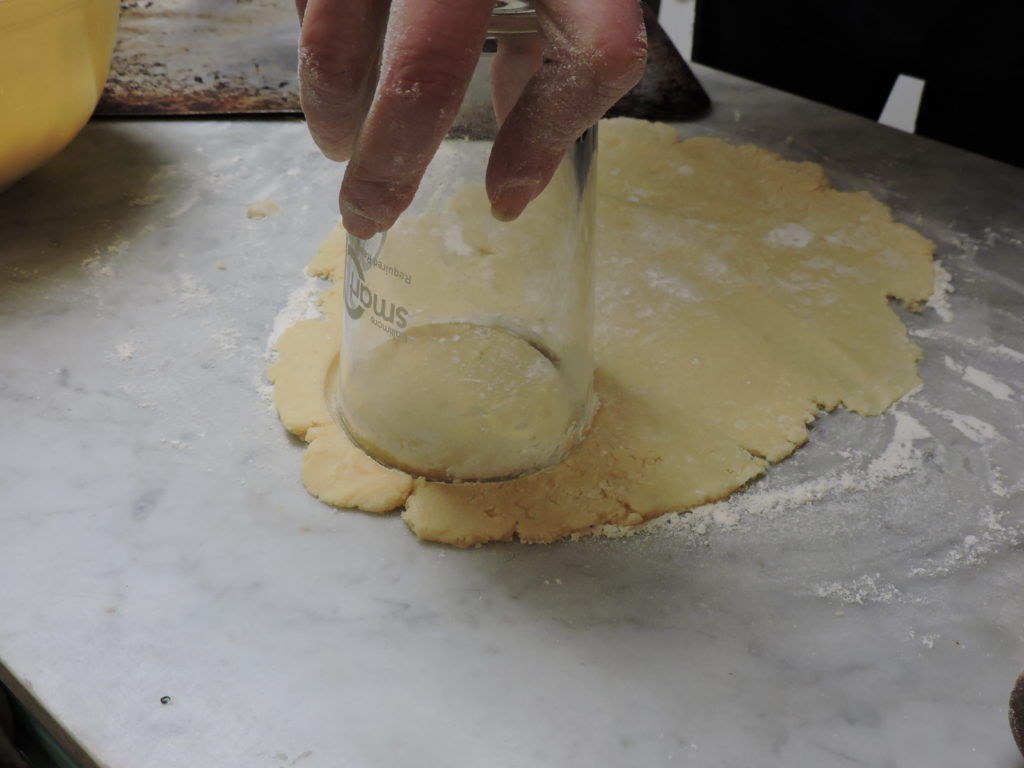
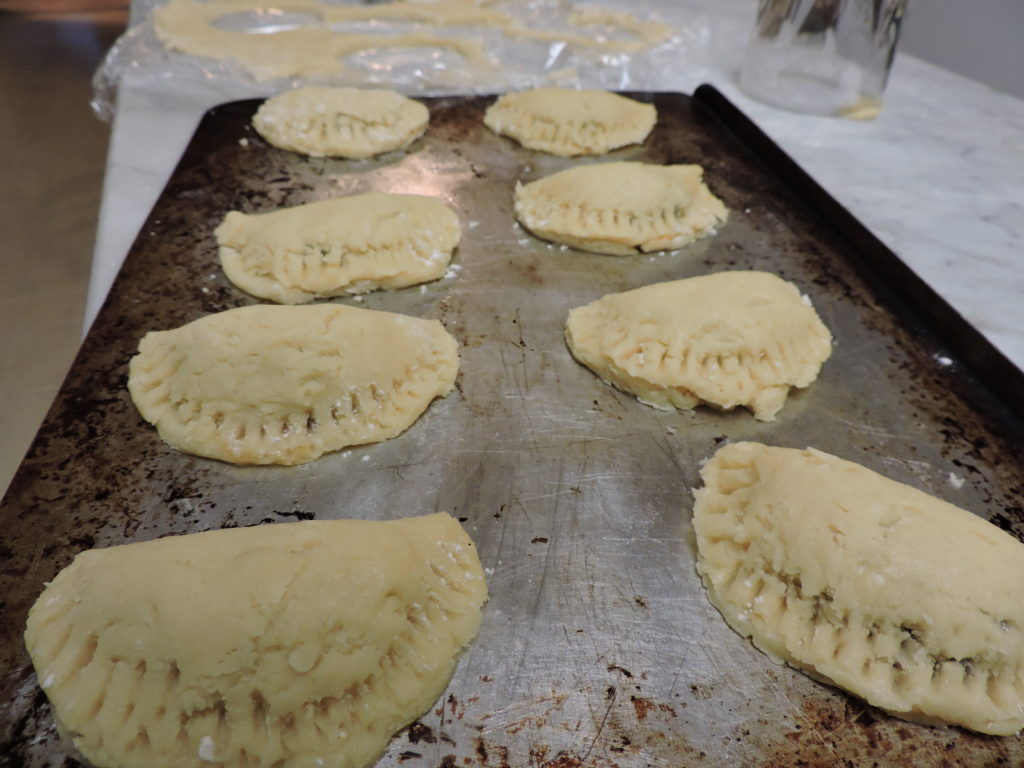
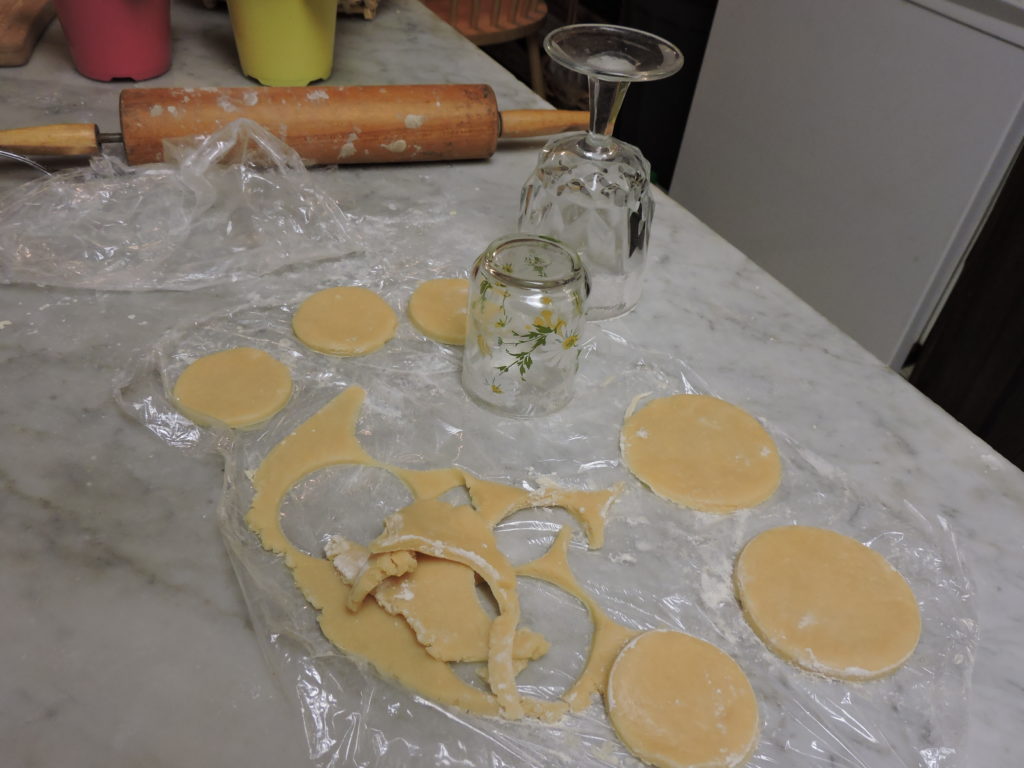
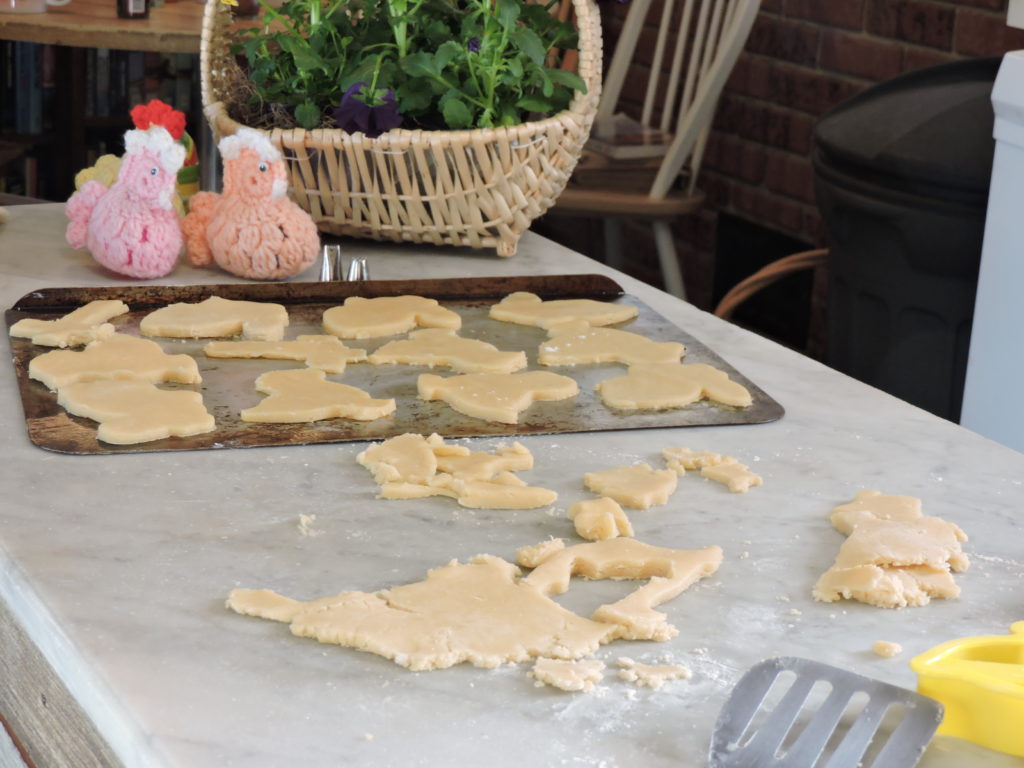
 Use a three inch cutter or glass dusted with flour to make rounds of dough and place on a cookie sheet. (I use my faithful old aluminum one.)
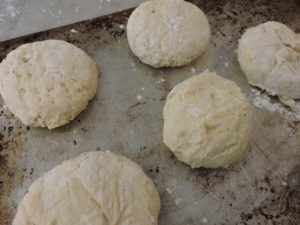


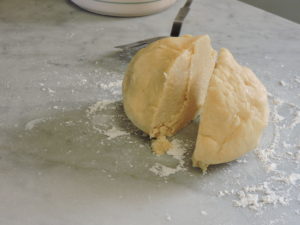 lightly floured surface.
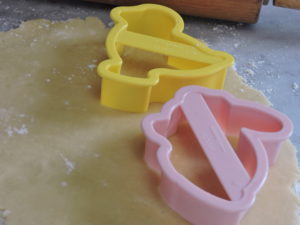
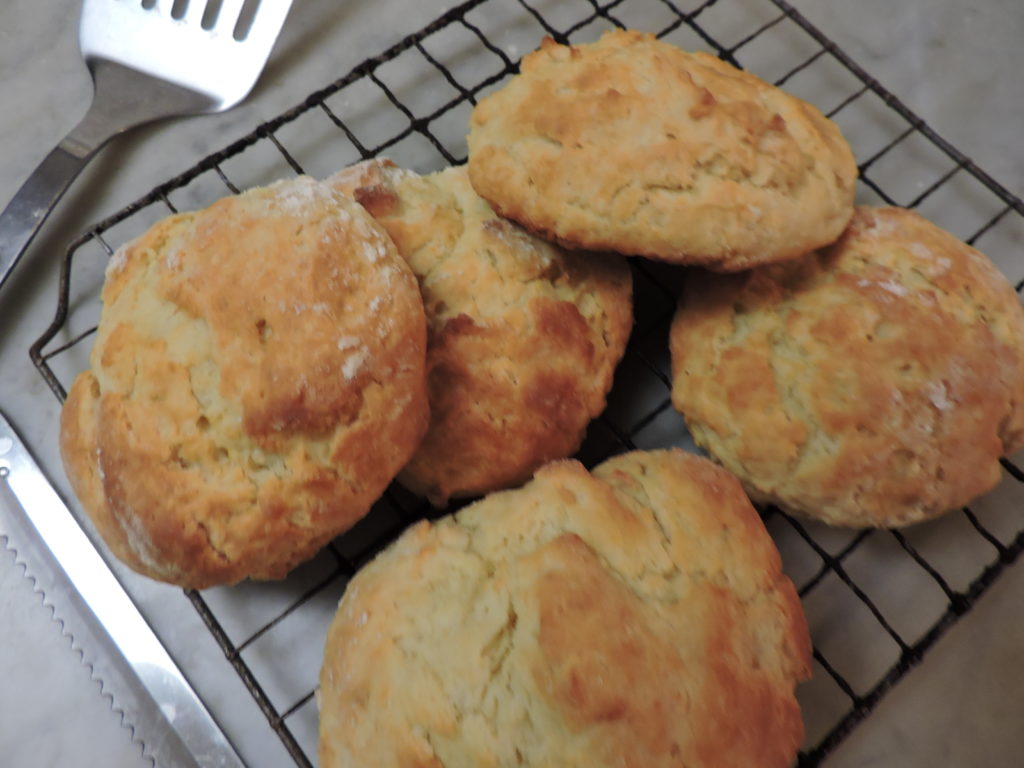
 Cool on a rack and prepare icing. Divide into as many bowls as you like and add food coloring.
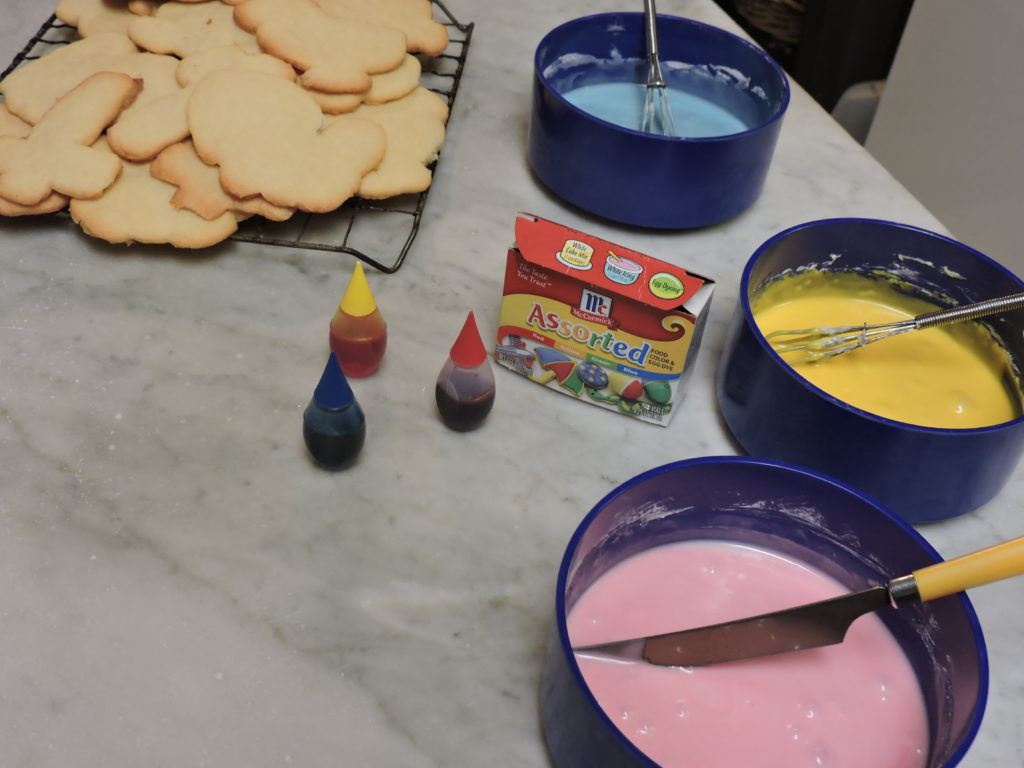
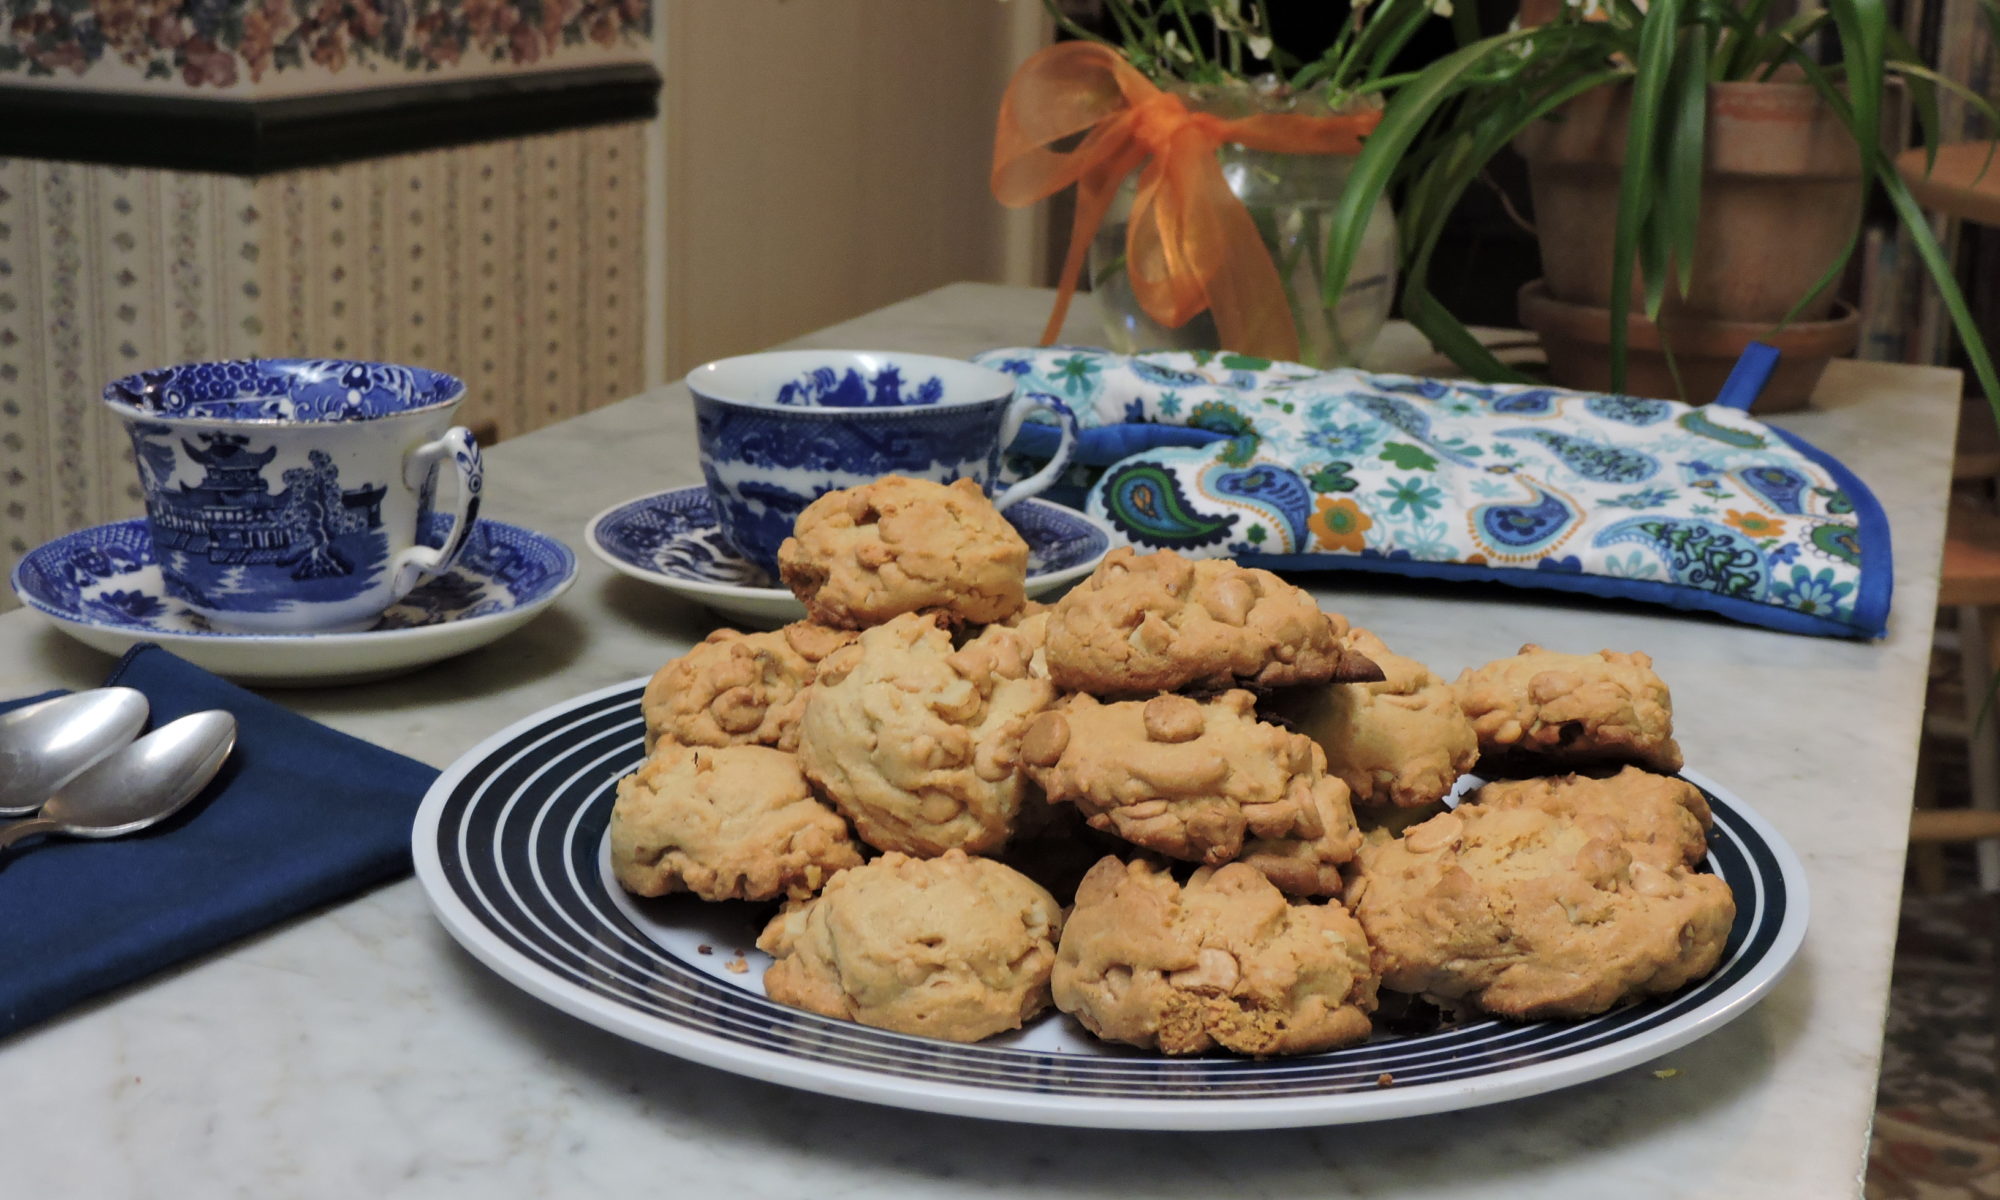
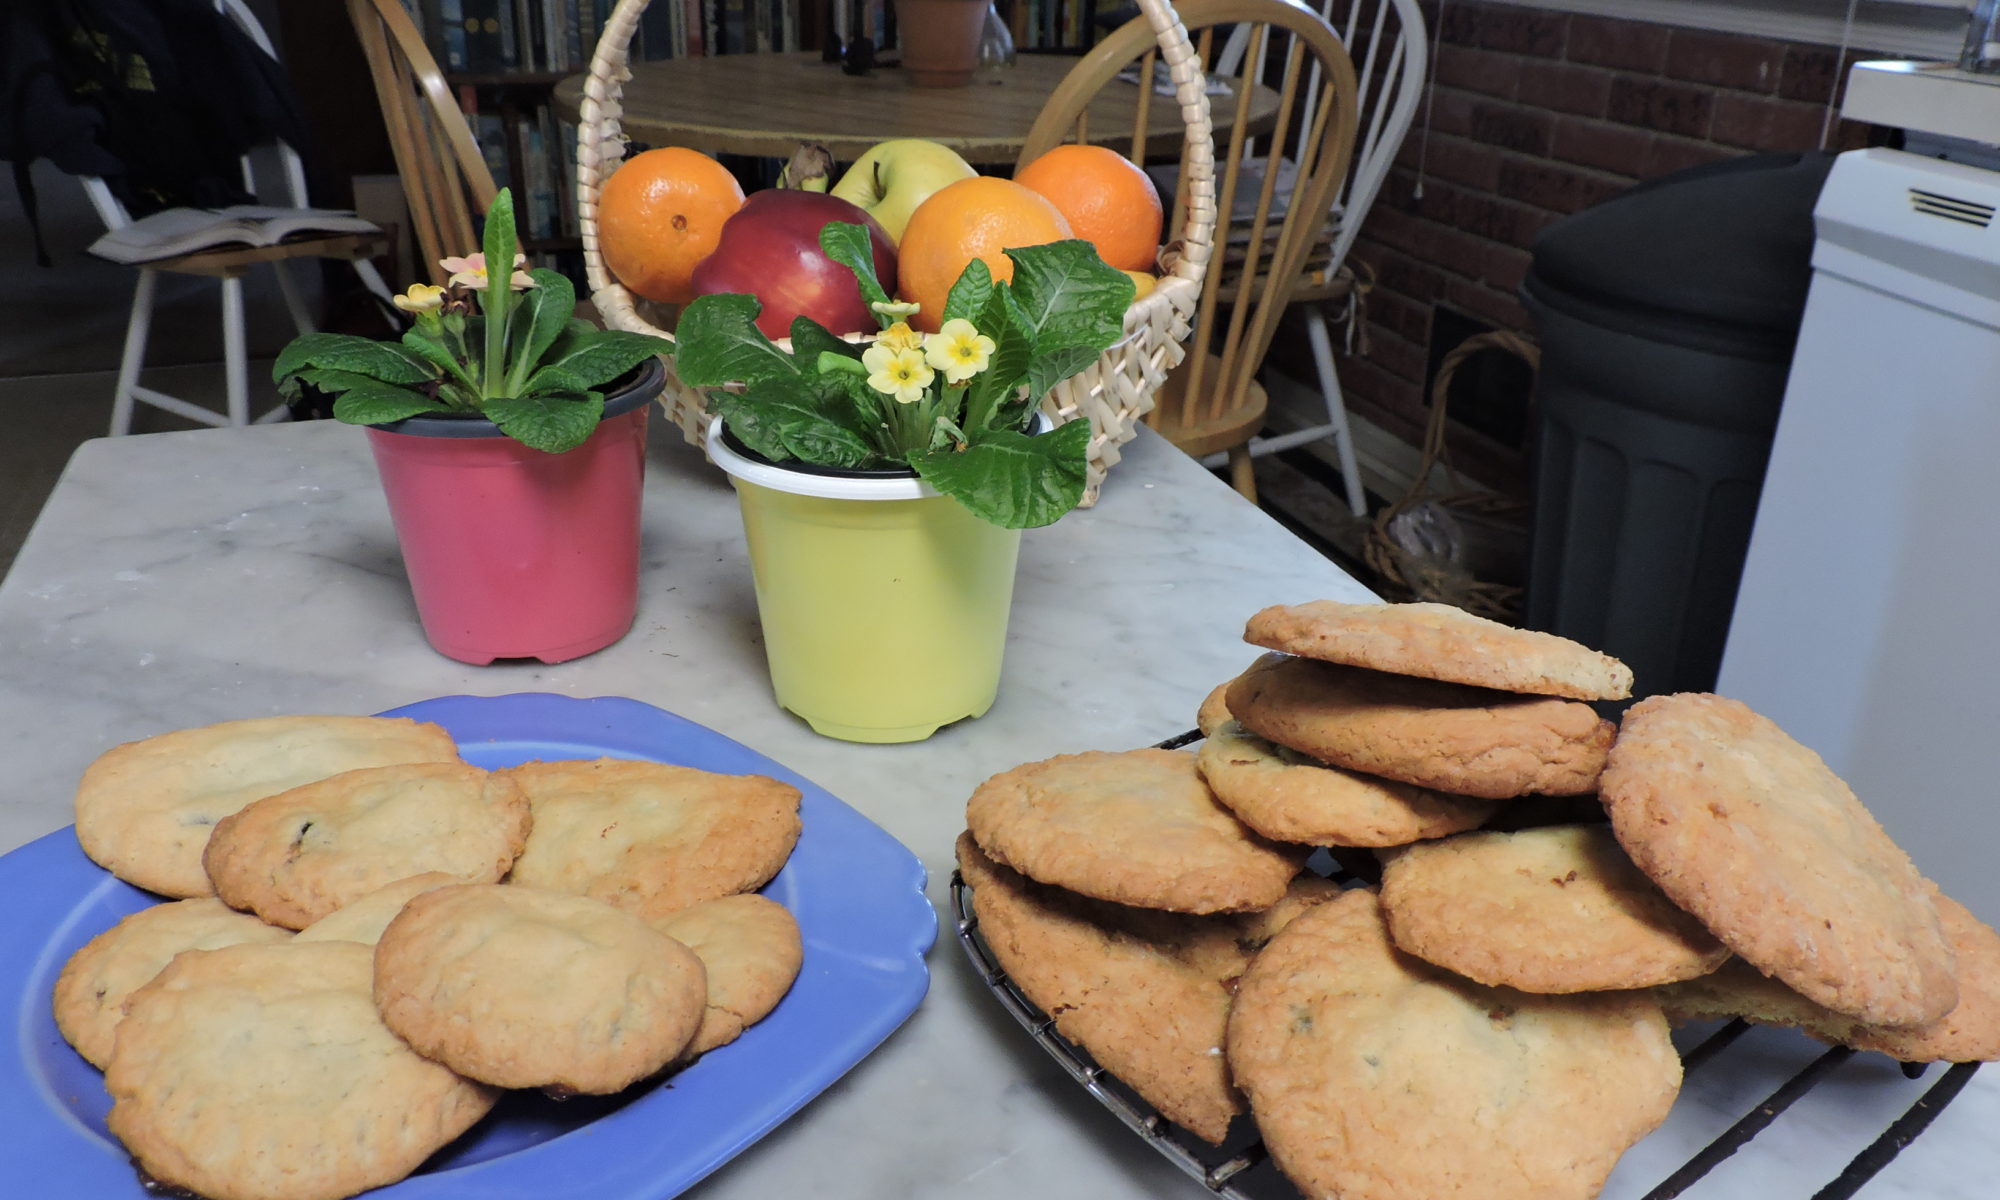
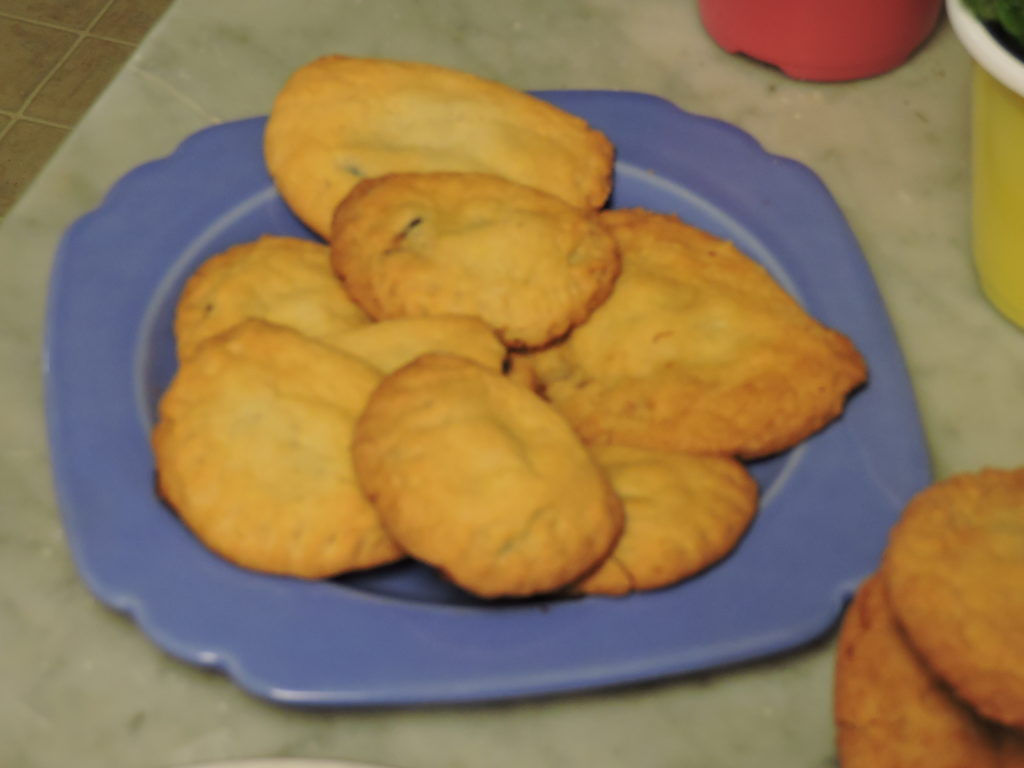
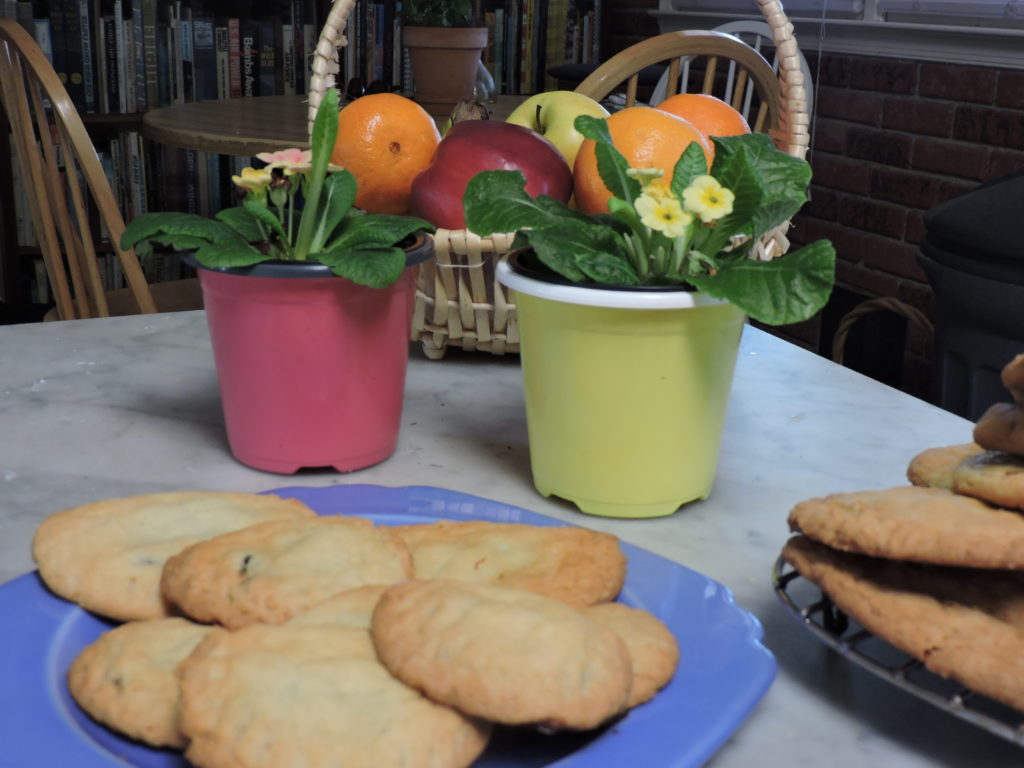
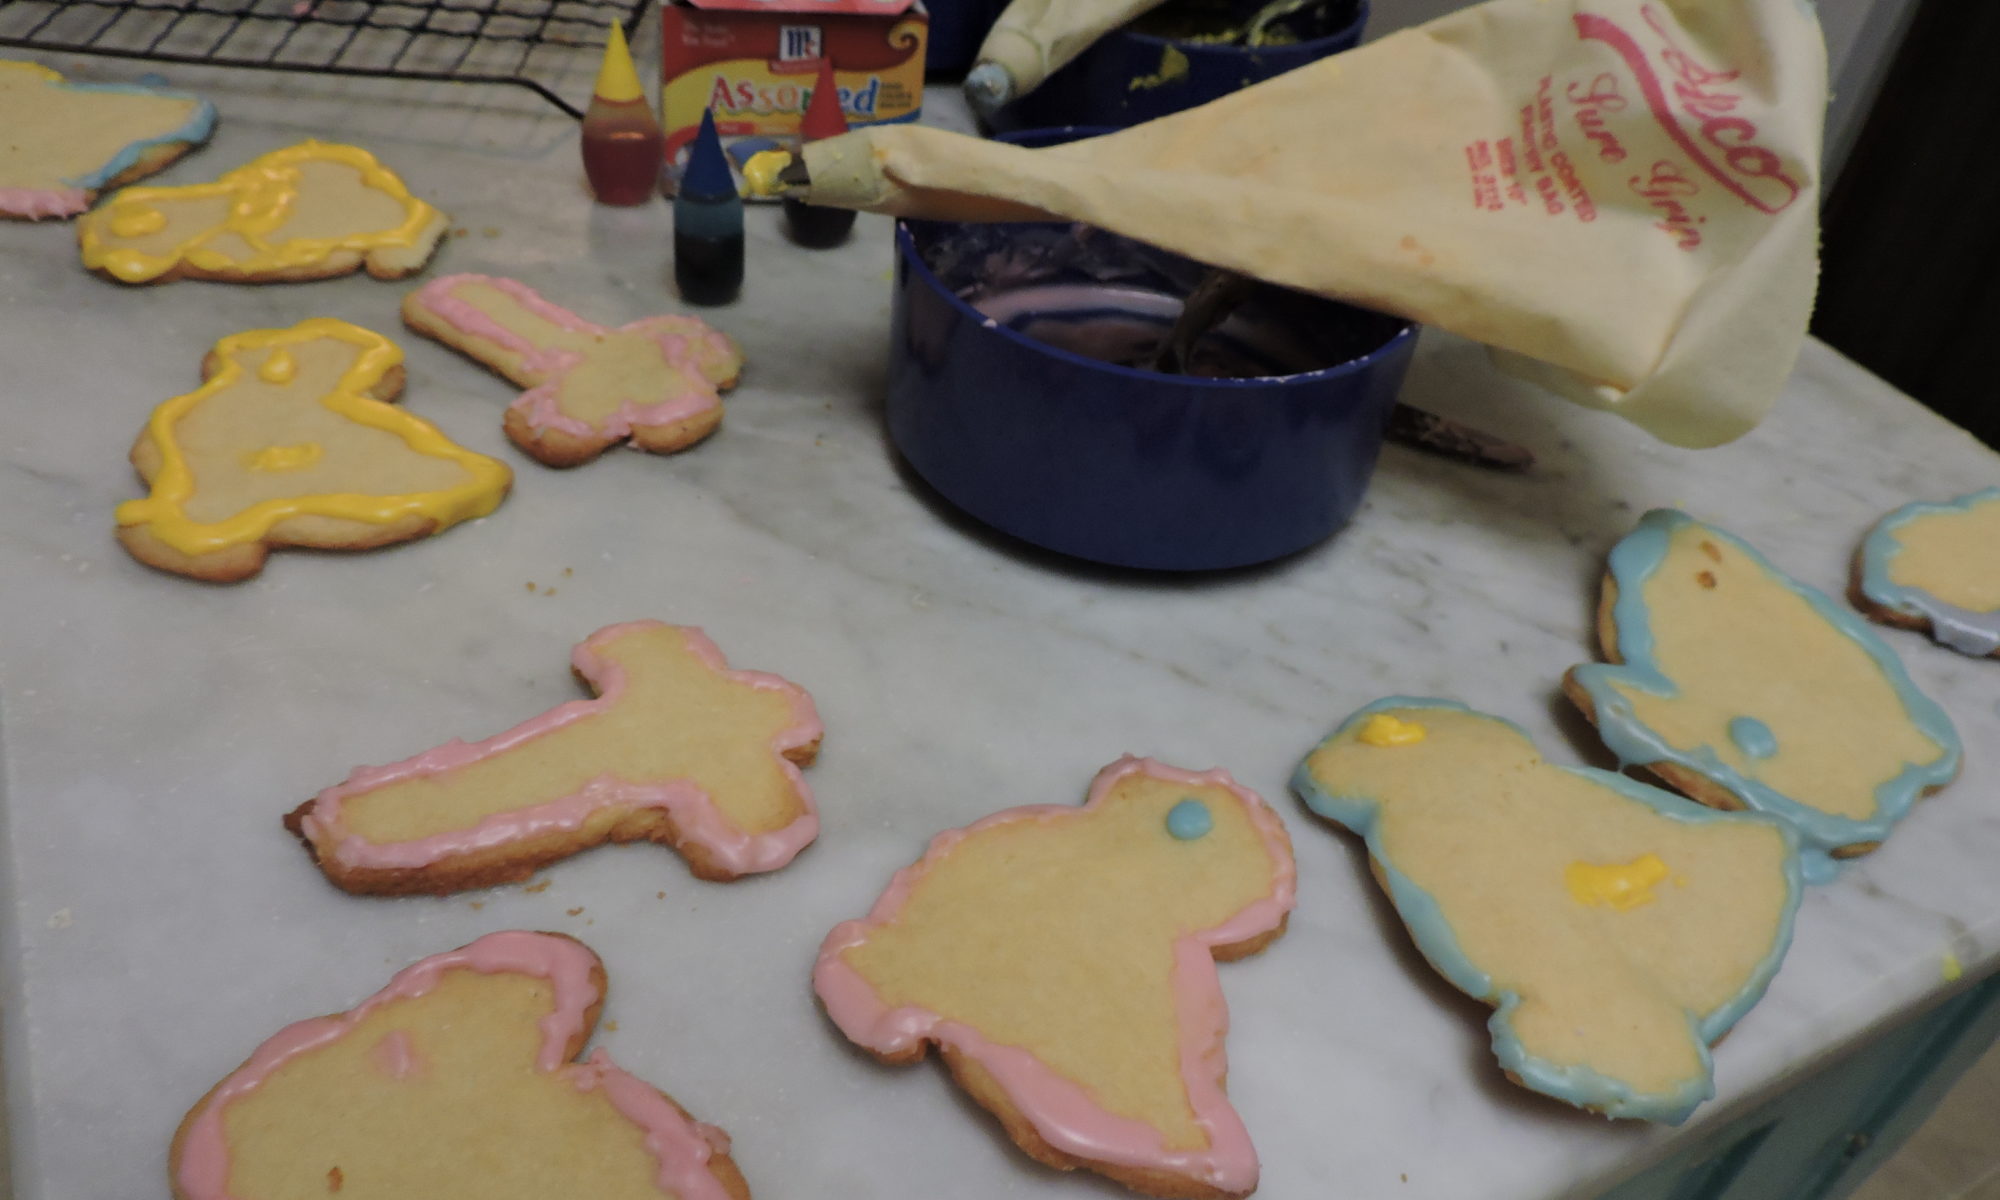
 The cookies are delicious plain but it’s more fun to decorate them. You can
 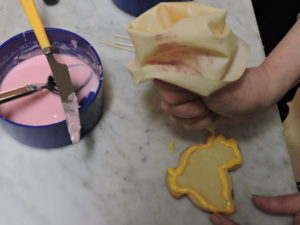 spread icing over the entire cookie or you can outline them.
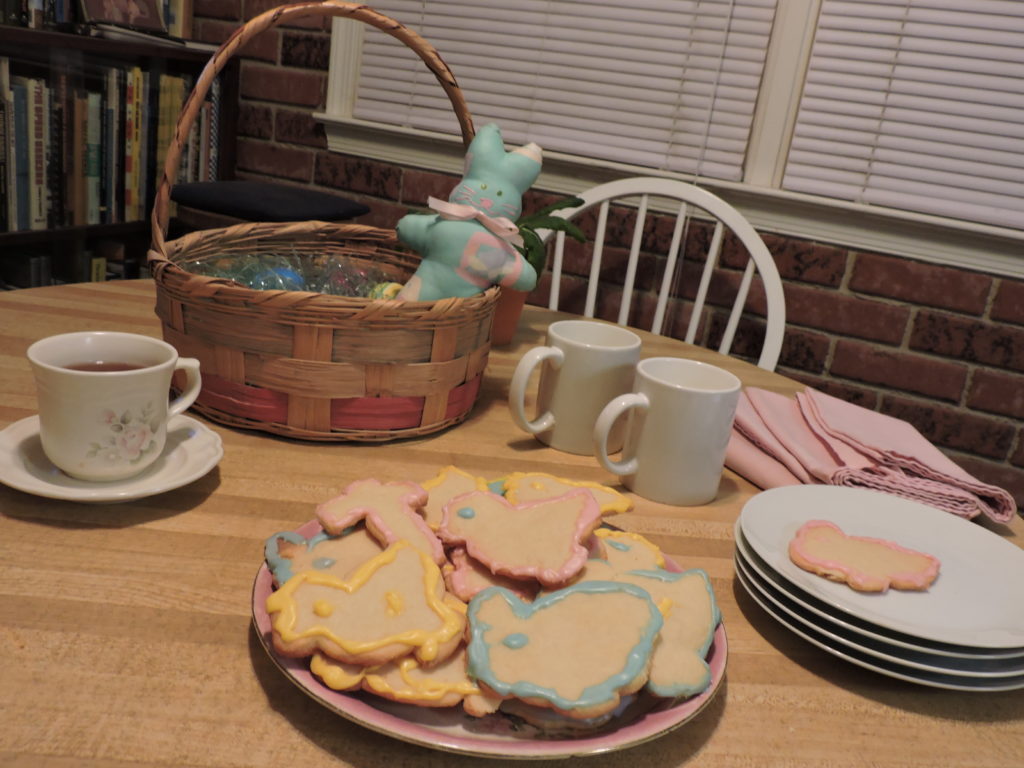
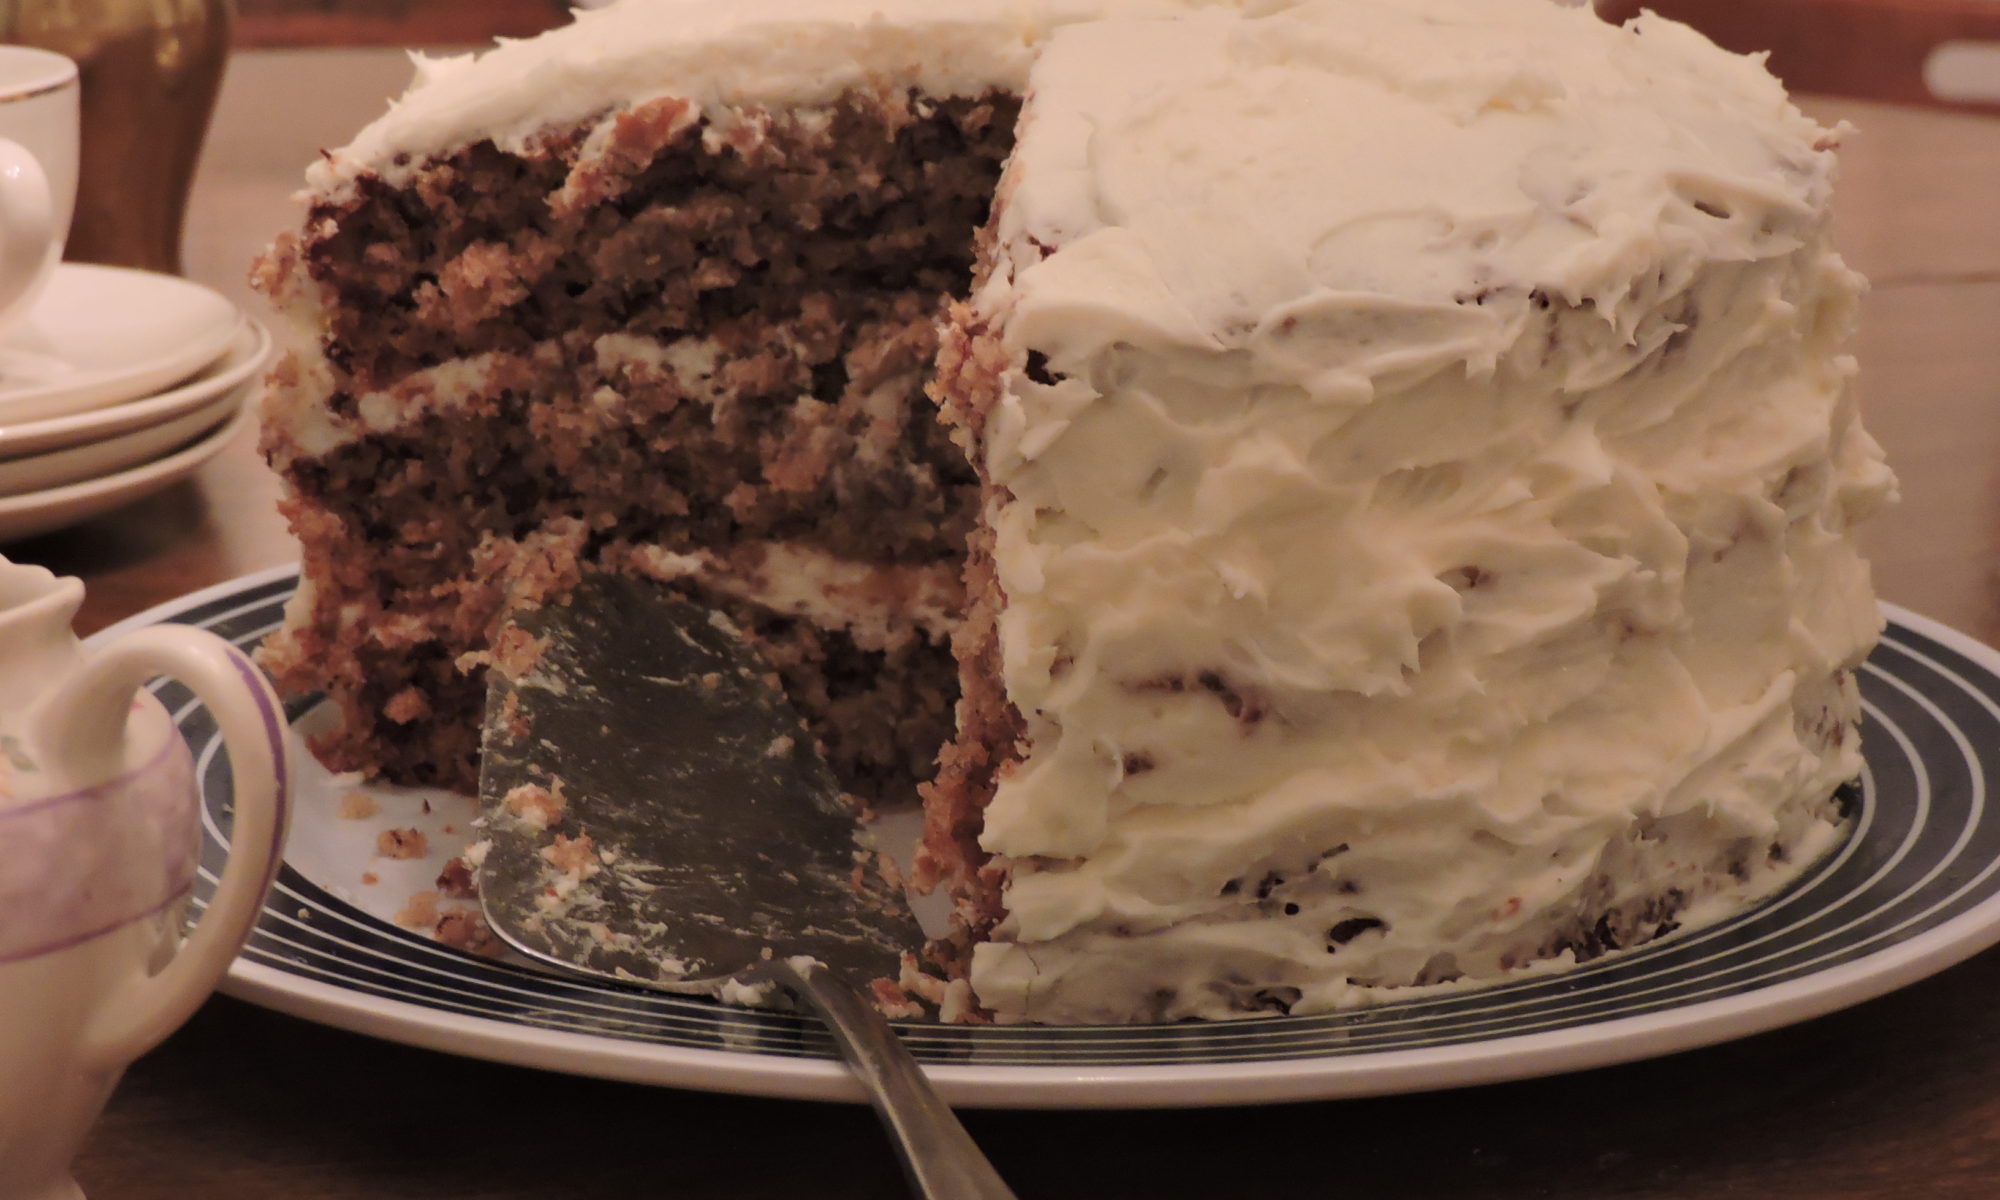

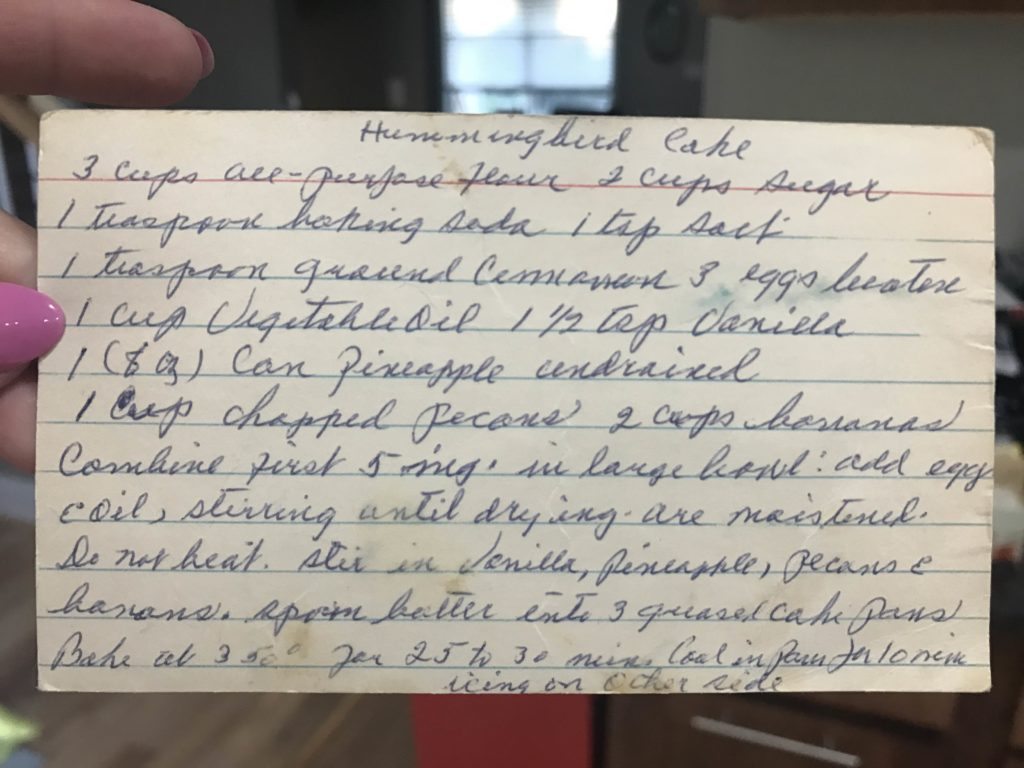
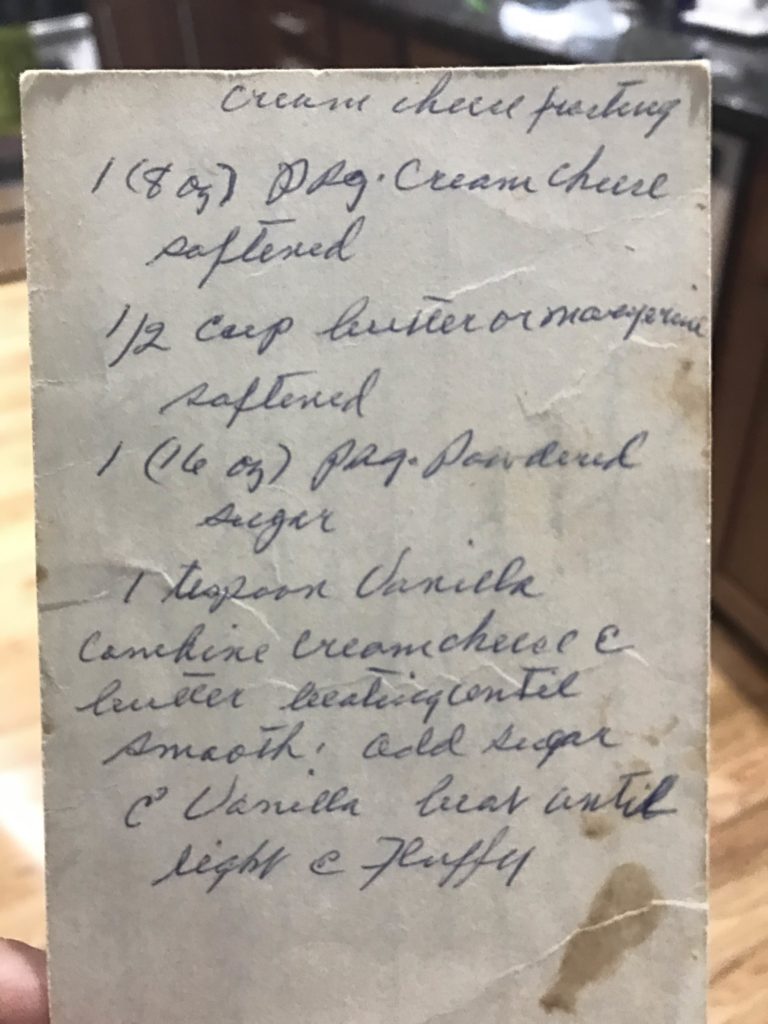


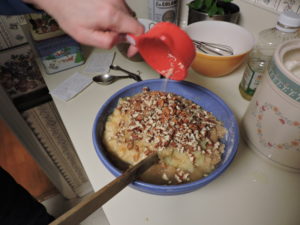
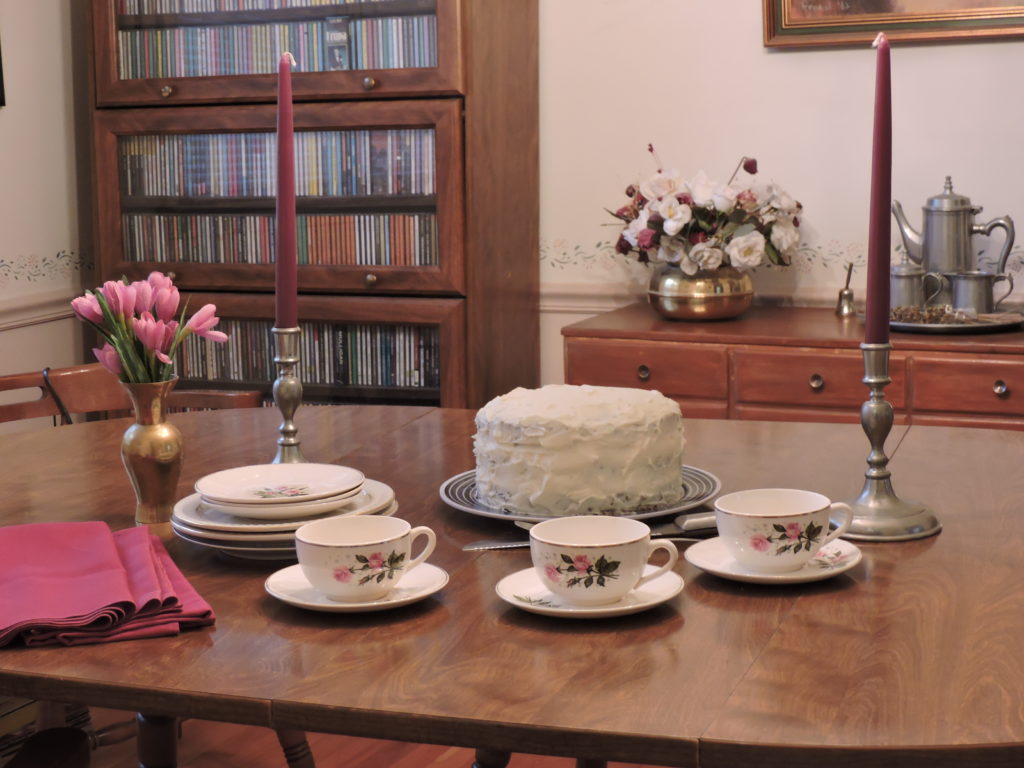
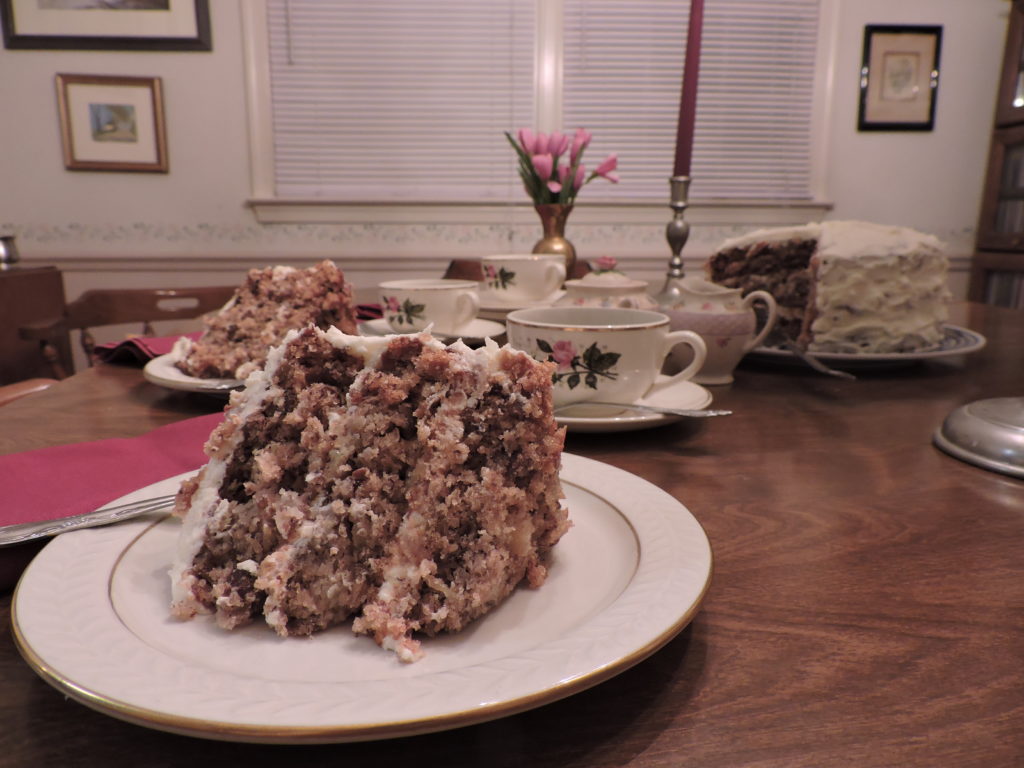
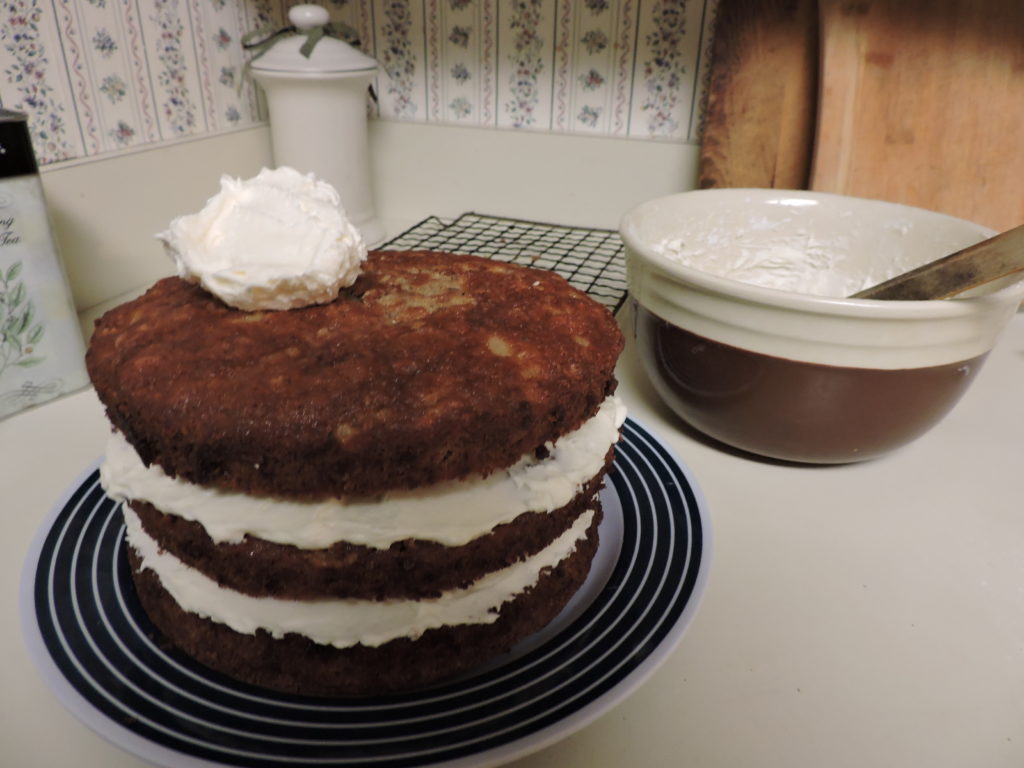 Then it was time to assemble and frost the layers. For the icing, I creamed together 1/2 cup of butter and 8 ounces of cream cheese, added one 16-ounce package of powdered sugar and 1 teaspoon of vanilla and beat till light and fluffy. I iced the first layer, set the second atop it, applied more icing and topped it with the final layer.