Baby chicks and bunnies arrived at Anne Arundel County Farm, Lawn and Garden Center and Homestead Gardens Severna Park this week, 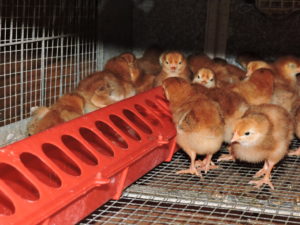 reminding me that it’s time to bake sugar cookies in the shape of springtime’s cutest critters.
I first baked my Critter Cookies to bring along to my parents’ annual Easter dinner as a gift. Much appreciated by the grandchildren, they became a tradition.
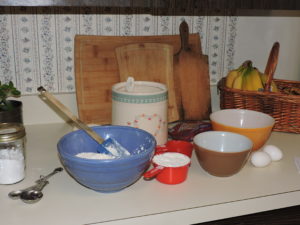
I’ve honored the tradition, making and rolling out cookie dough on the same marble topped cabinet my great-grandmother Kate Shipley used. Grandma Kate handed down the cherry wood cabinet to her grandson – my father, Sheldon Shipley Owings, Sr. Nowadays, it resides in my kitchen.
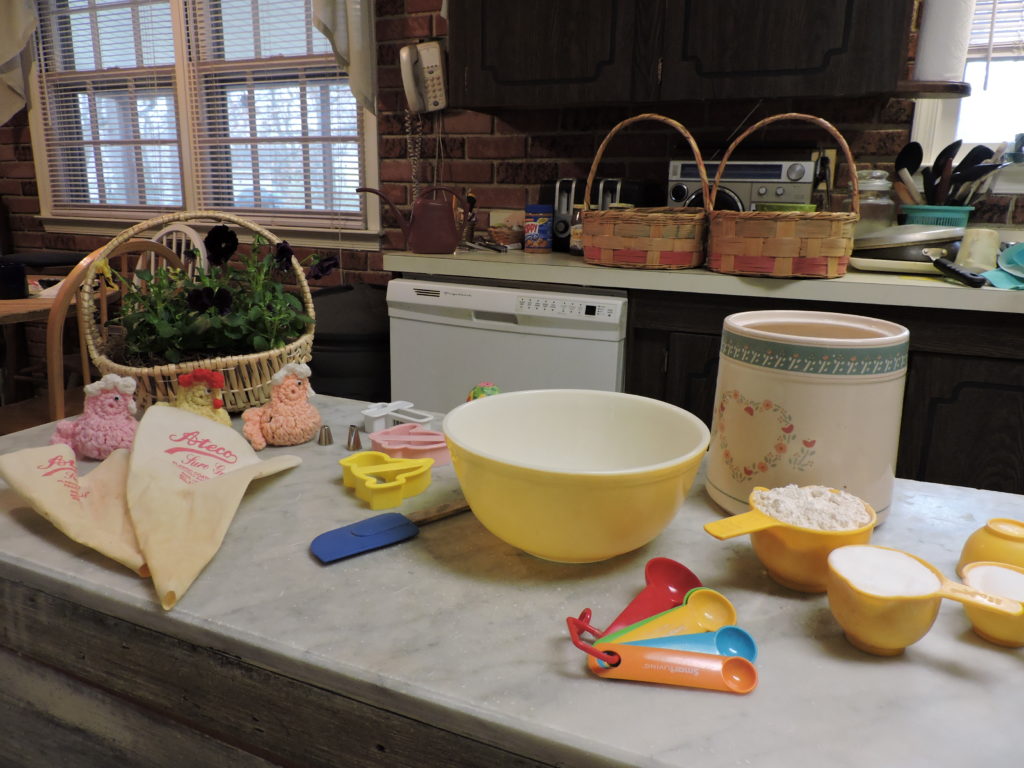
It’s great fun to recruit kids to help cut out and decorate these cookies once you’ve assembled the ingredients and made the dough. You’ll need cookie cutters (I use chickens, bunnies and Easter Crosses) and a lightly greased cookie sheet or two.
Easter Critter Cookies from Sharon Lee’s Table
I slightly altered this decade-old recipe I found in an issue of Country Living Magazine and sometimes half the recipe which works equally well.
- 1 cup unsalted butter – room temperature
- 1-1/2 cups sugar
- 2 eggs
- 2 teaspoons vanilla
- 3 cups all purpose or… I prefer unbleached flour
- 1 teaspoon baking powder
- 1/4 teaspoon salt
For Icing
- 1/4 cup unsalted butter, softened
- 1 pound confectioners’ sugar sifted
- 1 tablespoon vanilla
- Milk
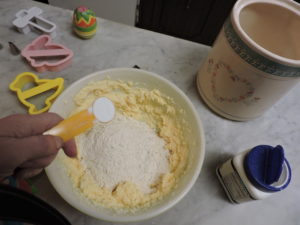
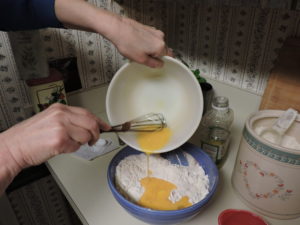
Cream the butter and sugar together until the mixture is light and fluffy. Beat in the eggs one at a time and add vanilla.
Sift together the flour, baking powder and salt and fold them into the mixture.
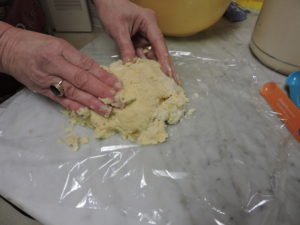
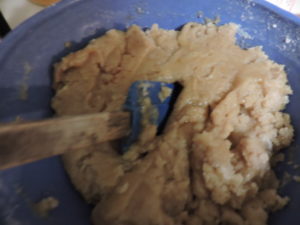
Then remove the dough and, with floured fingers, lightly form it into a ball and wrap it in plastic wrap. You’ll need to chill the dough for at least 3 hours or leave it overnight.
Retrieve and divide the dough into sections for rolling out on a 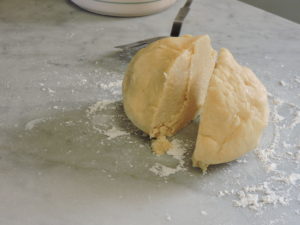 lightly floured surface.
Roll it out in a circle to 1/4 inch thickness and cut out shapes with your cookie cutters.
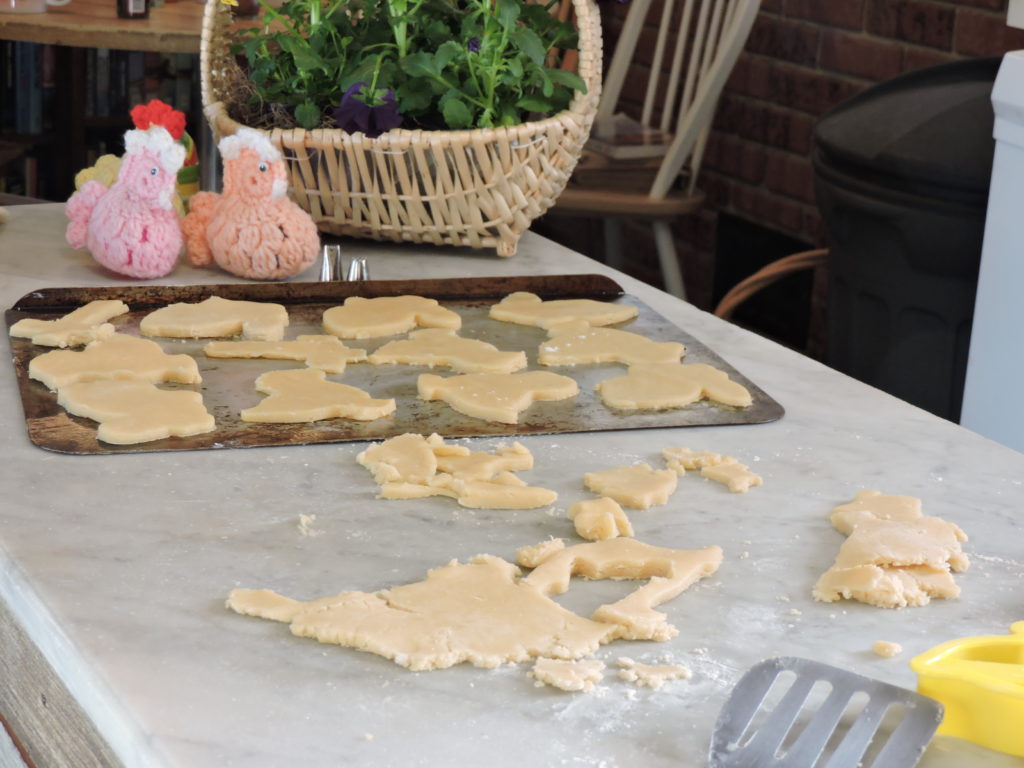
You should be able to cut out four dozen shapes.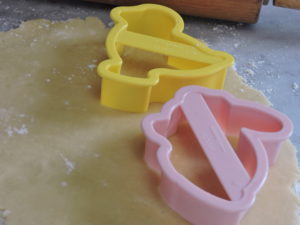 Arrange them on a lightly greased cookie sheet or two (I prefer my time-worn sheets that aren’t pretty but bake evenly.)
Place in a 350 degree oven for 8 minutes or until cookies are just golden.
 Cool on a rack and prepare icing. Divide into as many bowls as you like and add food coloring.
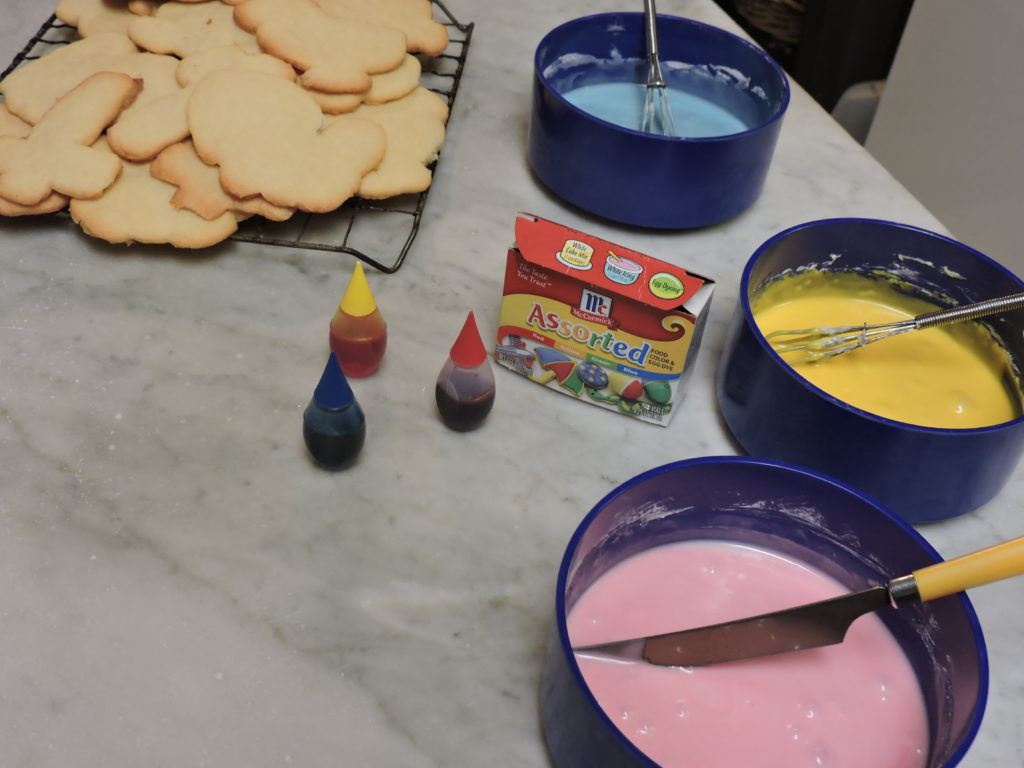
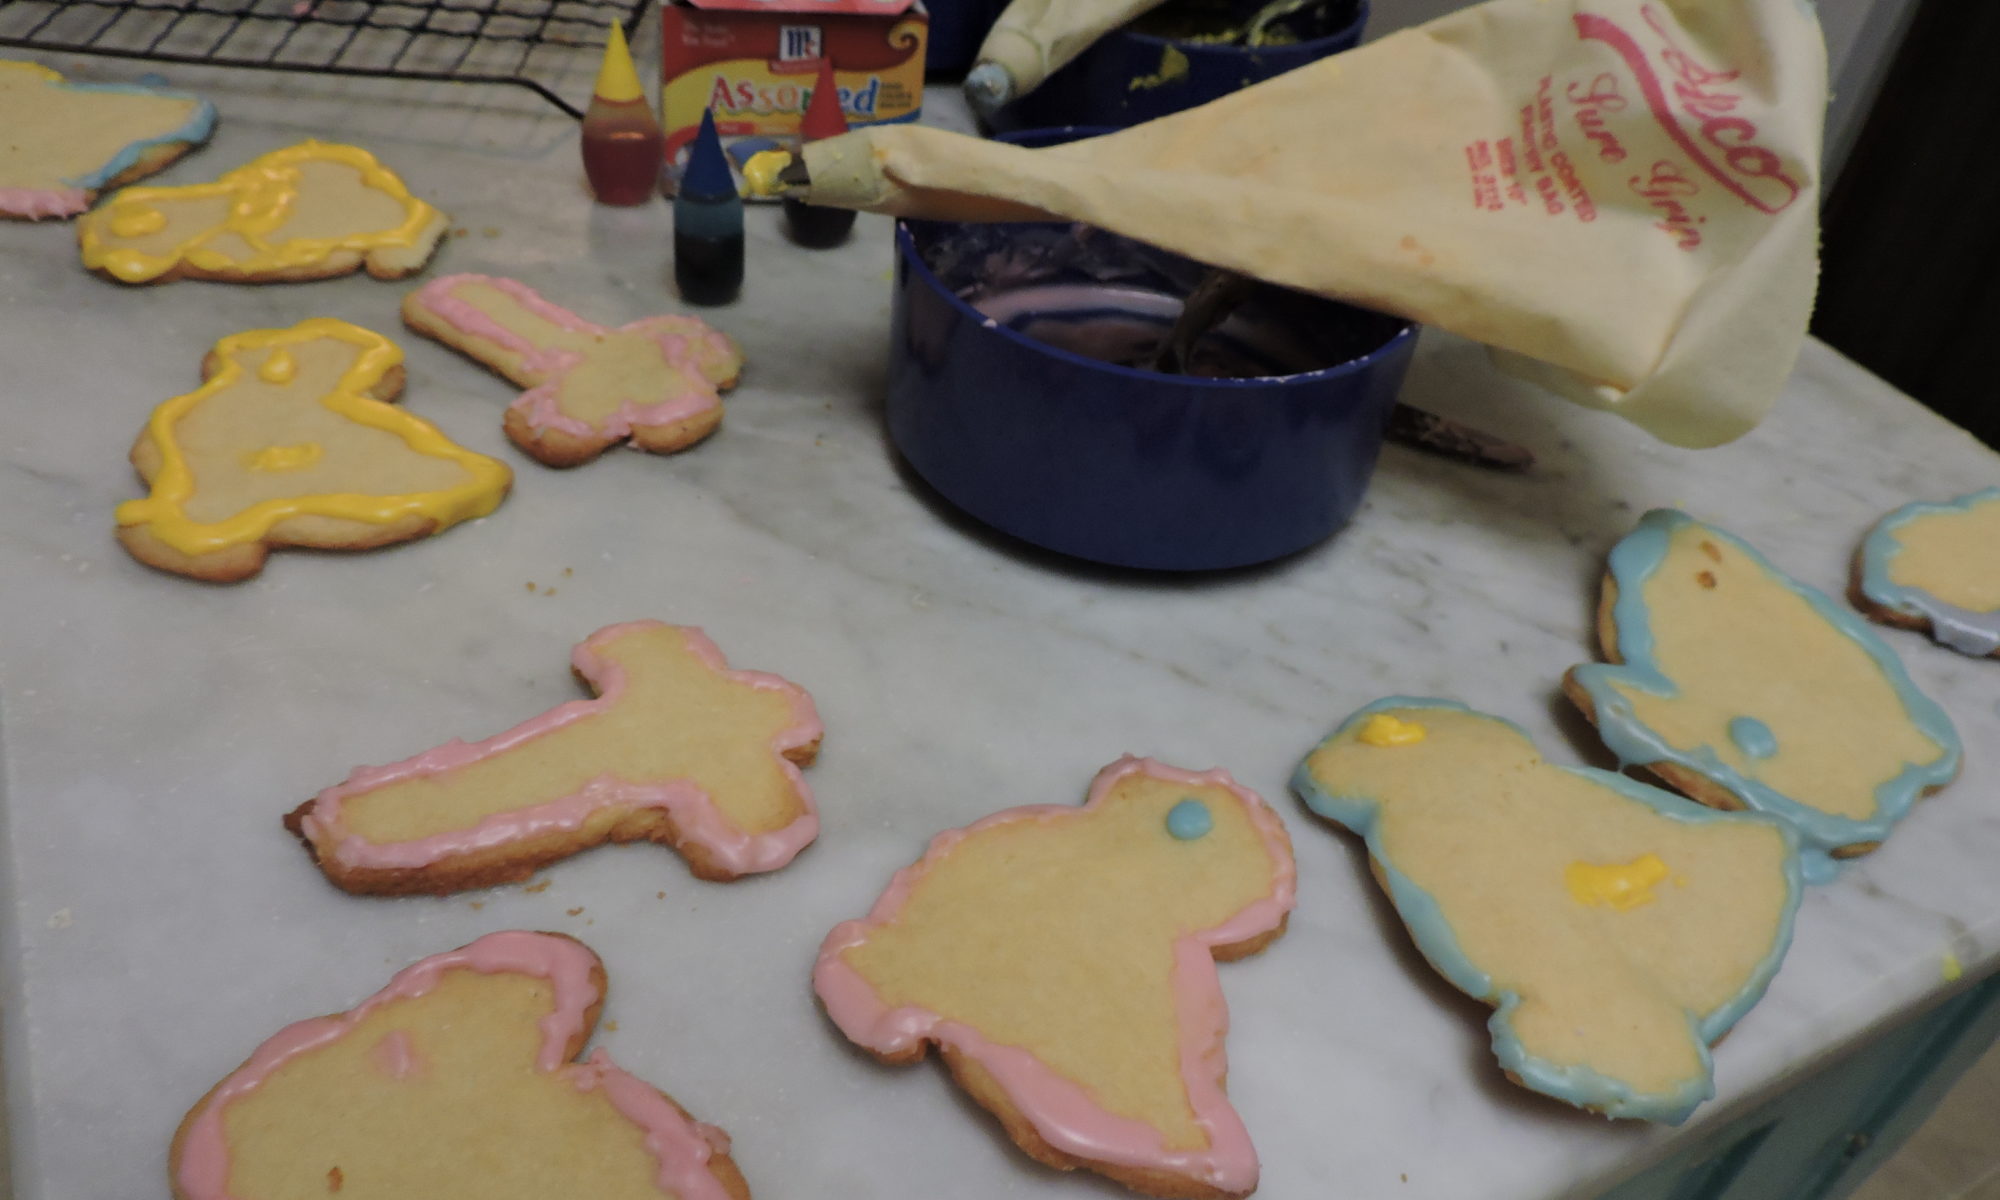
Spoon icing into pastry bags using your favorite tips. (I’m partial to ones that allow for plain piping.)
 The cookies are delicious plain but it’s more fun to decorate them. You can
 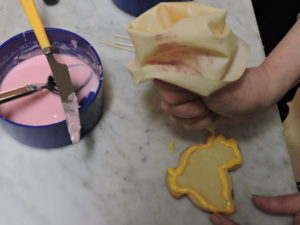 spread icing over the entire cookie or you can outline them.
Add character by piping on eyes, wings or bunny tails… even dots or stripes.
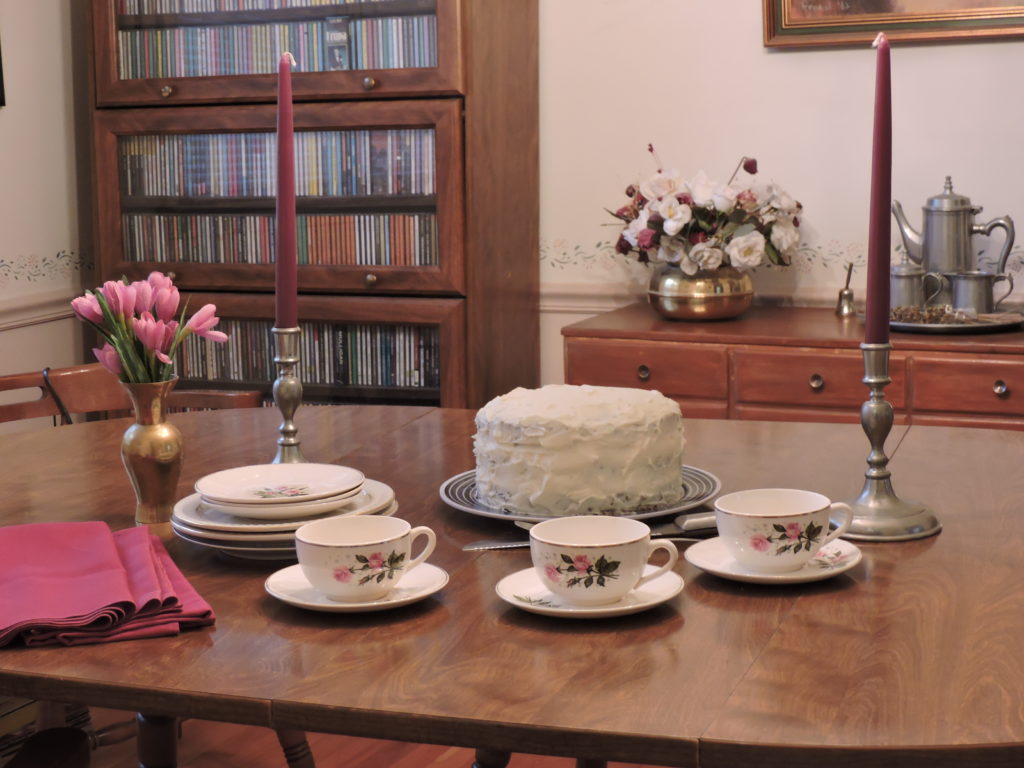
You’ll have lots of yummy cookies to plate for a gift or for your Easter table….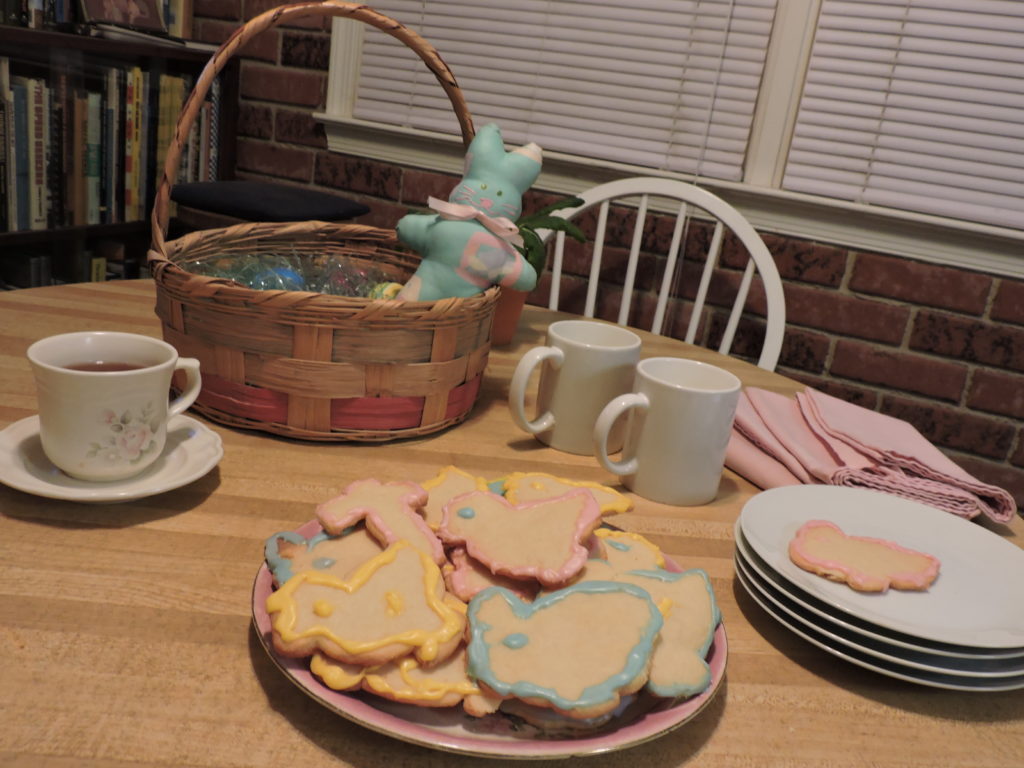
along with a bowl of dyed Easter Eggs.
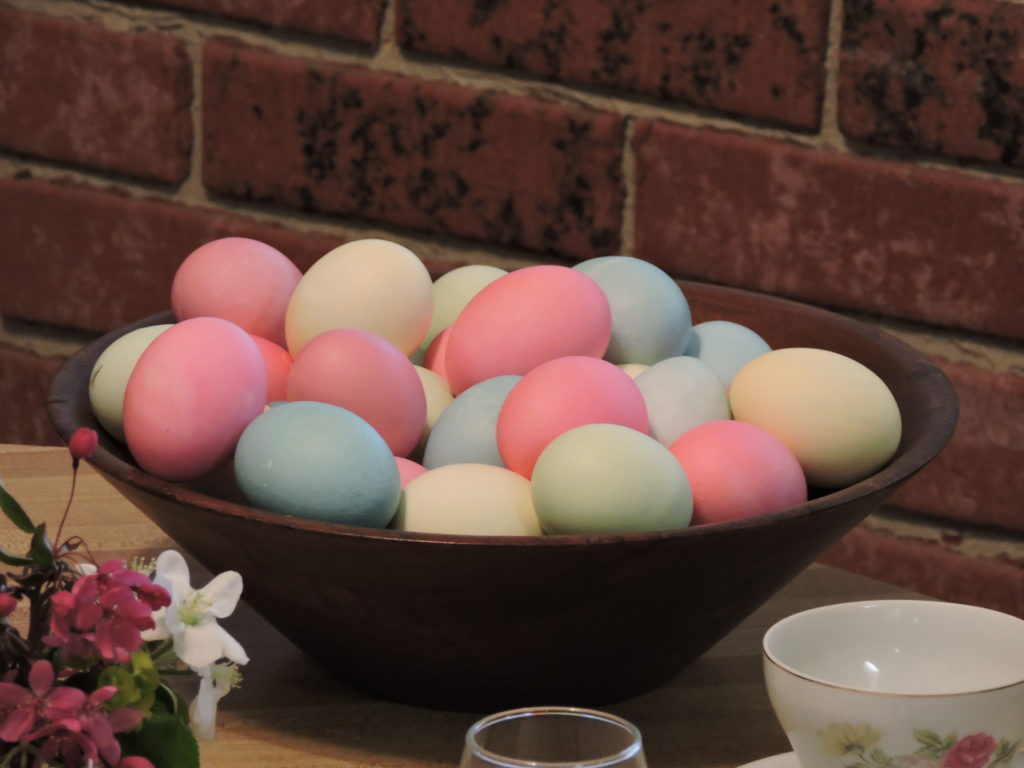
(See “Easter Eggs The Easy Way” under the Seasonal Category or Archives for April 10, 2017.)
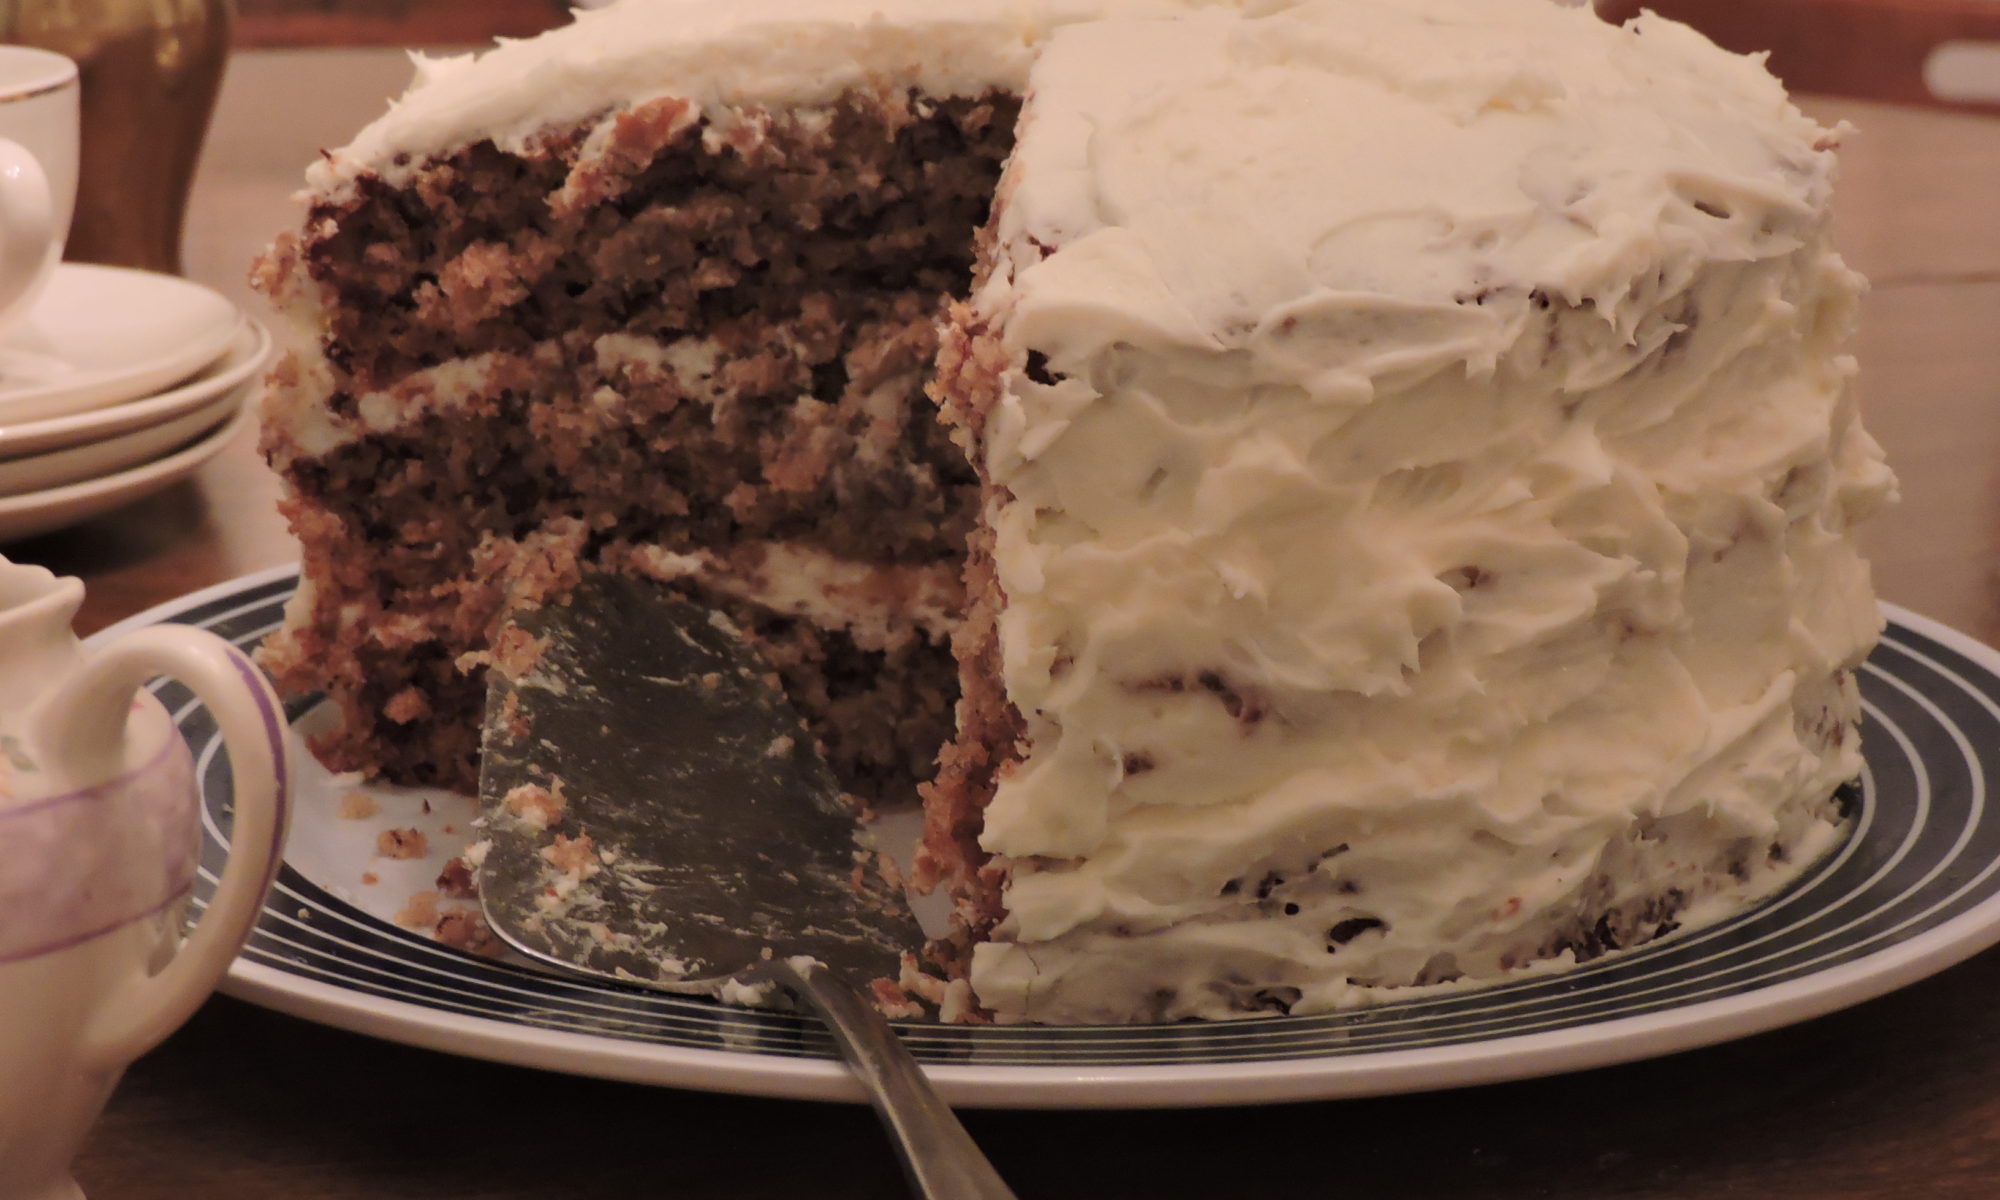
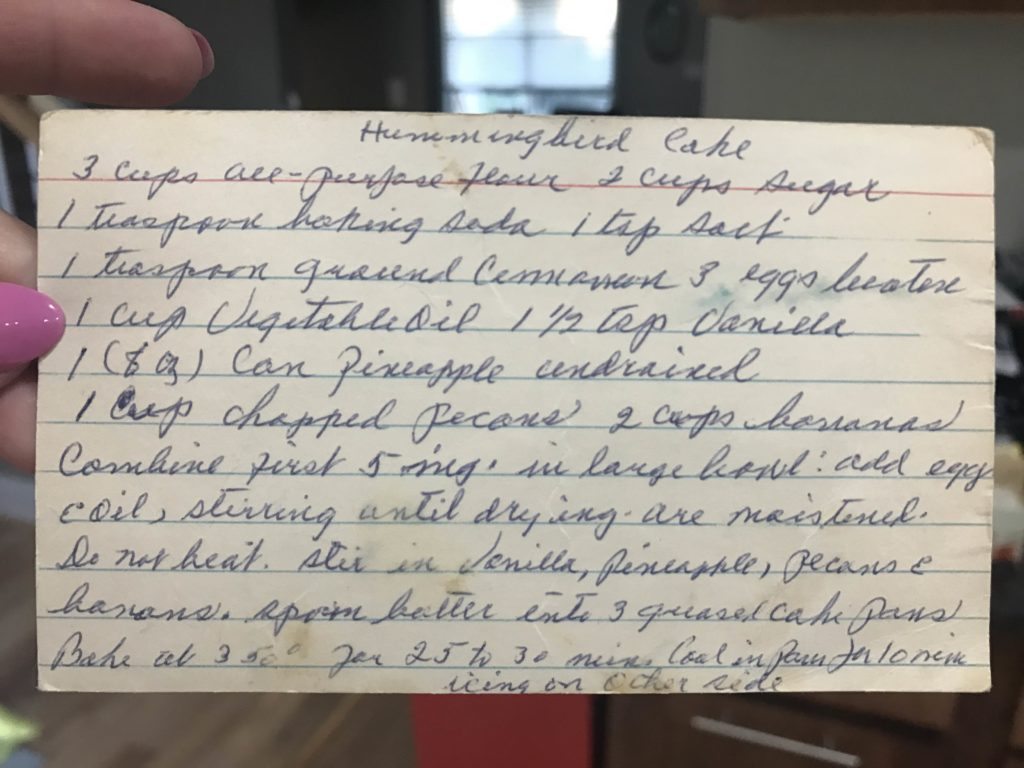
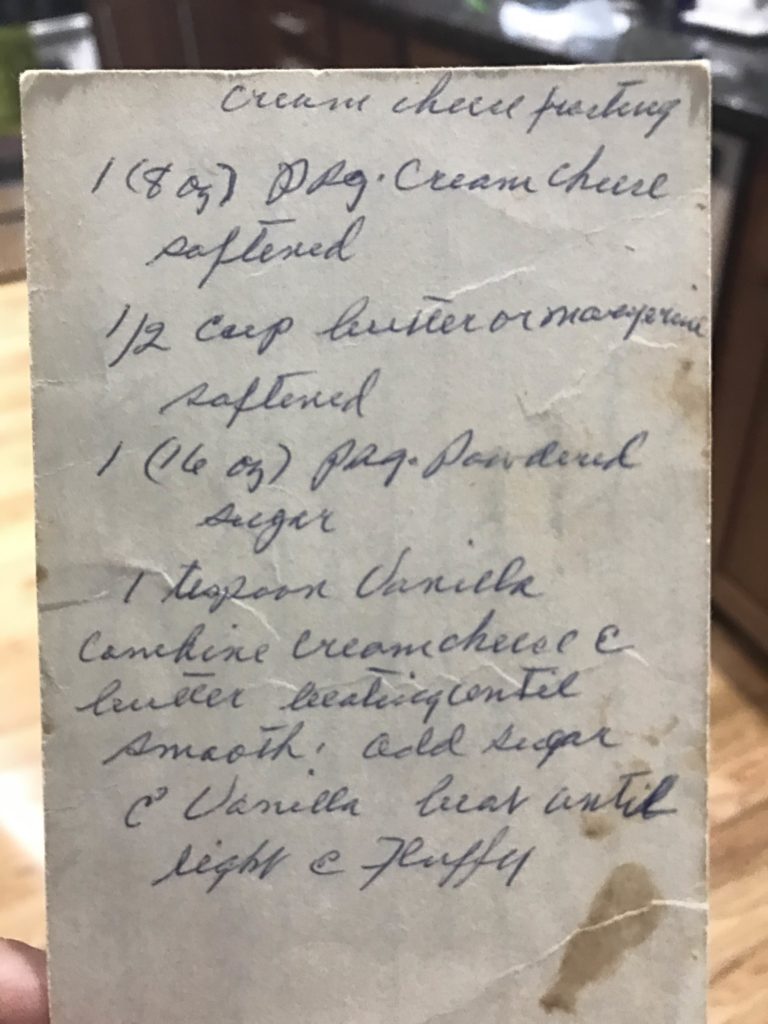


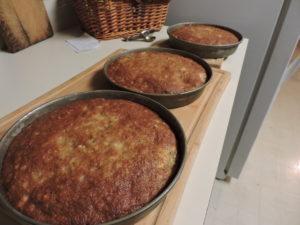
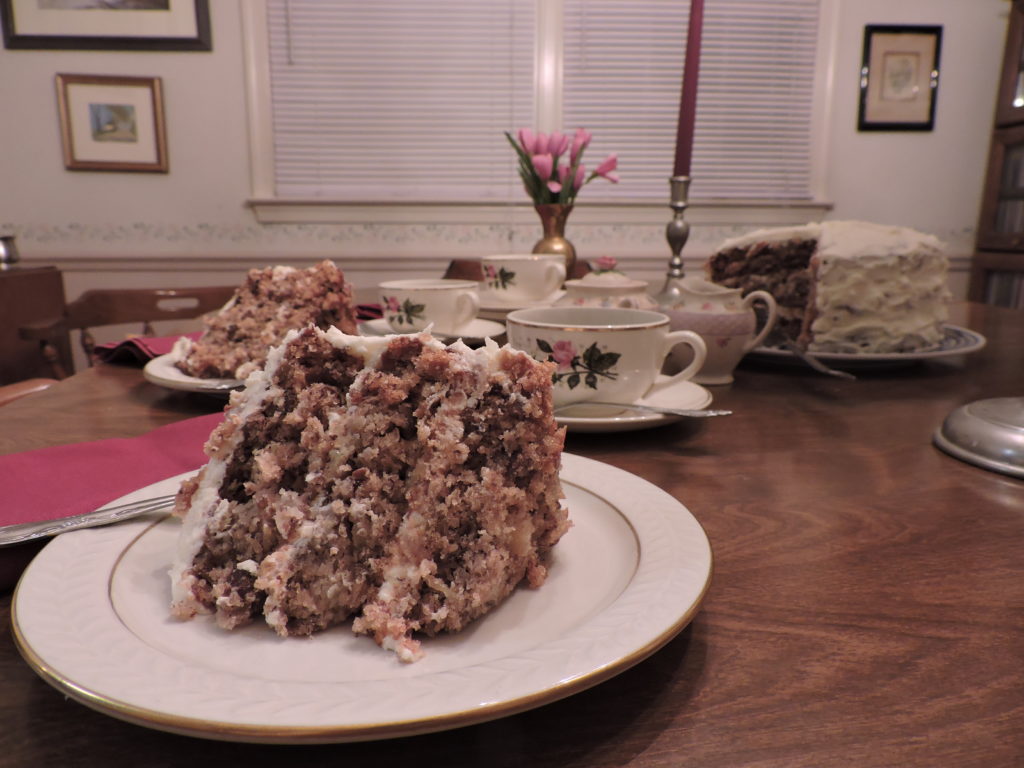
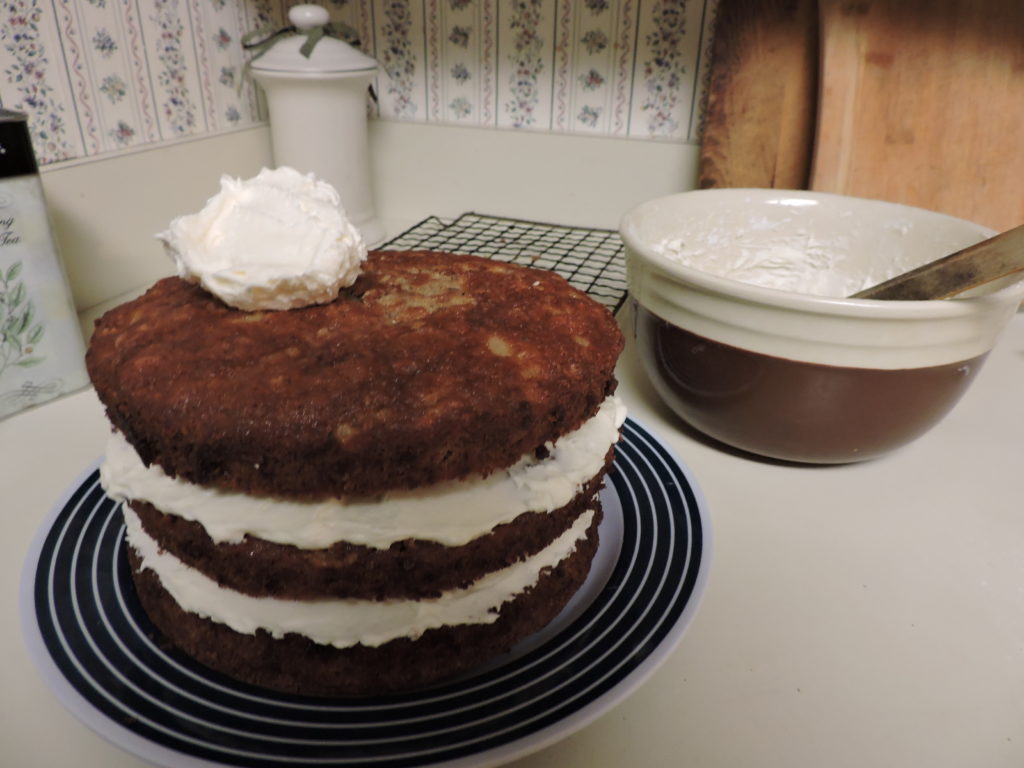 Then it was time to assemble and frost the layers. For the icing, I creamed together 1/2 cup of butter and 8 ounces of cream cheese, added one 16-ounce package of powdered sugar and 1 teaspoon of vanilla and beat till light and fluffy. I iced the first layer, set the second atop it, applied more icing and topped it with the final layer.