AROUND THE PARK AGAIN By Sharon Lee Tegler
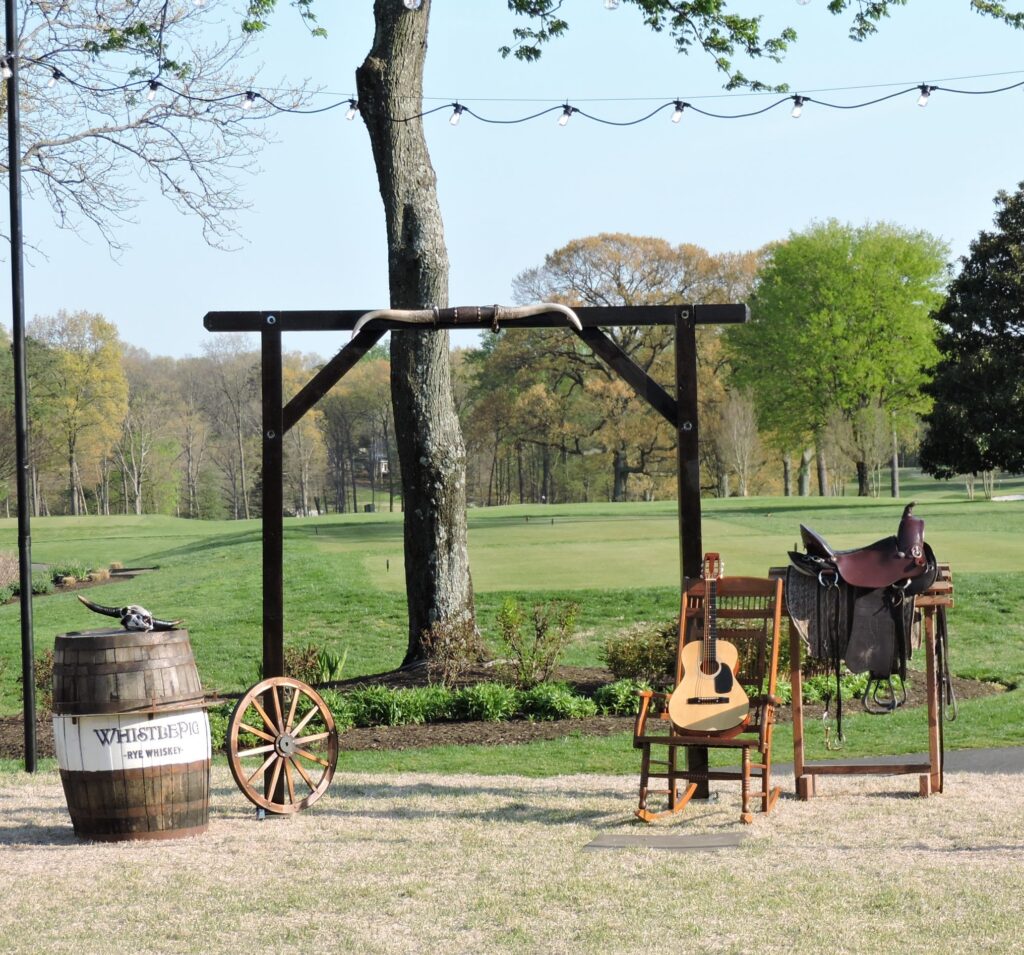
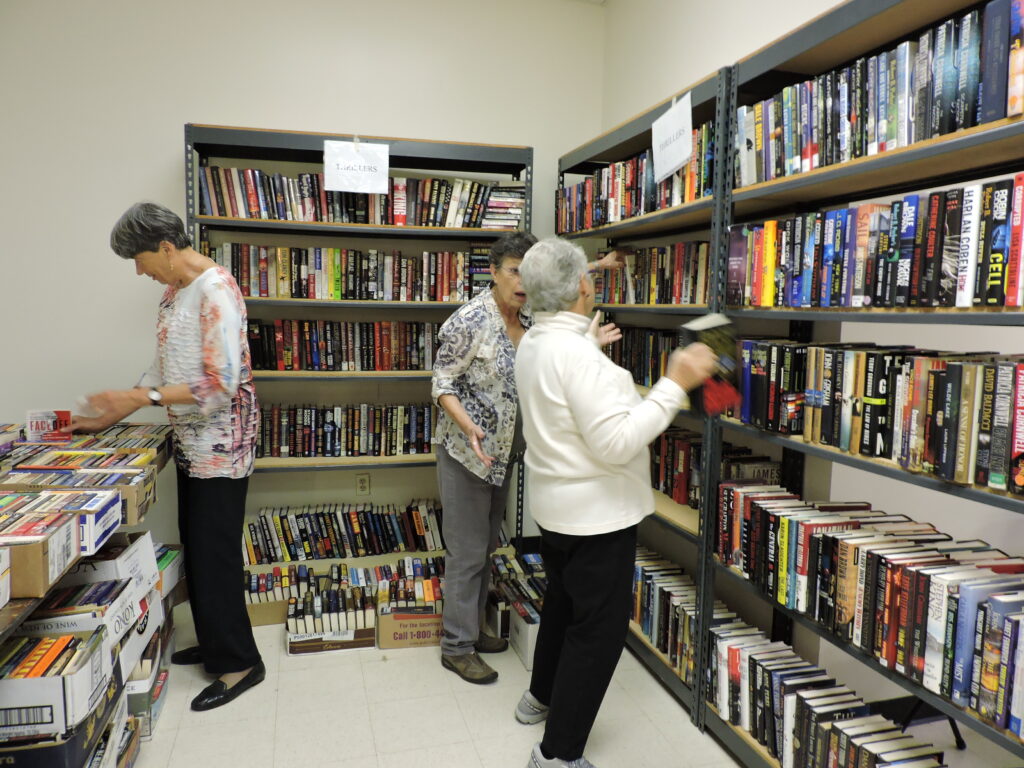
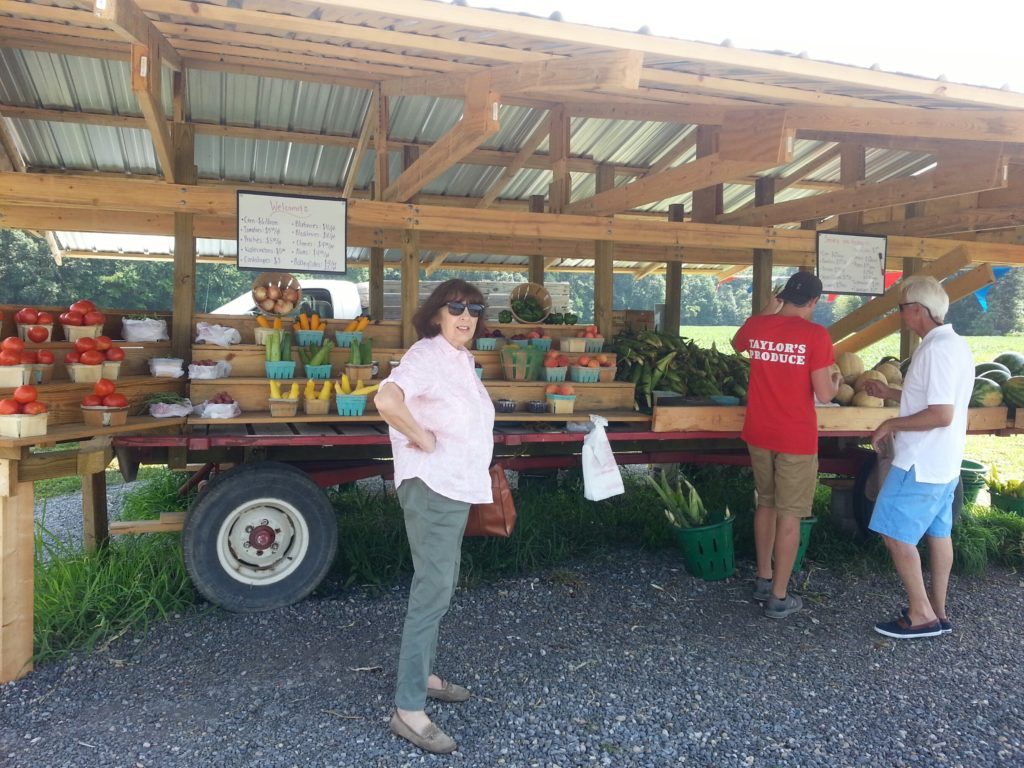
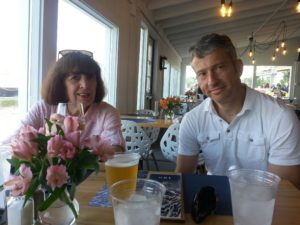
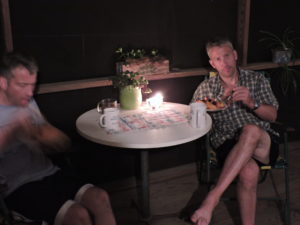
Even as last-minute touches were being added to the country/western decor, guests arriving early at Chartwell Golf & Country Club for Severna Park Community Center’s “Boots & Black Tie Gala” were rarin’ to go. A bevy of beauties comprised of SPCC Dance Center instructors Kellie Greer, Beth Fox, Bayley Taylor, Kirstin Weichert, and Barbara Wayson (seen above) spied the rustic arch loaned to SPCC by Maryland Therapeutic Riding and headed there to pose for a pre-Gala picture. They’d appear in an official capacity later.
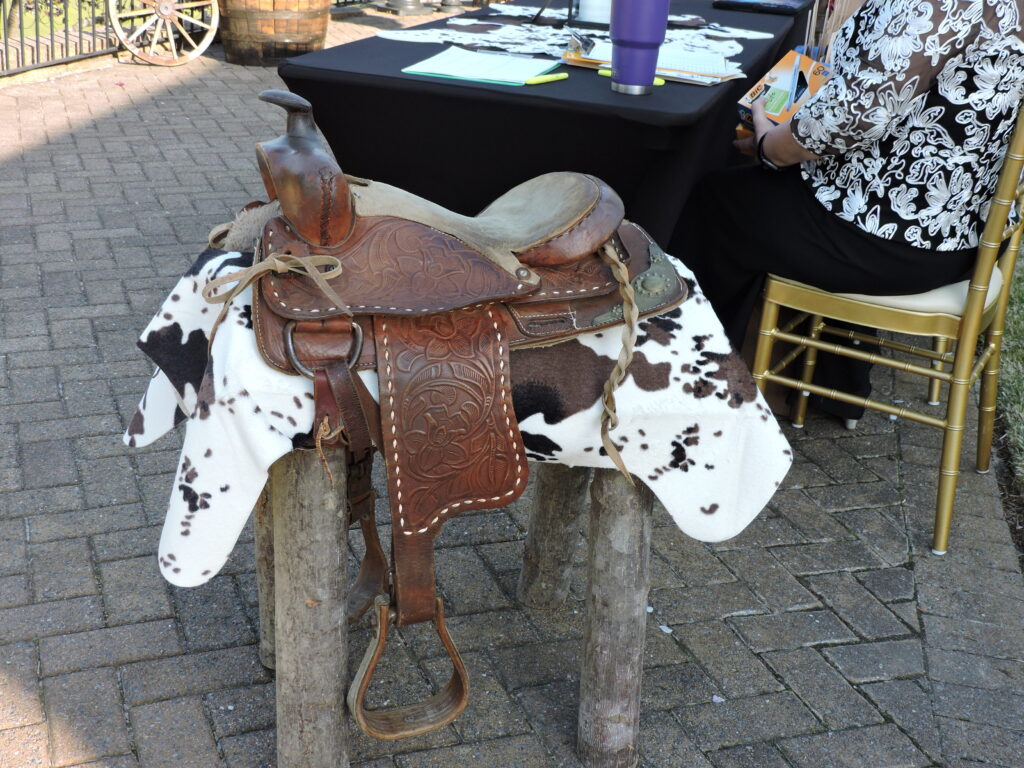
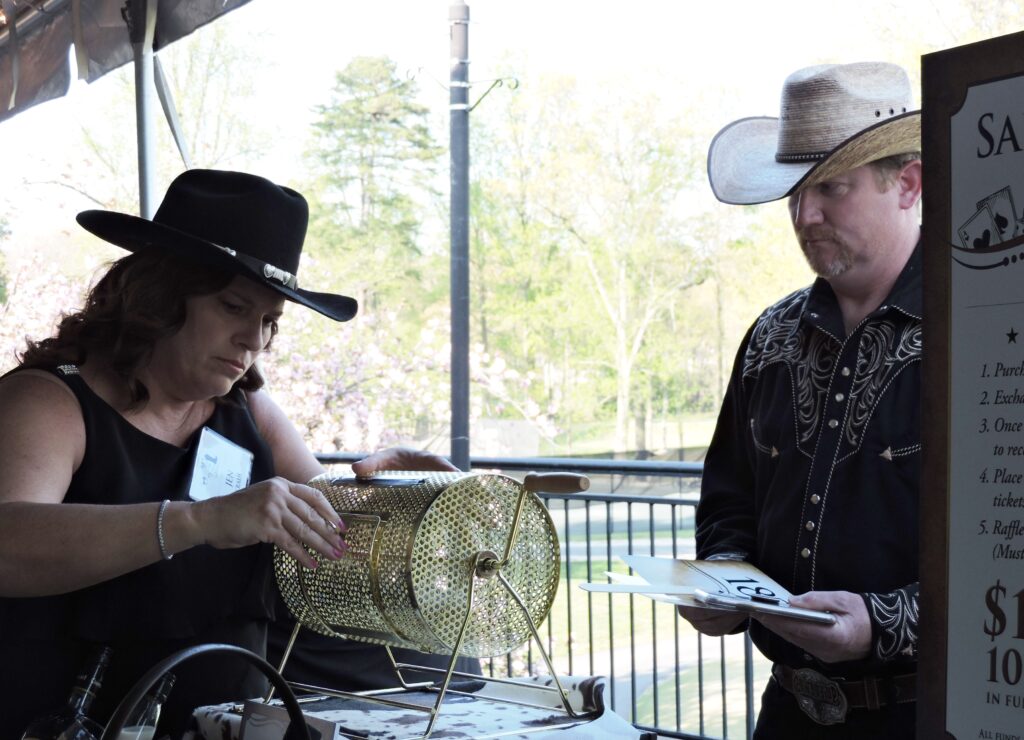
Decked out in western finery, Gala committee member Jennifer Lee Kraus and husband Tim paused on arrival to admire the handsome saddle also on loan from Maryland Therapeutic Riding. Then they slipped past the entrance to put finishing touches on the Saloon Games spread throughout the patio including a raffle, three casino tables, a bourbon-tasting bar, a regular bar and more.
Jennifer Lee, the owner of SPCC-based Theater In The Park, used her creative talents to fashion silhouettes of Western dancers for the walls of the Chartwell ballroom and cowhides for the tables. Tim pitched in to craft the rustic wooden stands that held floral centerpieces donated by Severna Park Flowers and Gifts.
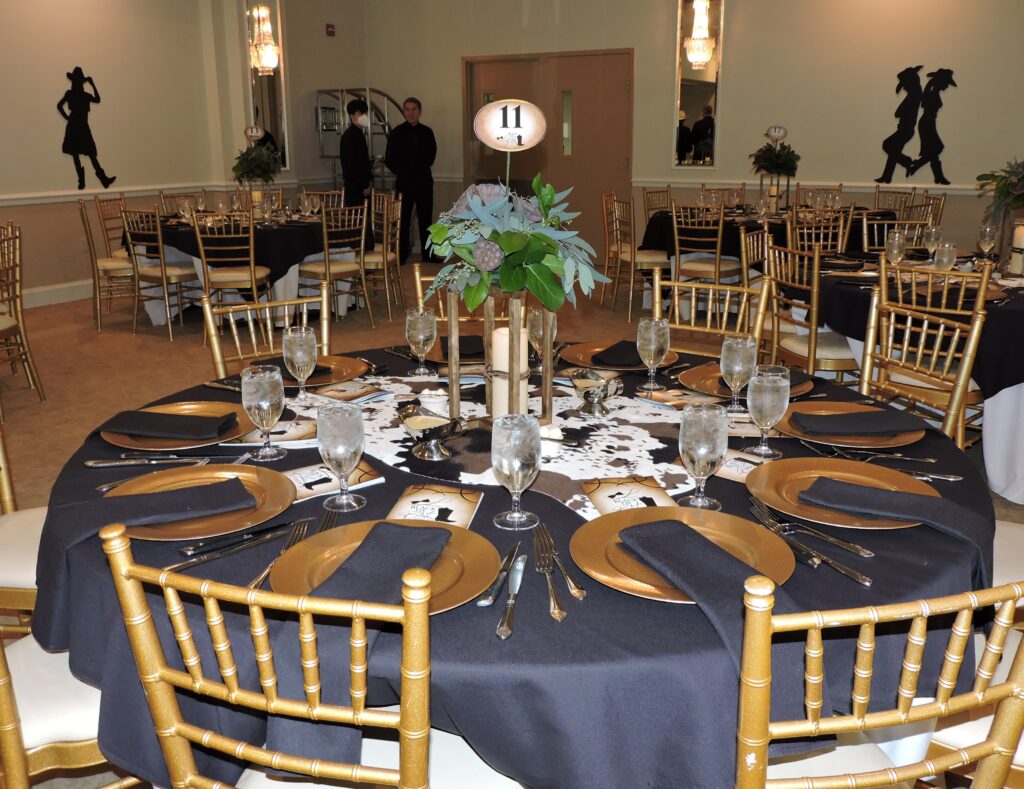
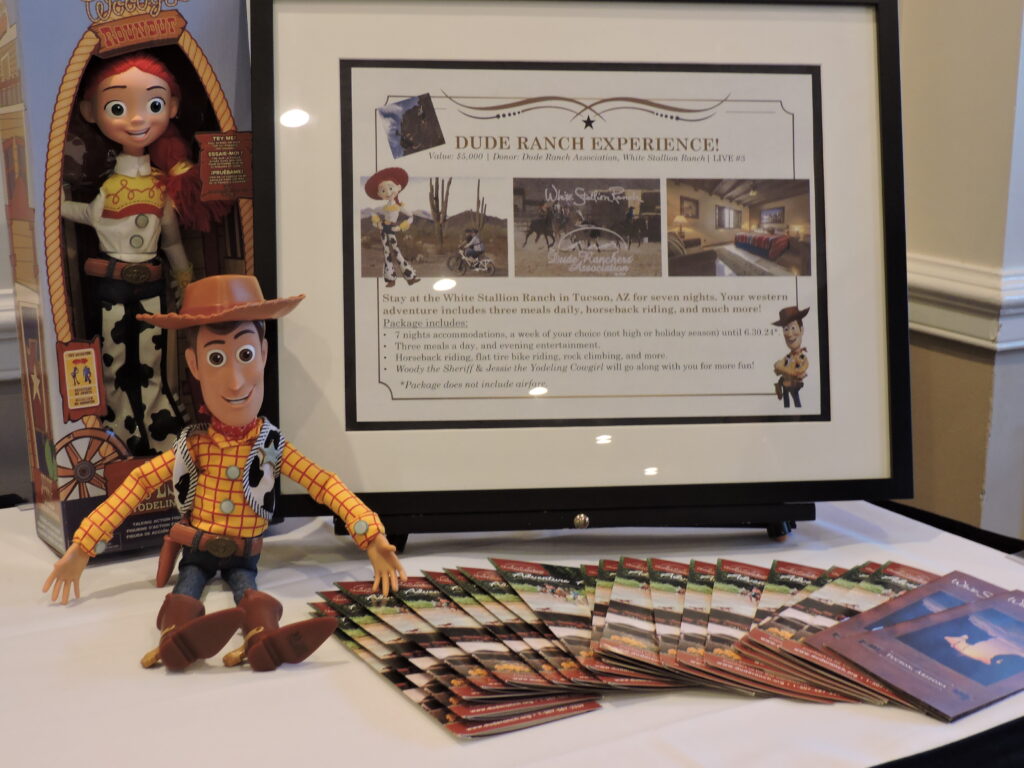
According to SPCC’s development director Amy Holbrook, the staff and volunteers worked all of Friday and most of Saturday to create a perfect setting for the Boots & Black Tie Gala. In addition to 45 Silent Auction items donated there were seven Live Auction items displayed including a week’s stay at a Dude Ranch in Tucson, Arizona donated by White Stallion Ranch and high-end Raffle items like the Vintage DaVinci Designs Joint Adventure Tandem Bicycle donated by Joan and Joe Tiernan.

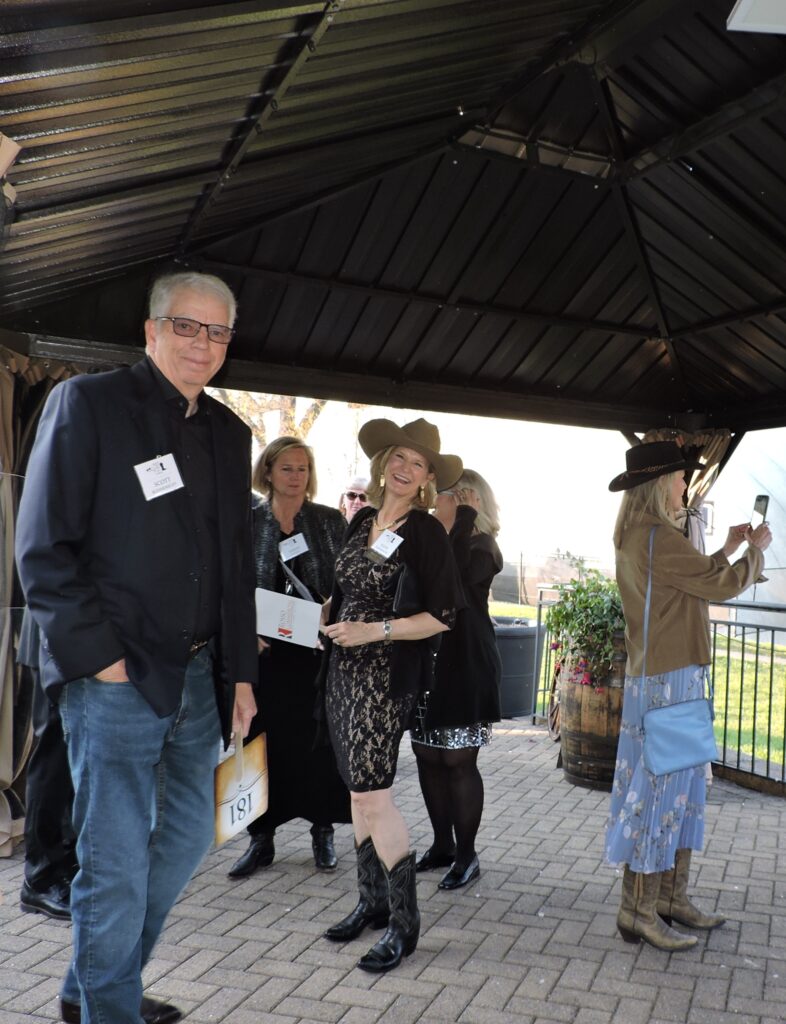
Guests soon began arriving in earnest and the line at the reception table grew longer. At the head of the line, SPCC board member Ellen Kleinknecht and husband Scott were having fun checking out what their friends were wearing.
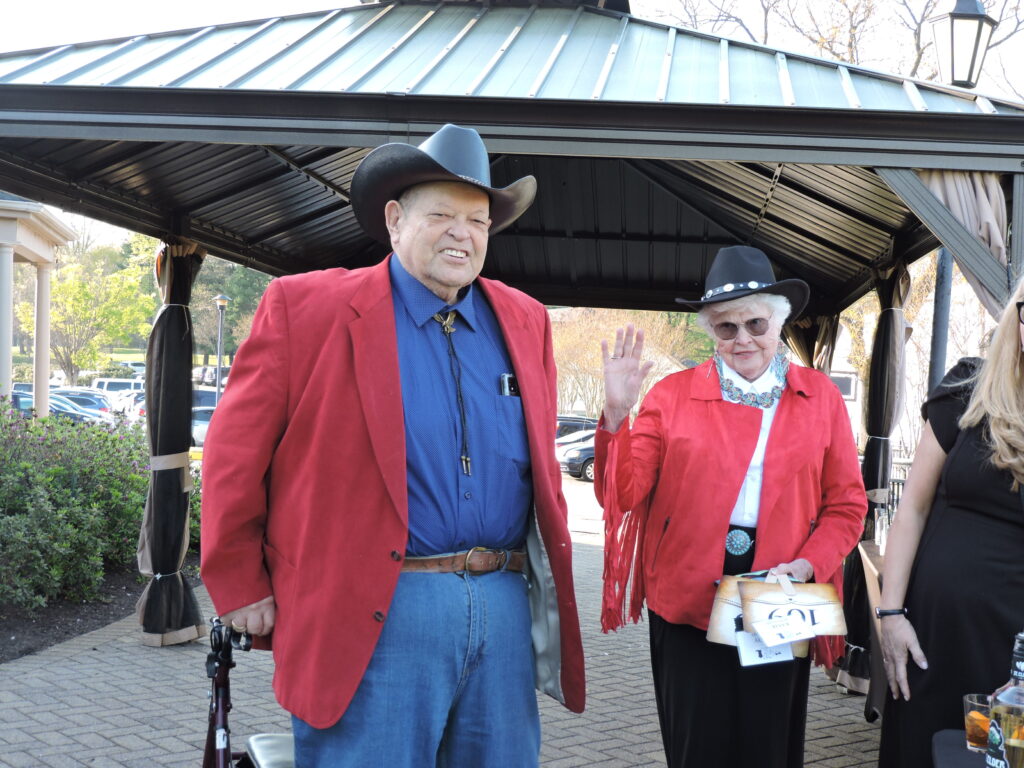
There is no denying that board member emeritus Andy Borland and wife Katie made quite an impression as they entered the Gala wearing matching jackets, cowboy hats and boots. Borland, a 2013 Gala honoree, chaired the 2001 Capital Campaign Fund Drive raising 4.5 million to make the Severna Park Community Center a reality by transforming an already existing outdoor pool to a magnificent facility featuring two indoor pools, a dance studio, fitness center, art room, meeting rooms and The Andy Borland Gymnasium which is named for him.
According to SPCC executive director Sarah Elder, the greatest thing about the Black Tie & Boots theme of the gala was that many gentlemen guests dressed up more than usual.
“It’s usually the women who dress up. However, the men had been calling us all week to ask what they should wear,” Elder said. “We replied that they could take the theme seriously and opt for clothing that was elegant, country-casual, or both.”
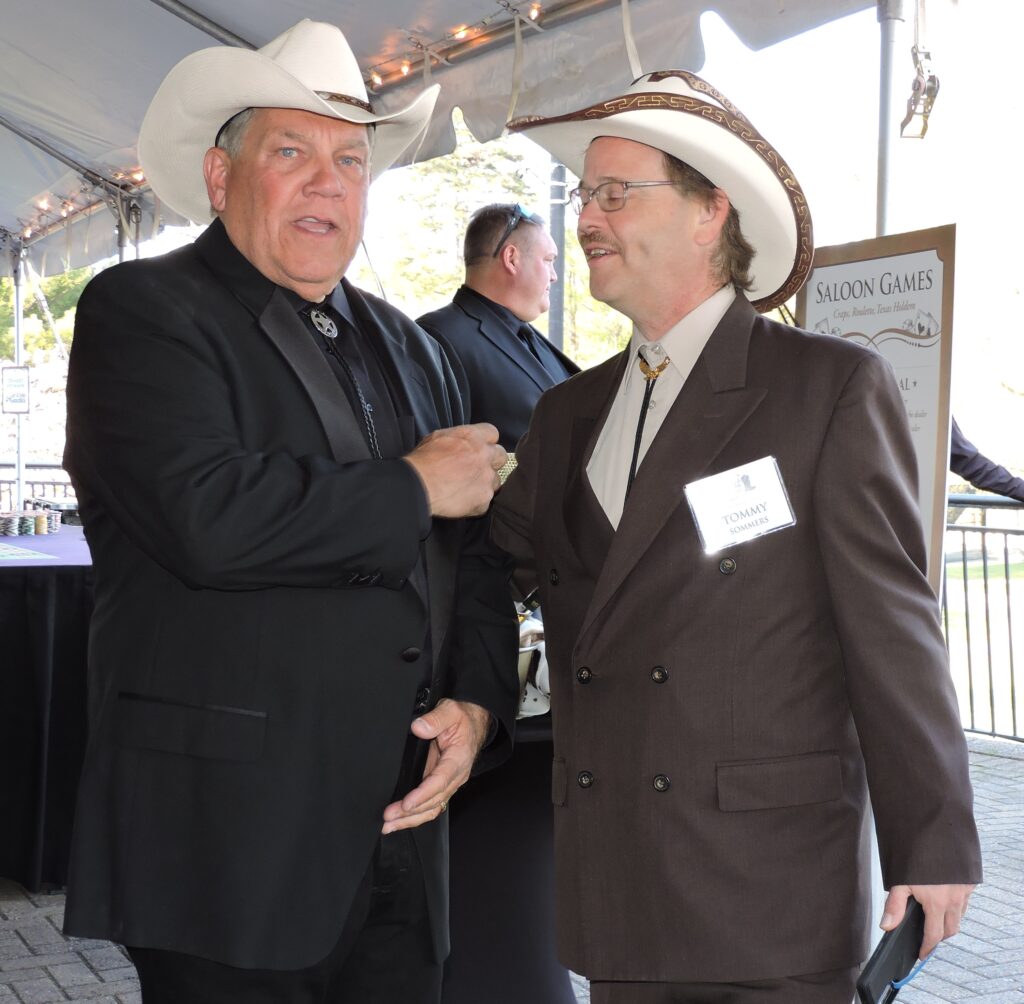
Some gents achieved successful variations on the Black Tie & Boots theme including Larry Sells of Larry Sells Consulting, LLC and Tommy Sommers of LogoZone Productions.
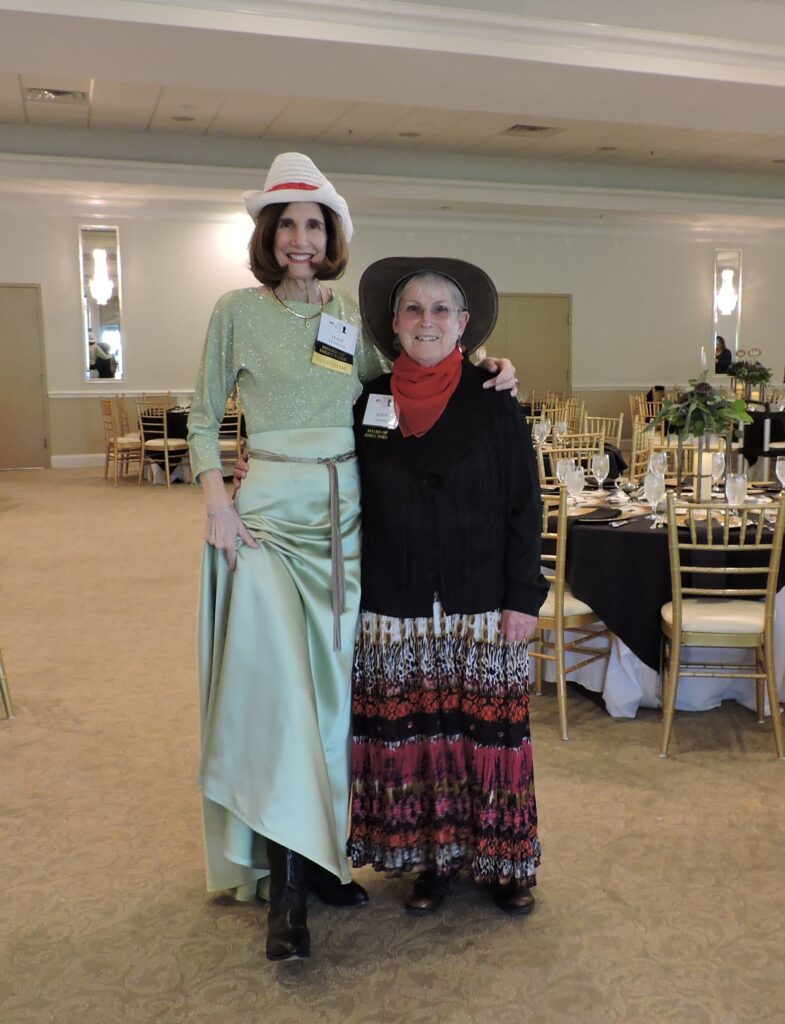
But many of the women were successful in combining both looks including board members Jean Andrews and Joan Tiernan who were wholeheartedly into the spirit of the evening.
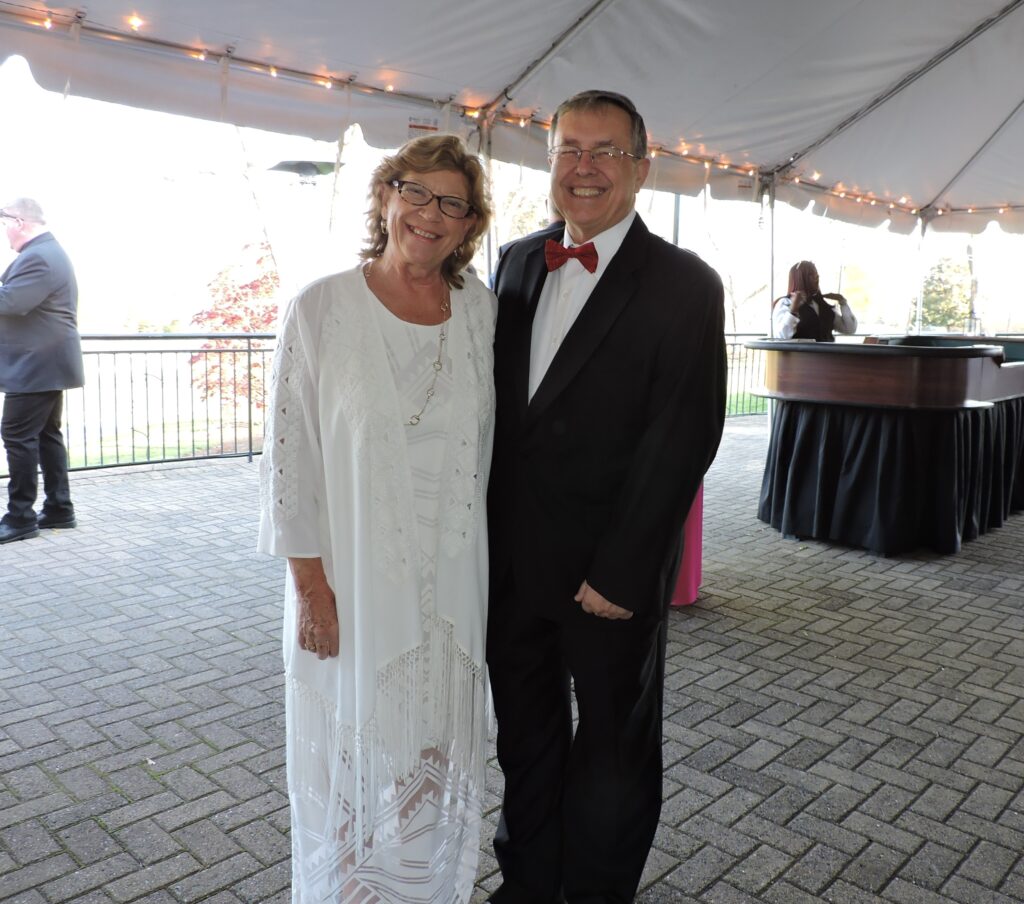
Many couples opted for elegant including Amy and Mike Leahy. Back from Florida, Amy said she’s busier than ever working on Ann Virginia’s Pet Garden, a well-known site along the B&A Trail. She’s also a member of the Greater Severna Park Council and was recently elected president of the Severna Park Republican Women’s Club.
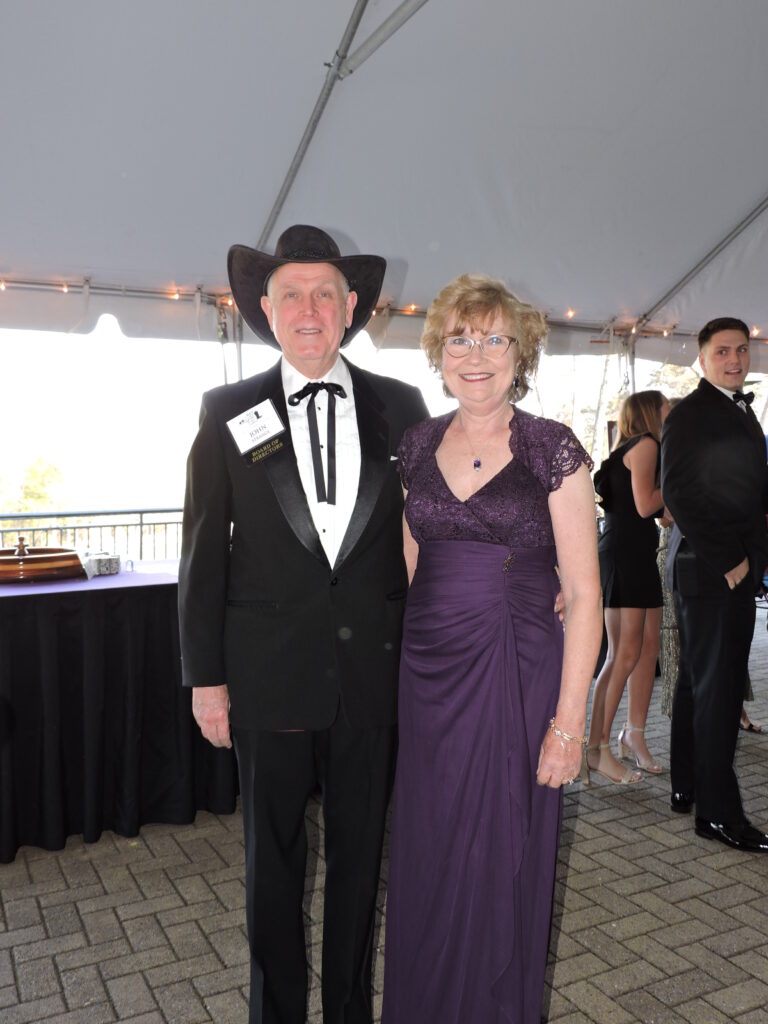
Dressing for the evening was a split decision for some couples. A cowgirl at heart as a volunteer with Crownsville-based Maryland Therapeutic Riding, Karen Strange chose to wear an elegant gown while her SPCC board member husband John’s new look could be coined “rugged rancher chic”.
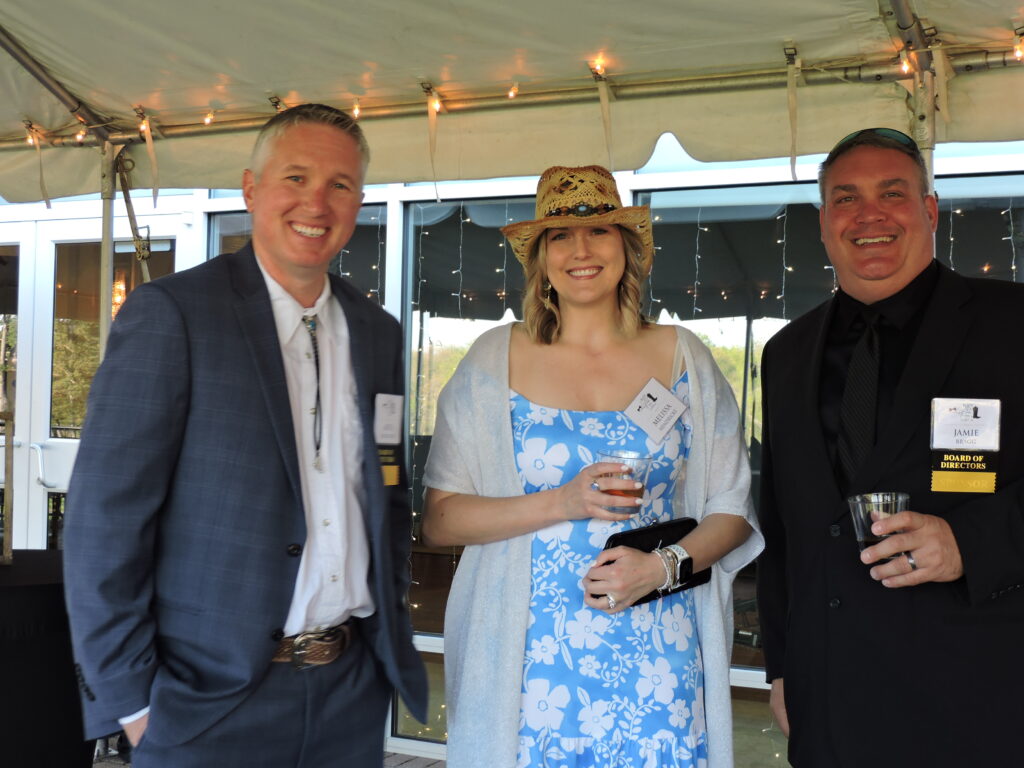
Western chic was the order of the day for Board Vice Chair Artie Hendricks and wife Michelle who were greeted by Board Chair Jamie Bragg. Gala sponsors Randy and Jenna Waugh from Multi-Specialty Health Care were equally chic
Gala honoree David Orso and wife Dawn and their party arrived shortly. It may have felt strange for Orso to be chosen honoree as he previously led the Severna Park Community Center as chair of the board for two years, having already served on the board for four years prior. His leadership during the early pandemic period of 2020 helped to keep the center operating through very troubling times.
As a realtor leading the David Orso Team of Berkshire Hathaway, he is well known in the community. and admired for his generosity. He has worked to support numerous nonprofit organizations all over the county, from Anne Arundel Medical Center to the Lighthouse Shelter, Sarah’s House, Backpack Buddies and most recently, as a board member for Anne Arundel Community College.
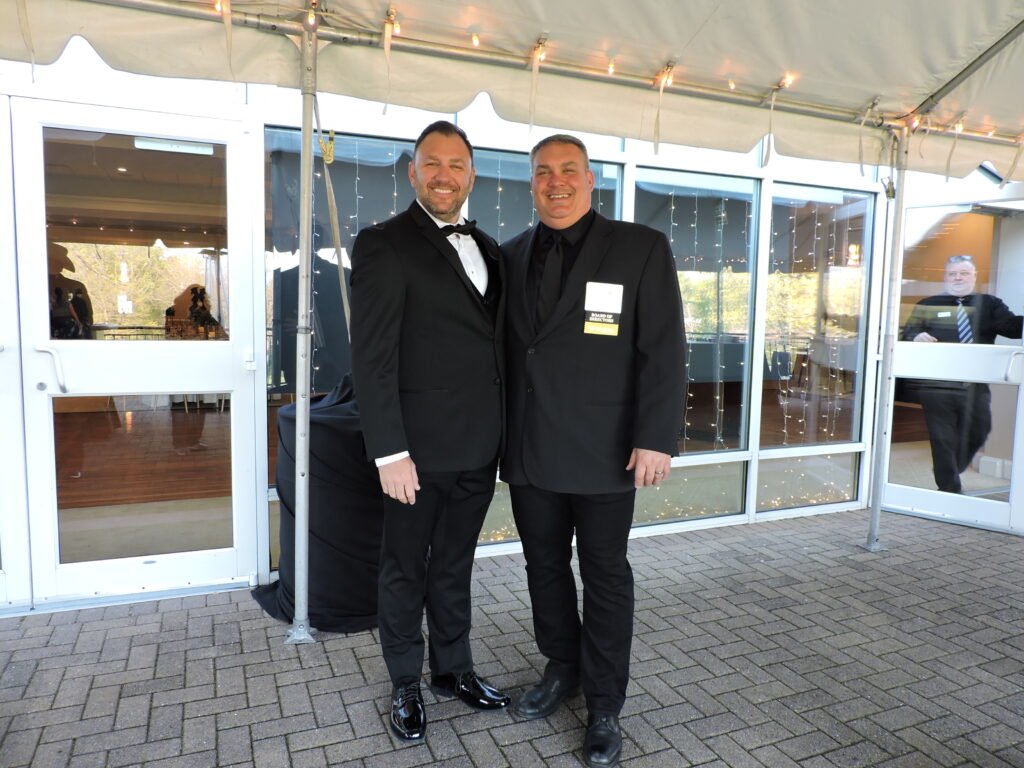
Interestingly, the first person to congratulate Orso on being honored, was Jamie Bragg, himself a former Gala honoree for 2016. Bragg is now chairman of the board.
From the outset, people attending the Gala were delighted to see each other. Most were long-time community center supporters who’d missed attending in-person events over the past two years and were in a very celebratory mood.
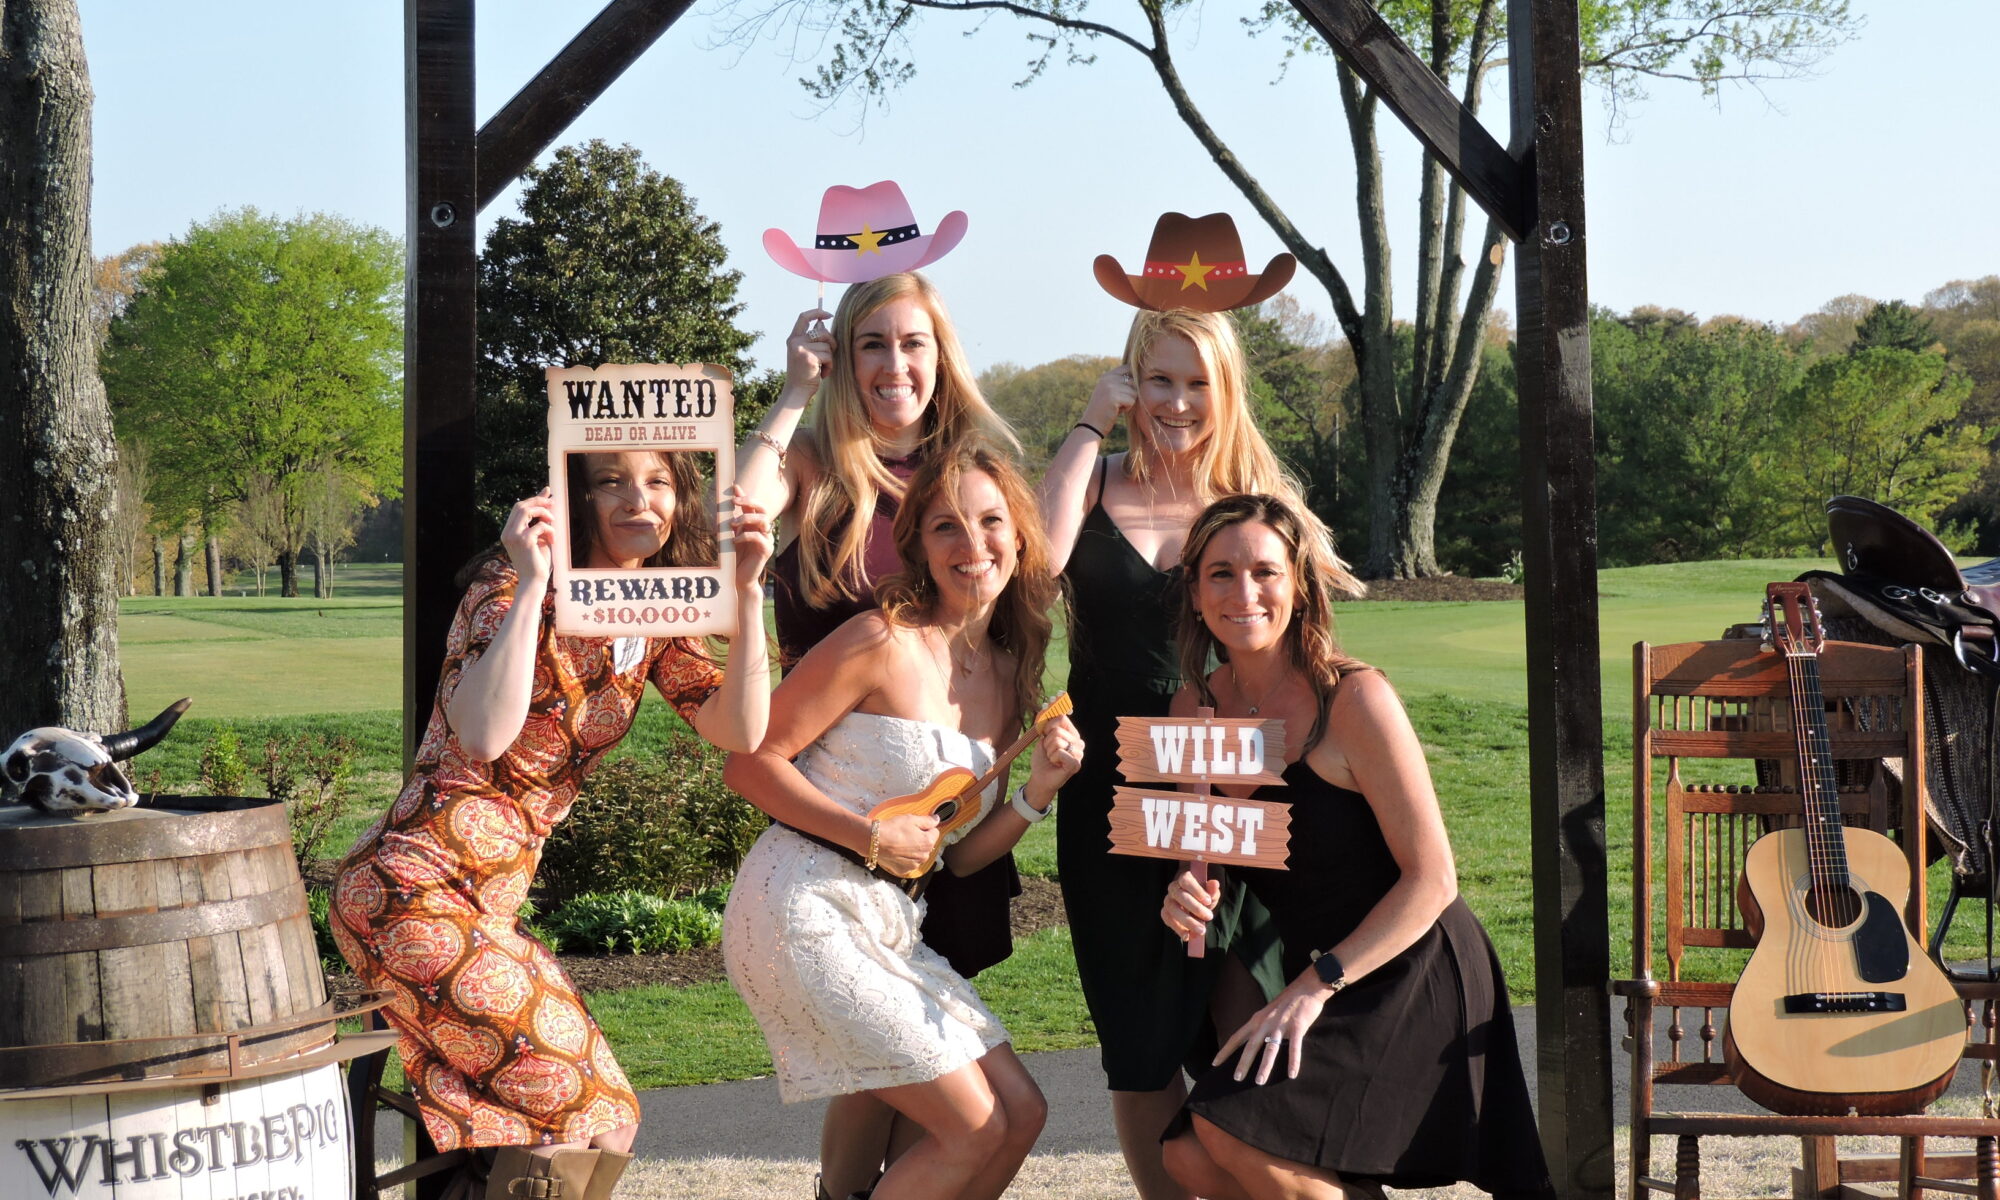
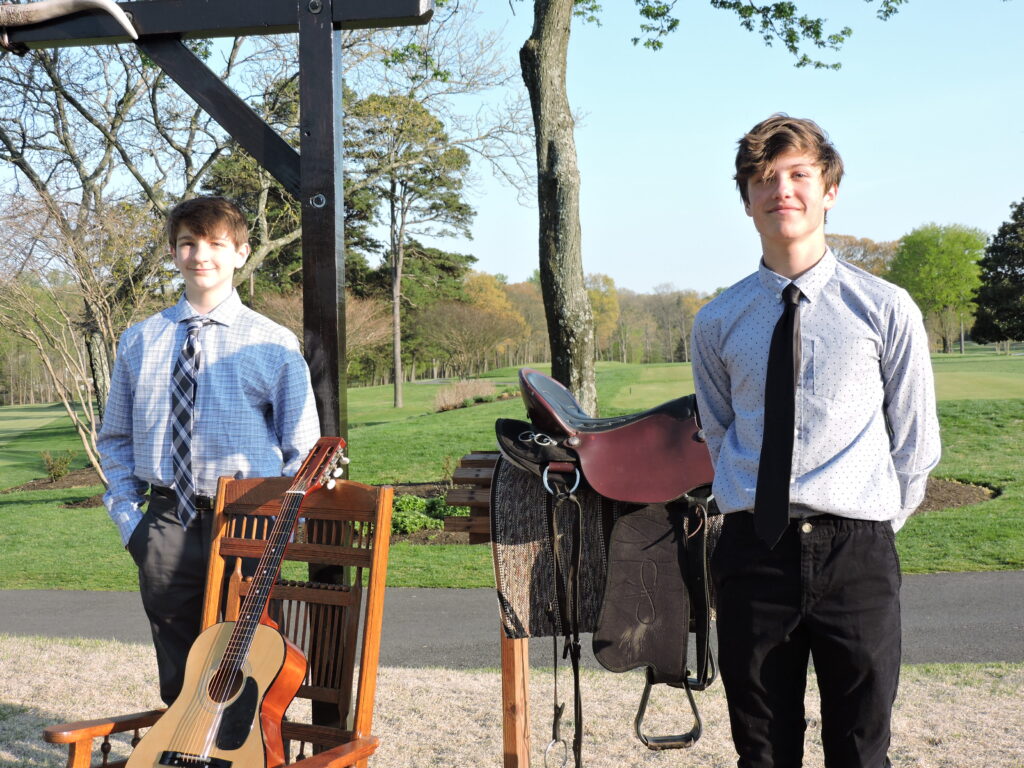
Throughout cocktails and pre-dinner games, there was no denying the lure of the picturesque Western-styled arch loaned by Maryland Therapeutic Riding that was a perfect setting for photographs. Volunteers Griffin Smith and Brennan Cahill from St. John The Evangelist School manned the area designated for taking pictures. They not only posed guests but took the photos for them.
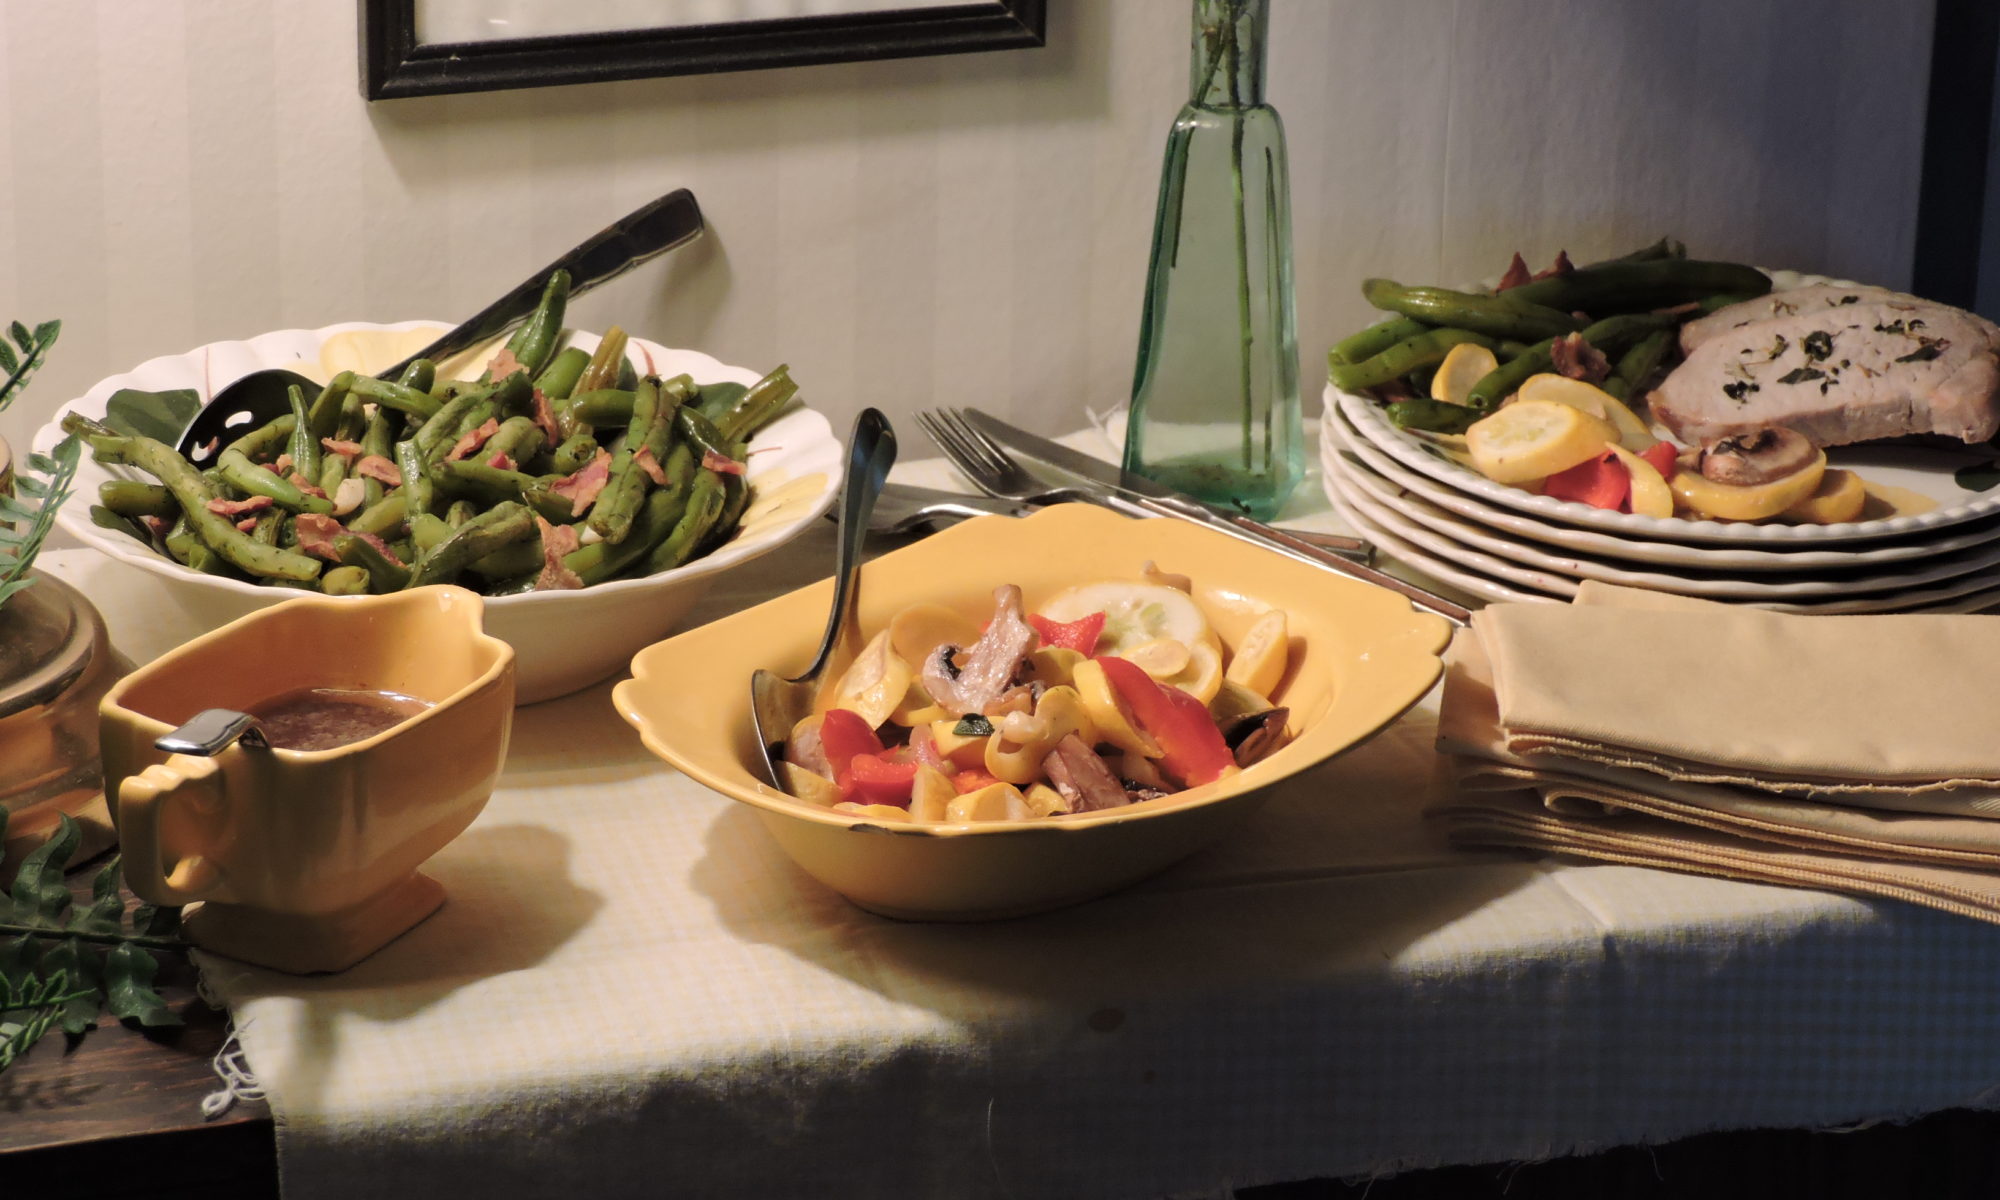
Dinner was great with guests served a Western influenced menu featuring entrees of Beef Fillet with Cajun Seasoning and Chipotle Sauce or Halibut with Cactus Pear Buere Blanc accompanied by Chayote Squash with Sauteed Butter and Smashed Potatoes. Luscious desserts followed along with the introduction of guest of honor David Orso who was gracious as always. Other highlights of the evening included the reappearance of Dance Center of Severna Park director Kellie Greer and her talented instructors who demonstrated and then taught guests the steps for line dancing to the tune “Boot Scootin’ Boogie”.
The Live Auction began soon thereafter and bidding was intense – especially for the White Stallion Ranch package. According to Elder, the Gala was spectacular success raising over $162,000. As the Severna Park Community Center is a self-sustaining organization, the financial support is greatly appreciated.
For information on the community center programs, visit SPCC Home (spcommunitycenter.org).
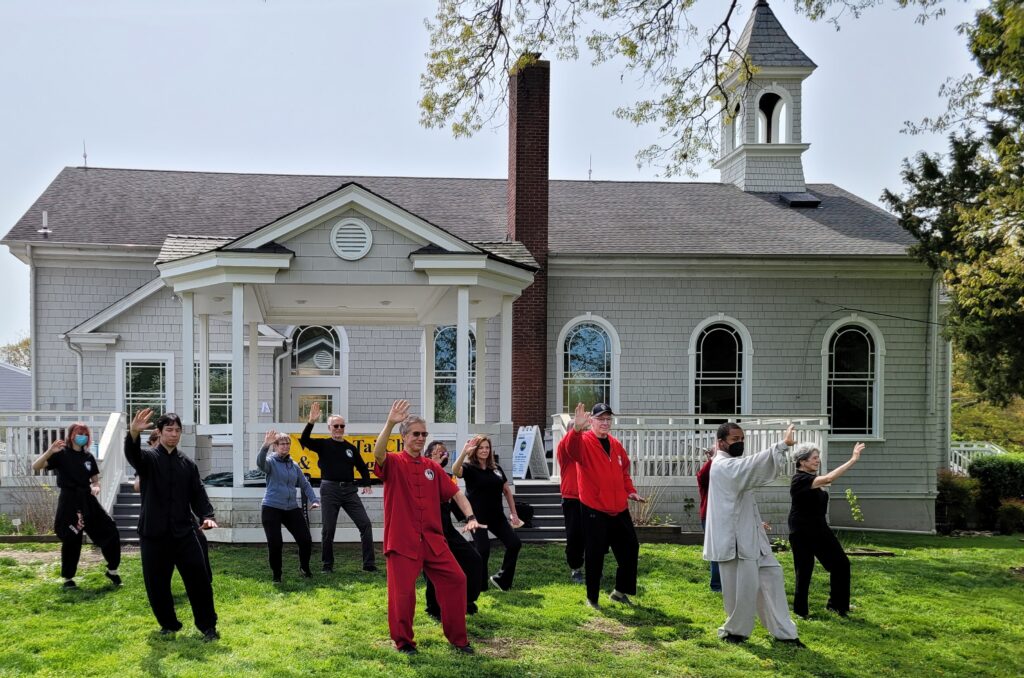
Jing Ying Institute to celebrate World Tai Chi Day
The Jing Ying Institute of Kung Fu & Tai Chi, a participant in this global event from its beginning, will be celebrating World Tai Chi Day this year on Saturday, April 30, 2022. The event will be held outside at the Severna Park Community Center under the trees beside Boone Station Hall from 10:00am to 11:30am. All ages and fitness levels are welcome. If it rains, the event will be held inside the Severna Park Community Center’s gym, located on the lower level of the main building. For information, visit Best Martial Arts Program in Annapolis, Severna Park (jingying.org)
Good Neighbors Group Earth Day Festival this Saturday
A reminder that Good Neighbors Group’s Earth Day Festival will be held this Saturday, April 30th from 10 am to 1 pm. The event will once again take place at Severna Park High School come rain or shine. The theme – “Do a World of Good, Think Outside the Landfill” – is all about recycling and repurposing items we use every day to create a more sustainable environment. Attendees are welcome to bring household items to the Earth Day festival to be rehomed or responsibly dispose of. For information on items you can bring, visit Home – Good Neighbors Group.


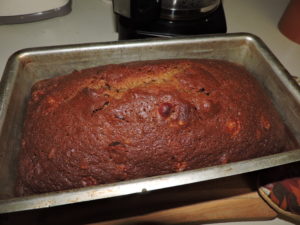

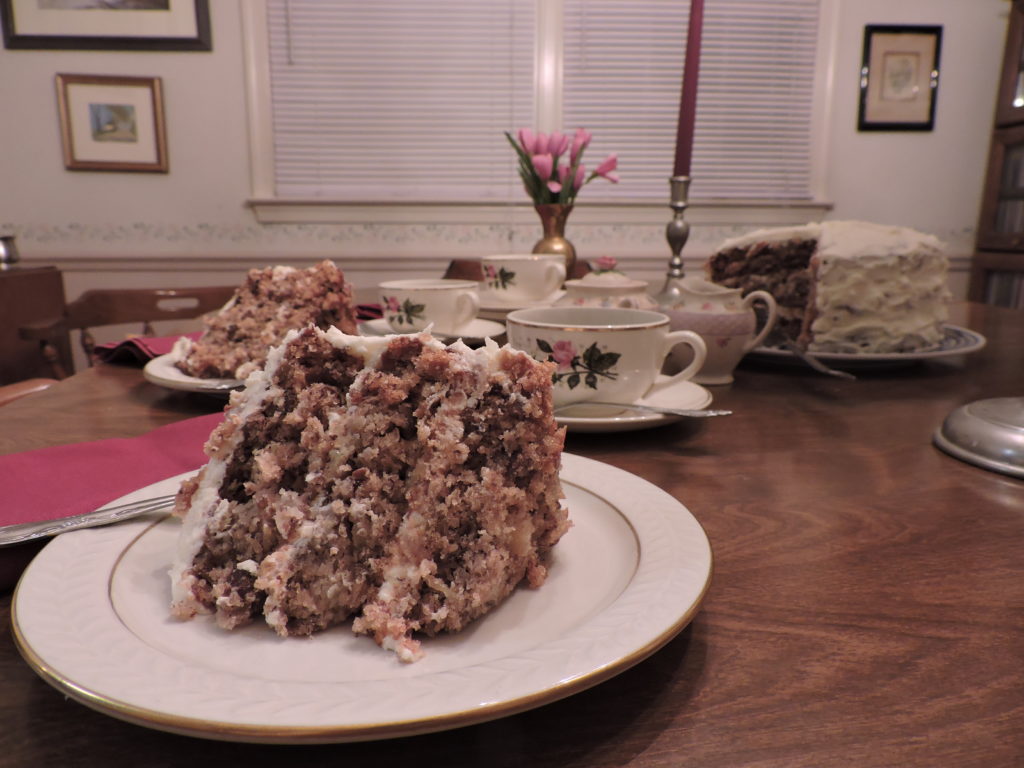
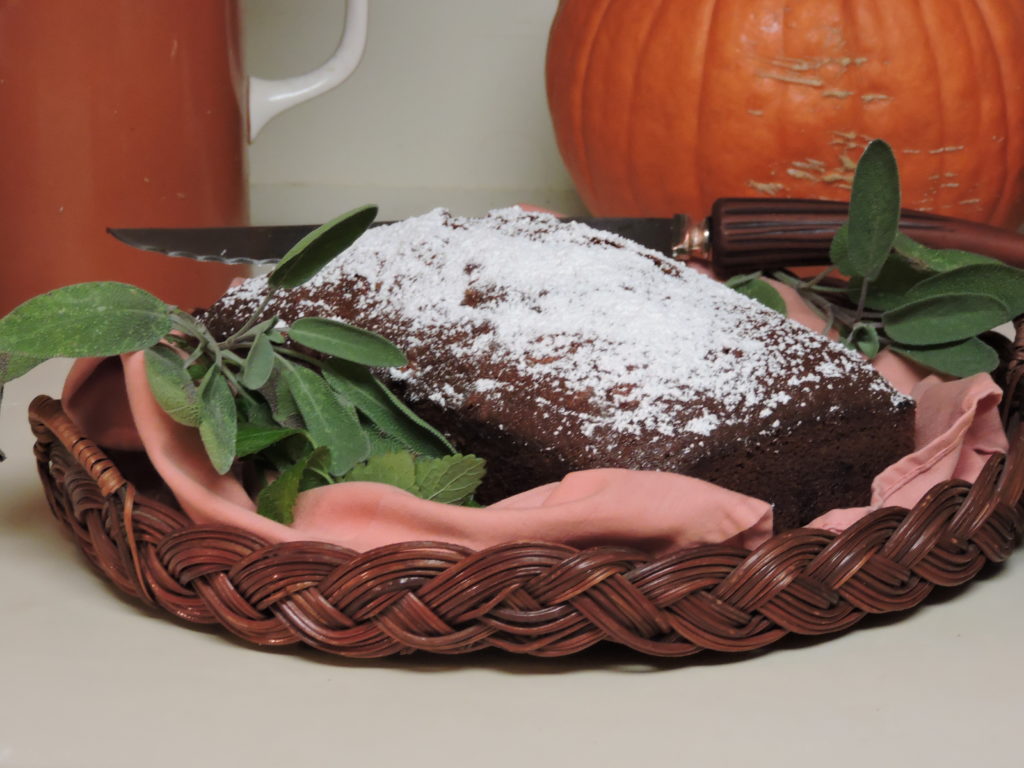 Offer slices to your family and friends with a glass of milk or a cup of coffee or tea. They’ll likely ask for seconds.
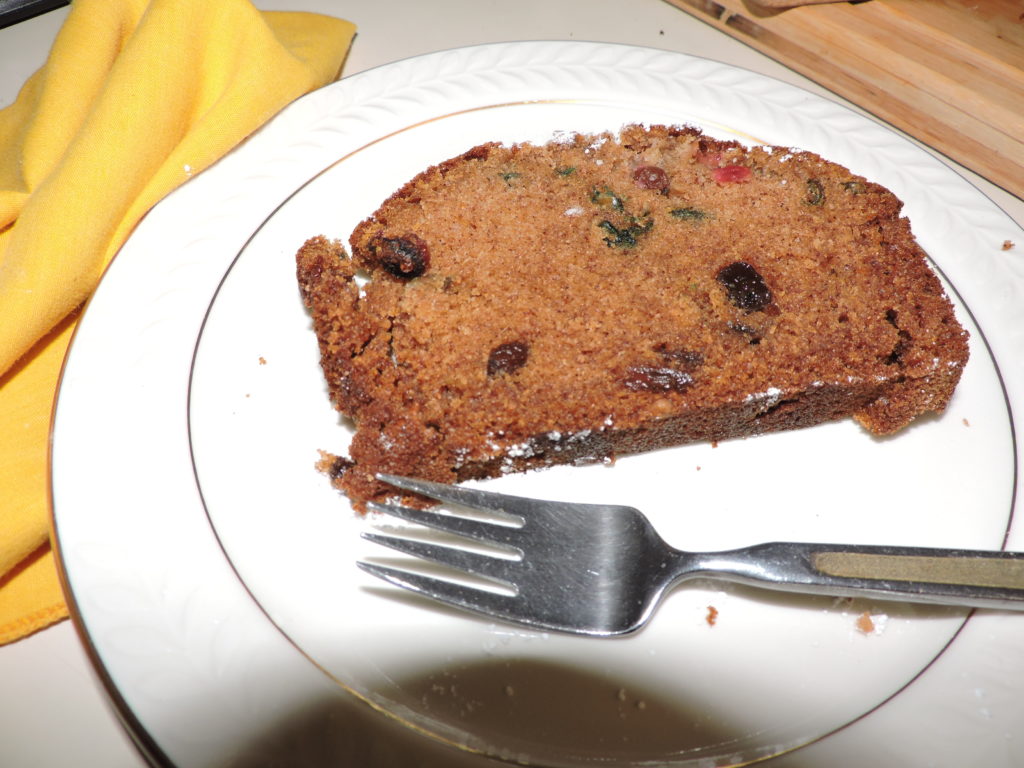


 to fancy them up. Unlike my grandmothers who sometimes topped peaches with cream straight from the cow, I offered
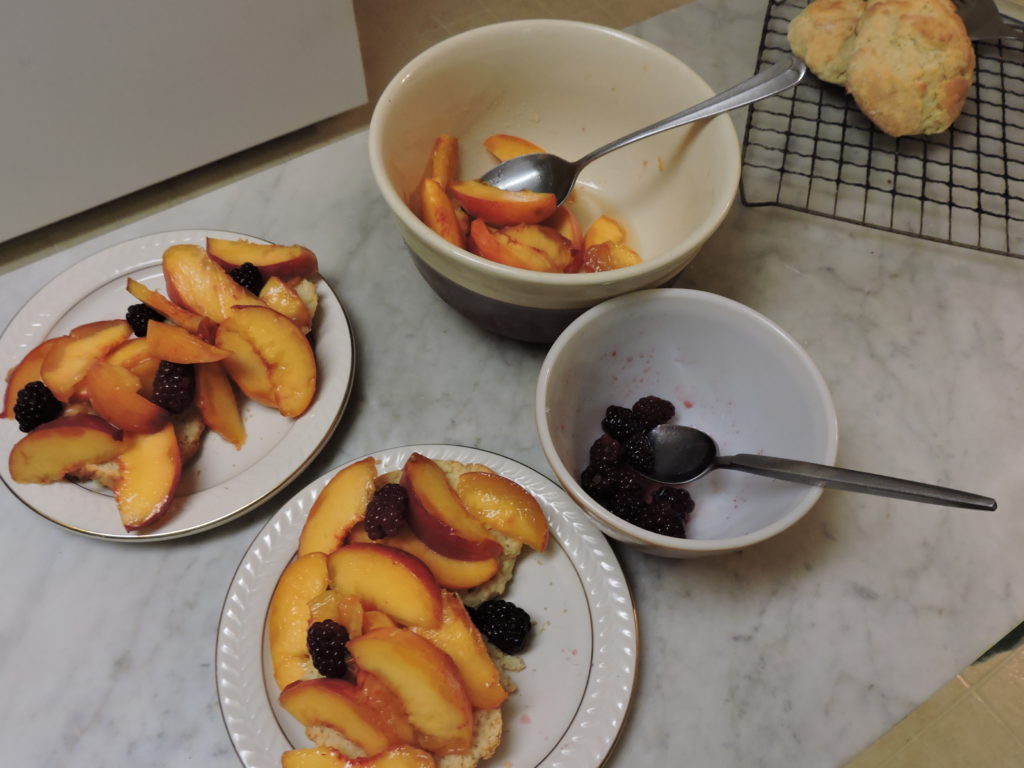
  Luckily, I reserved enough peaches for that shortcake I was craving.
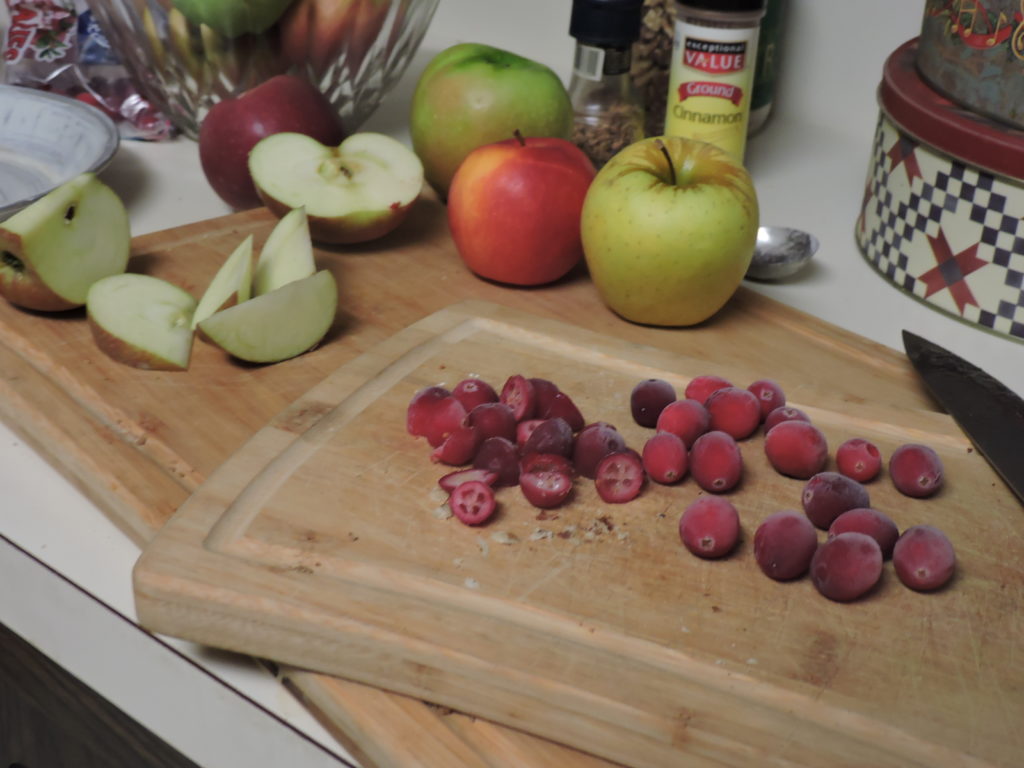
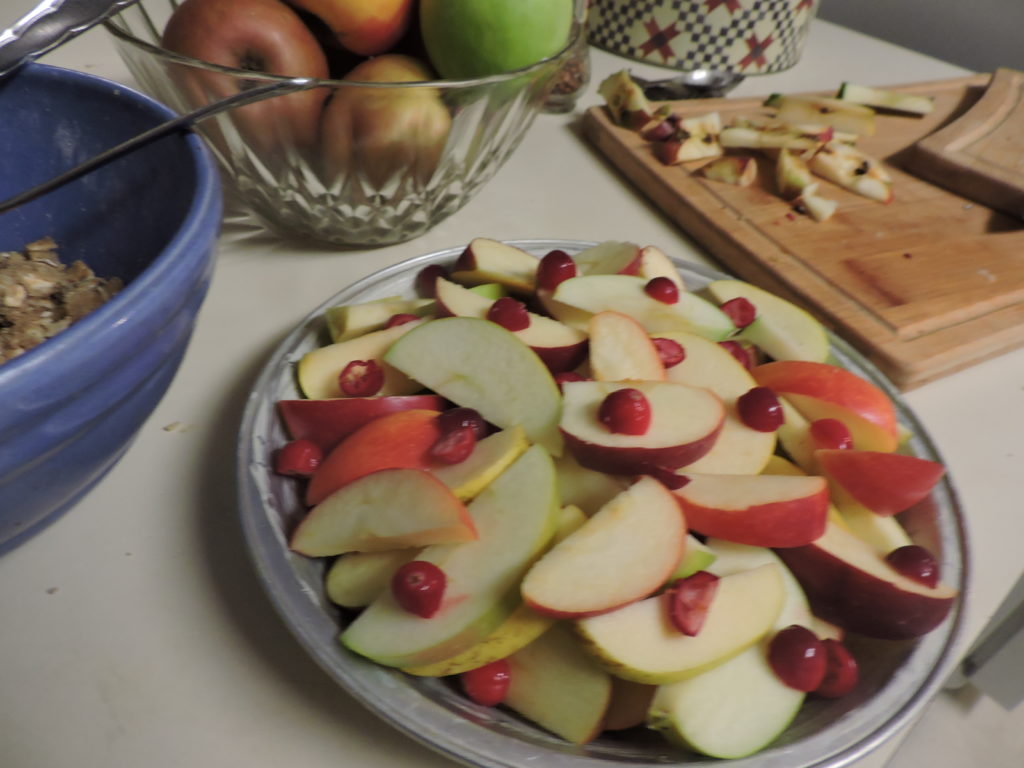
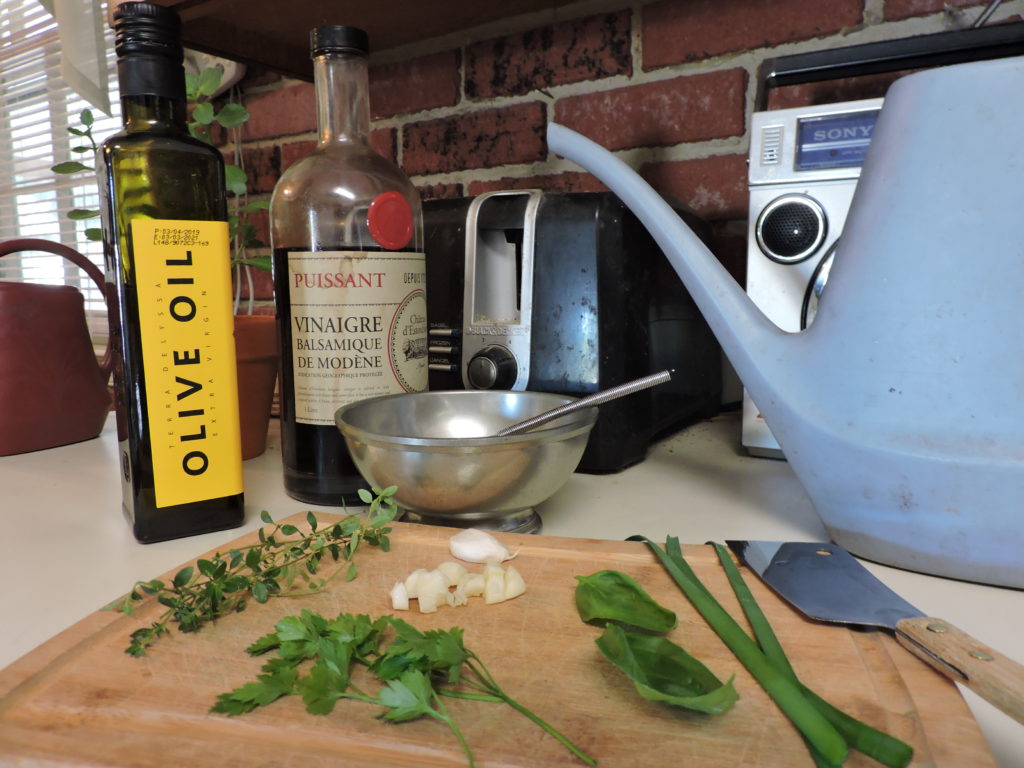
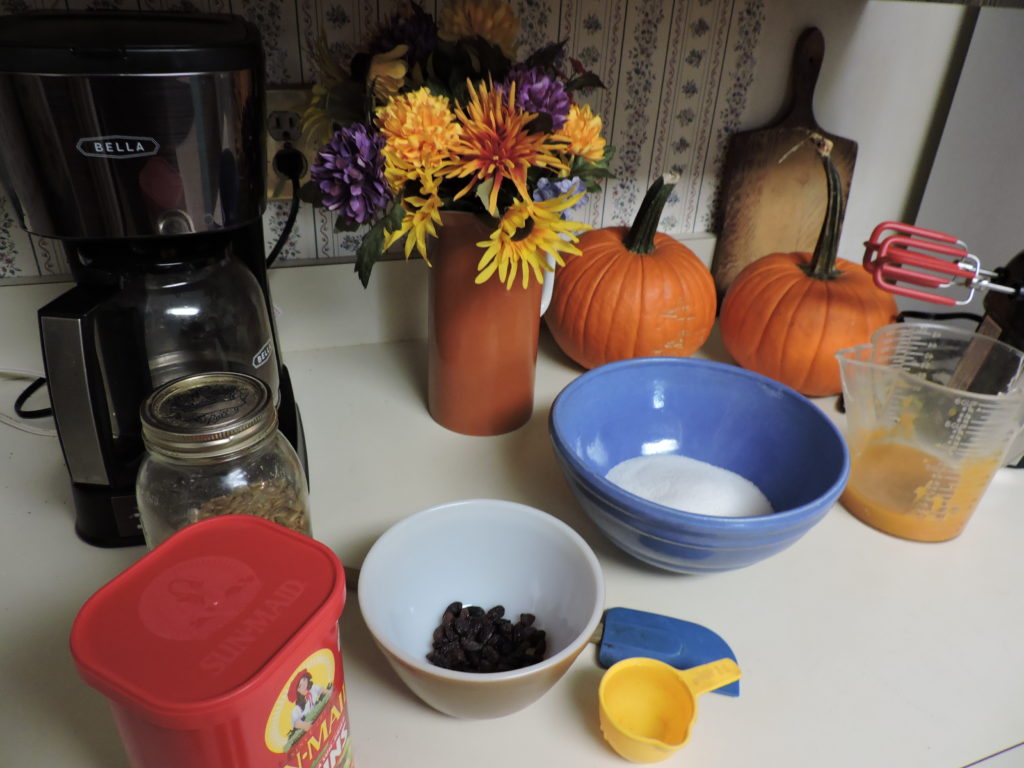
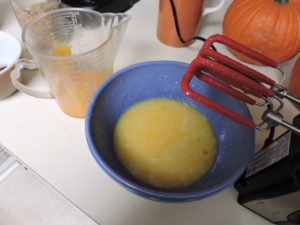
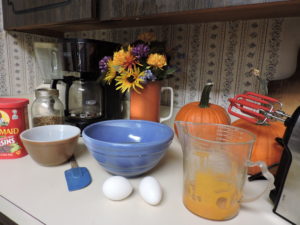
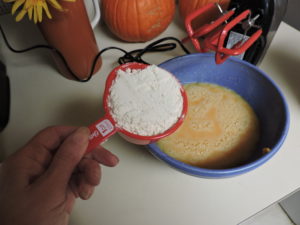
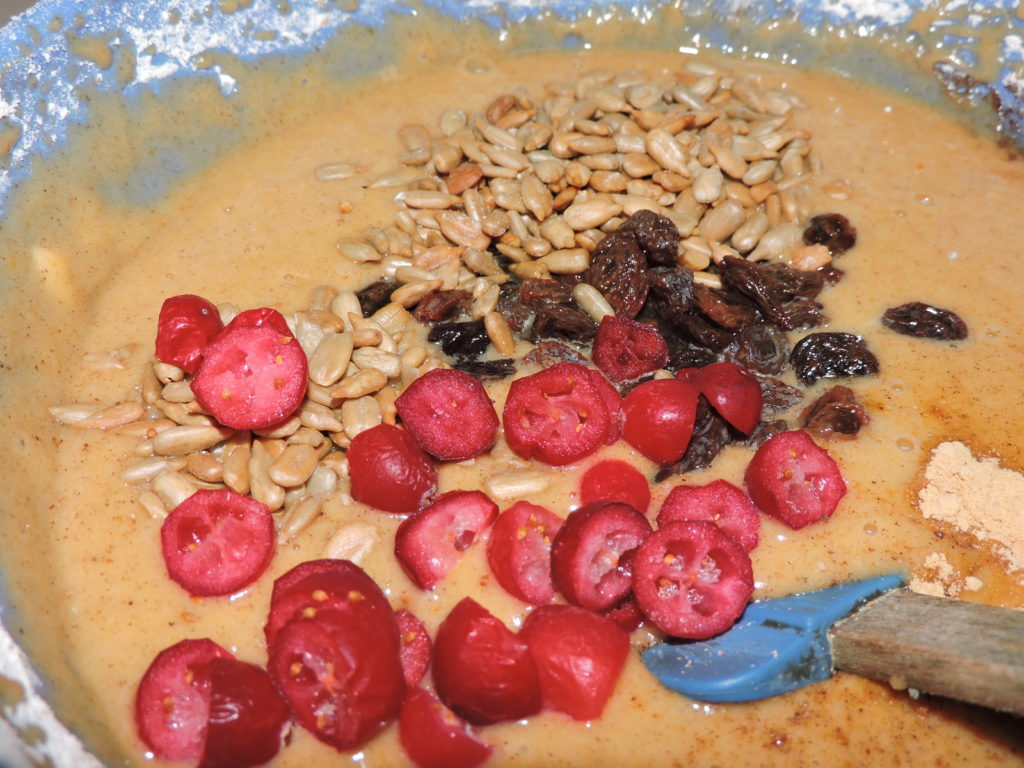
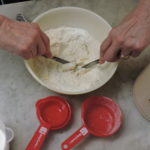
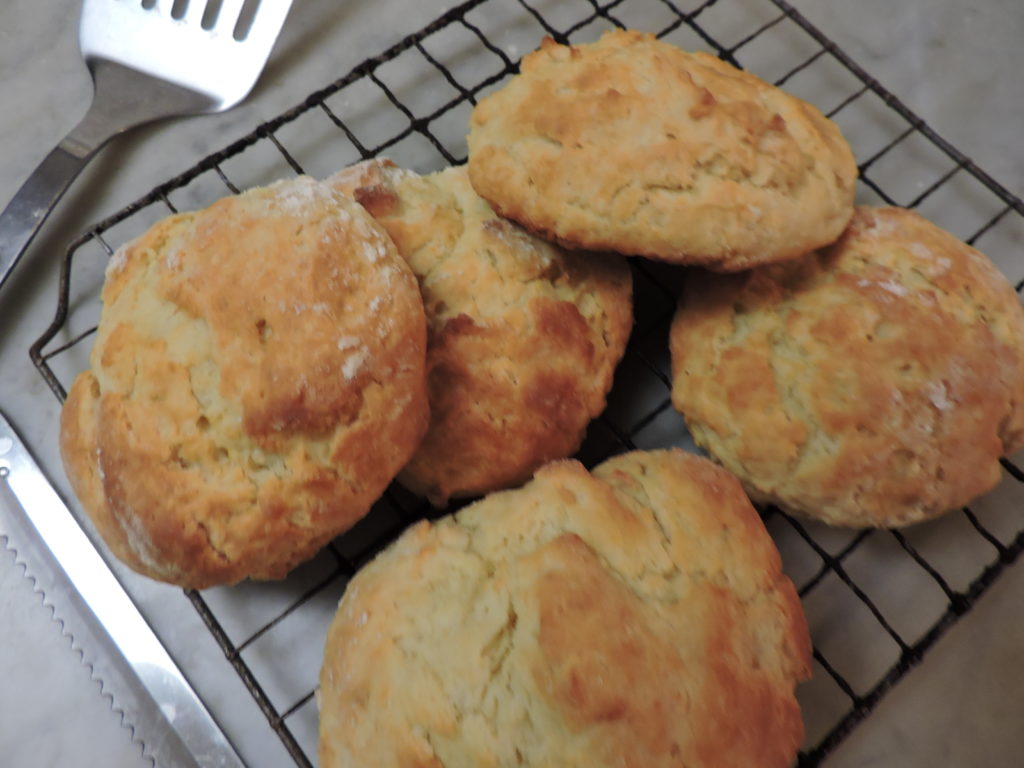
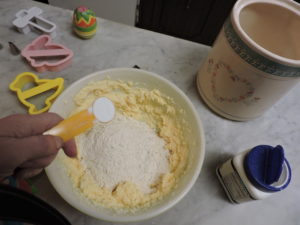
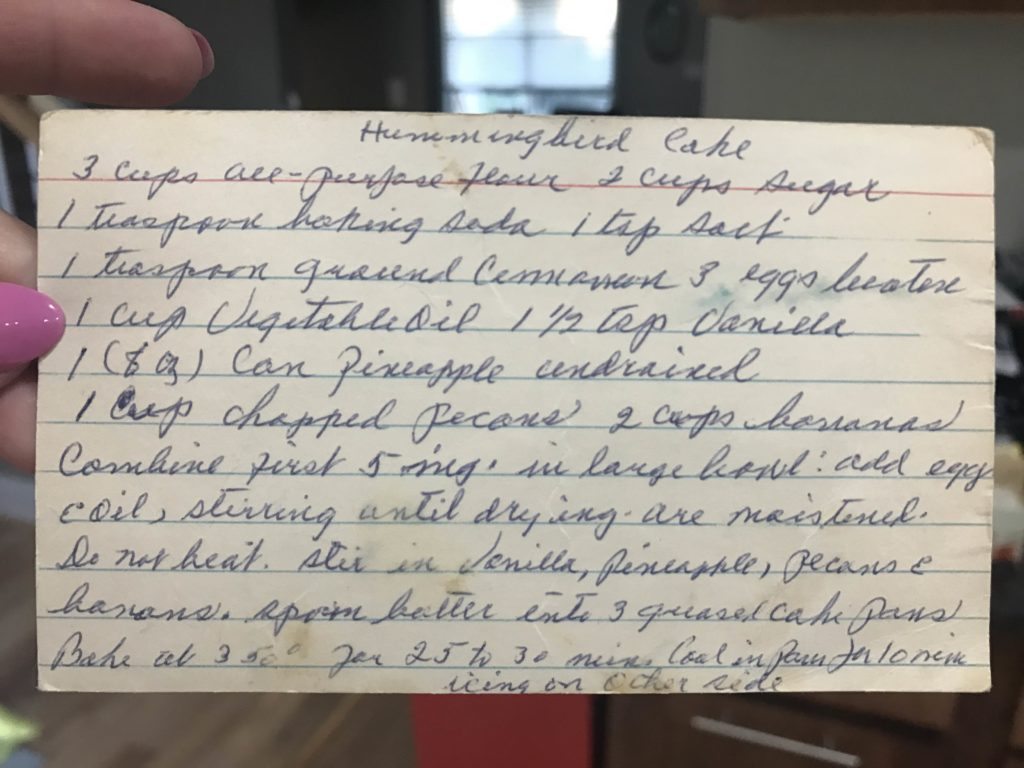
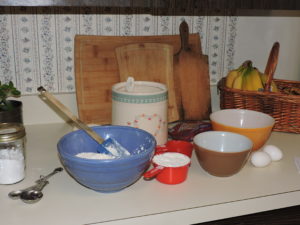
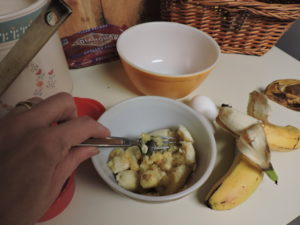
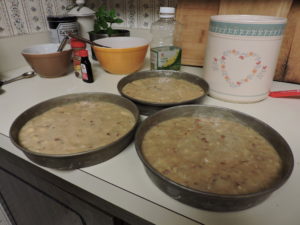
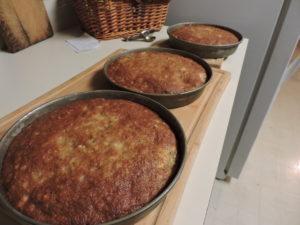
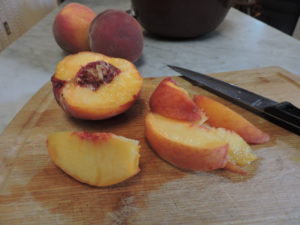 I first prepared the peaches by slicing them into a bowl, sprinkling a tablespoon or two of sugar over the top and placing them into the refrigerator. Then I got to work preparing the shortcake dough . Both grandmothers’ recipes are lost in time but I believe they modeled their shortcakes on biscuit recipes while my mother used
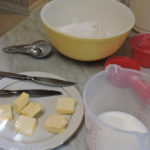
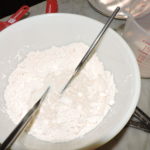
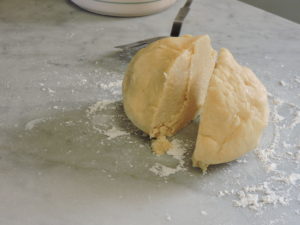
 Use a three inch cutter or glass dusted with flour to make rounds of dough and place on a cookie sheet. (I use my faithful old aluminum one.)


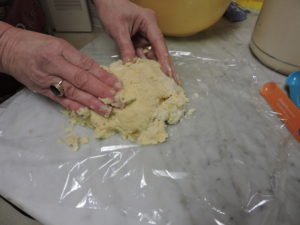
 lightly floured surface.
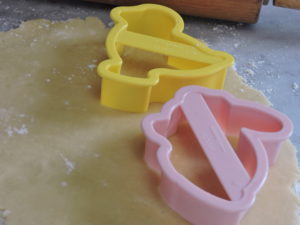
 Cool on a rack and prepare icing. Divide into as many bowls as you like and add food coloring.
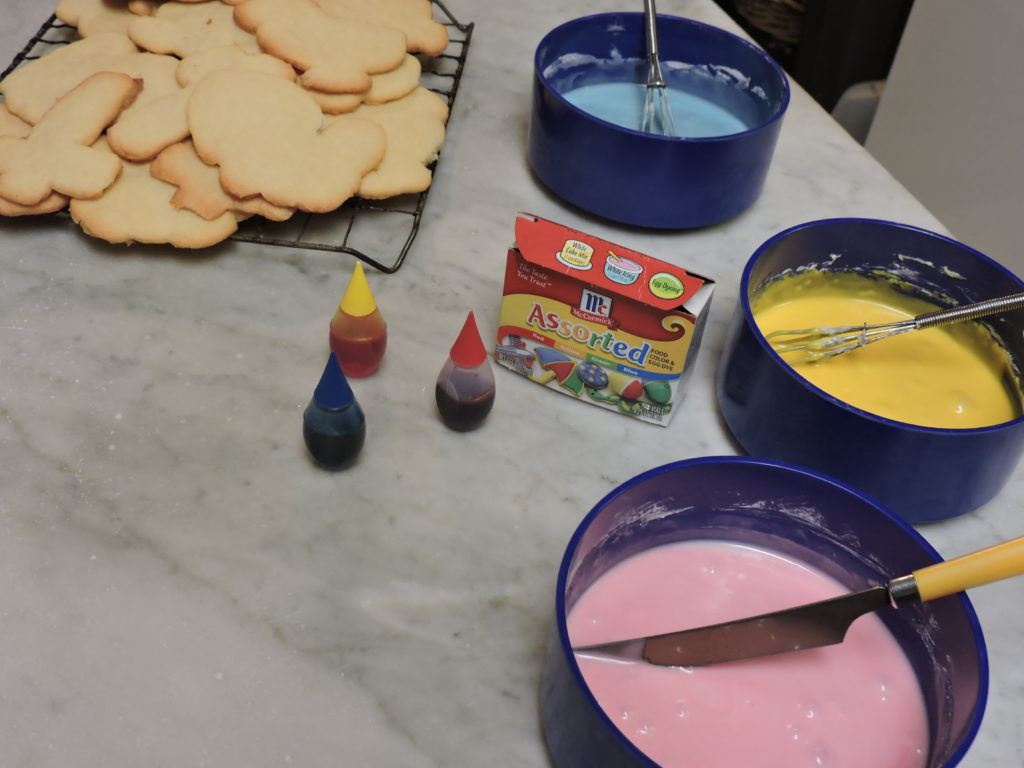
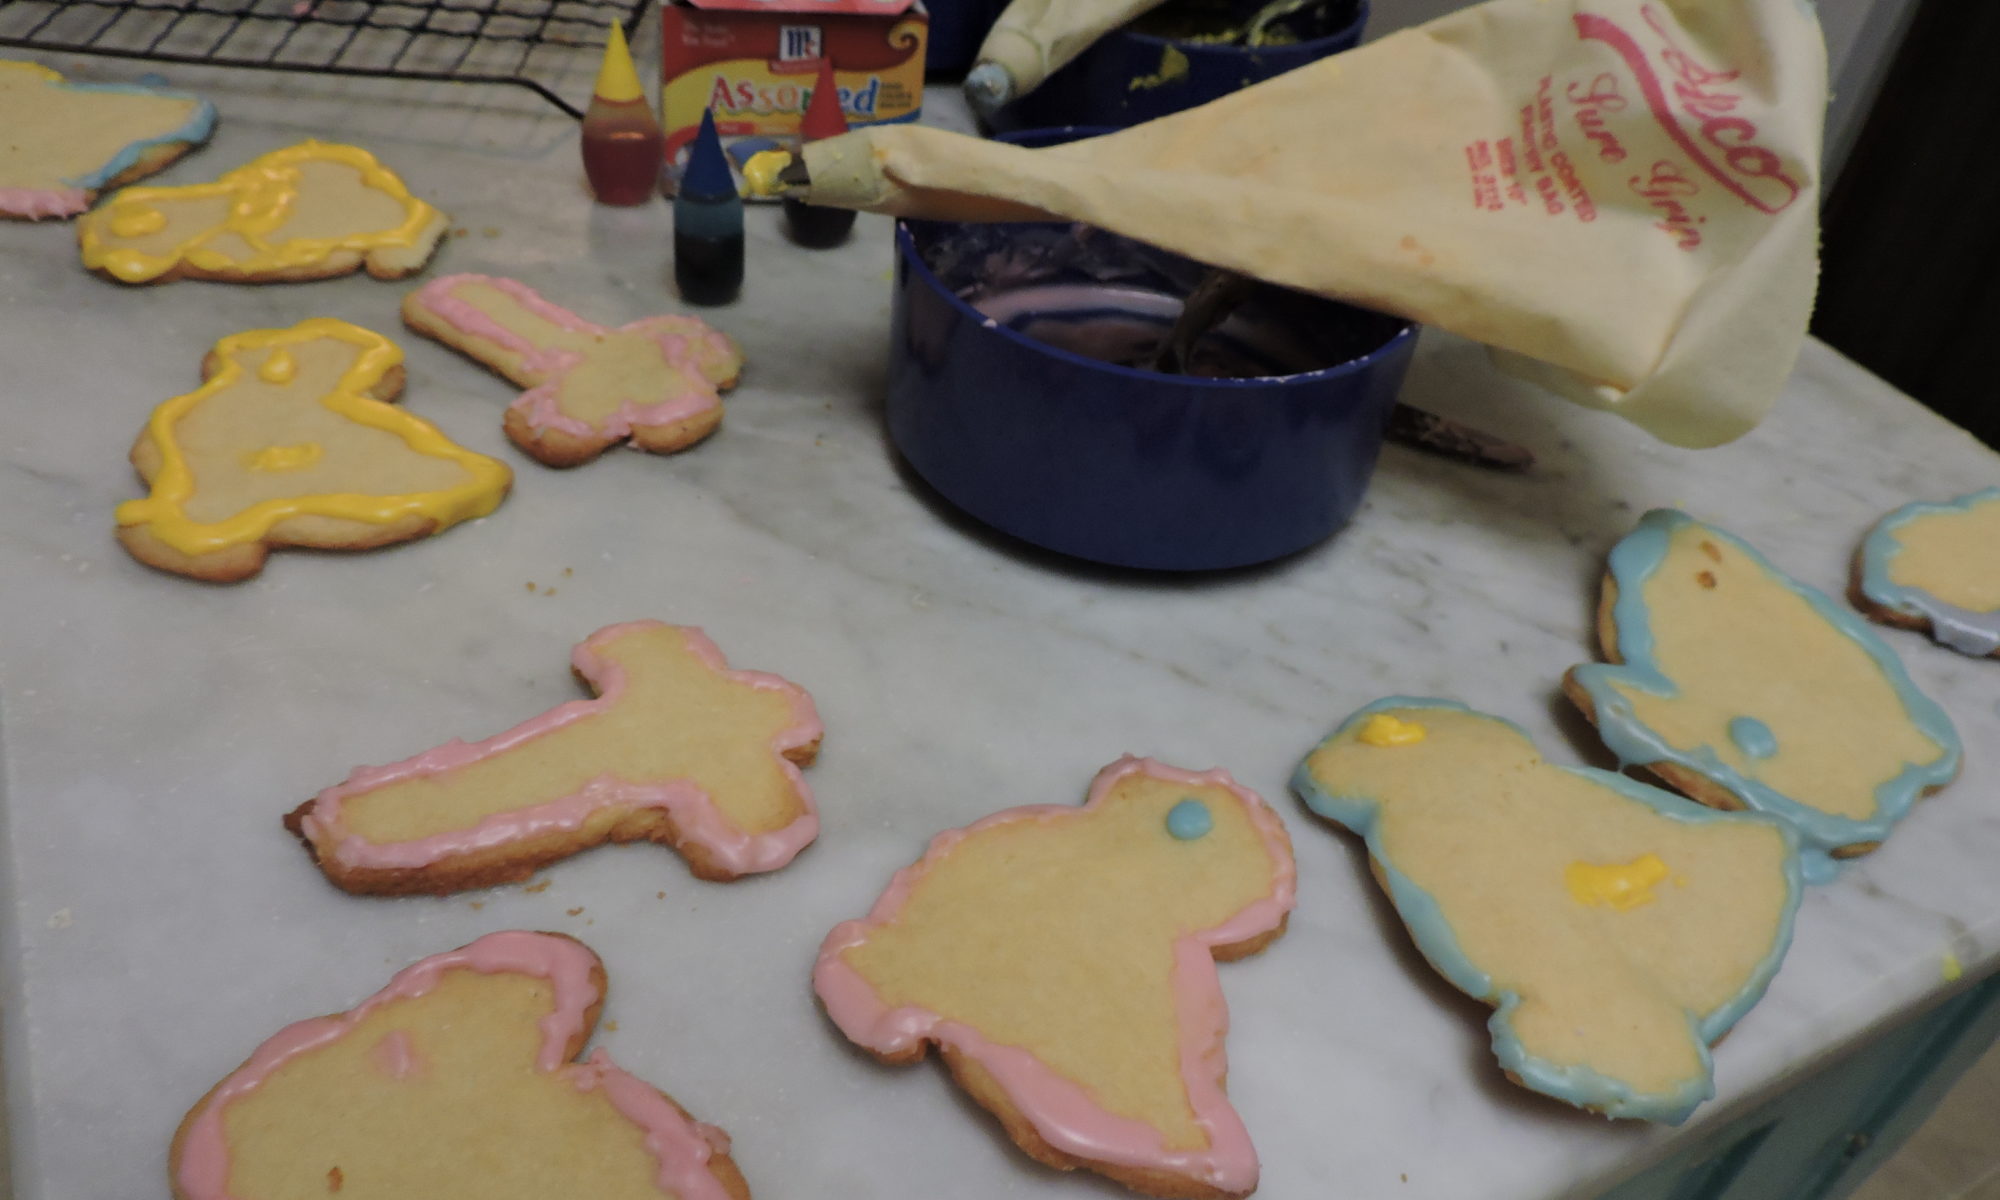
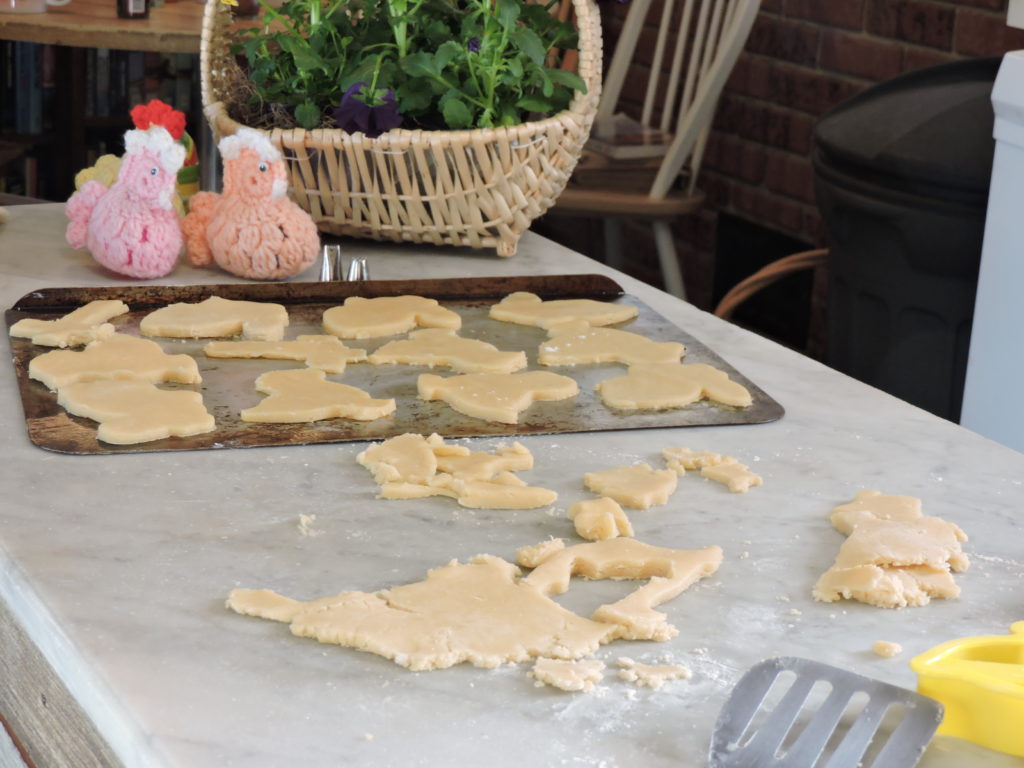
 The cookies are delicious plain but it’s more fun to decorate them. You can
 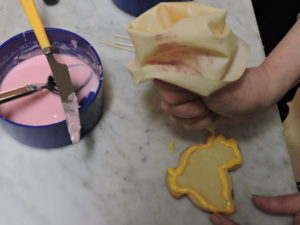 spread icing over the entire cookie or you can outline them.
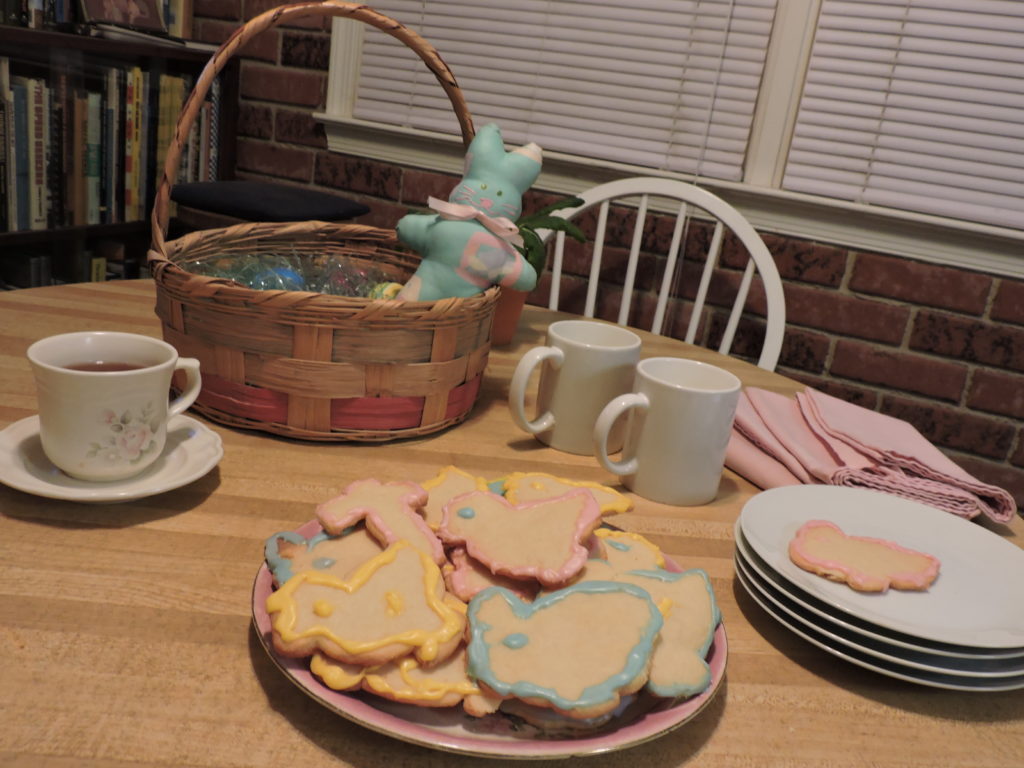
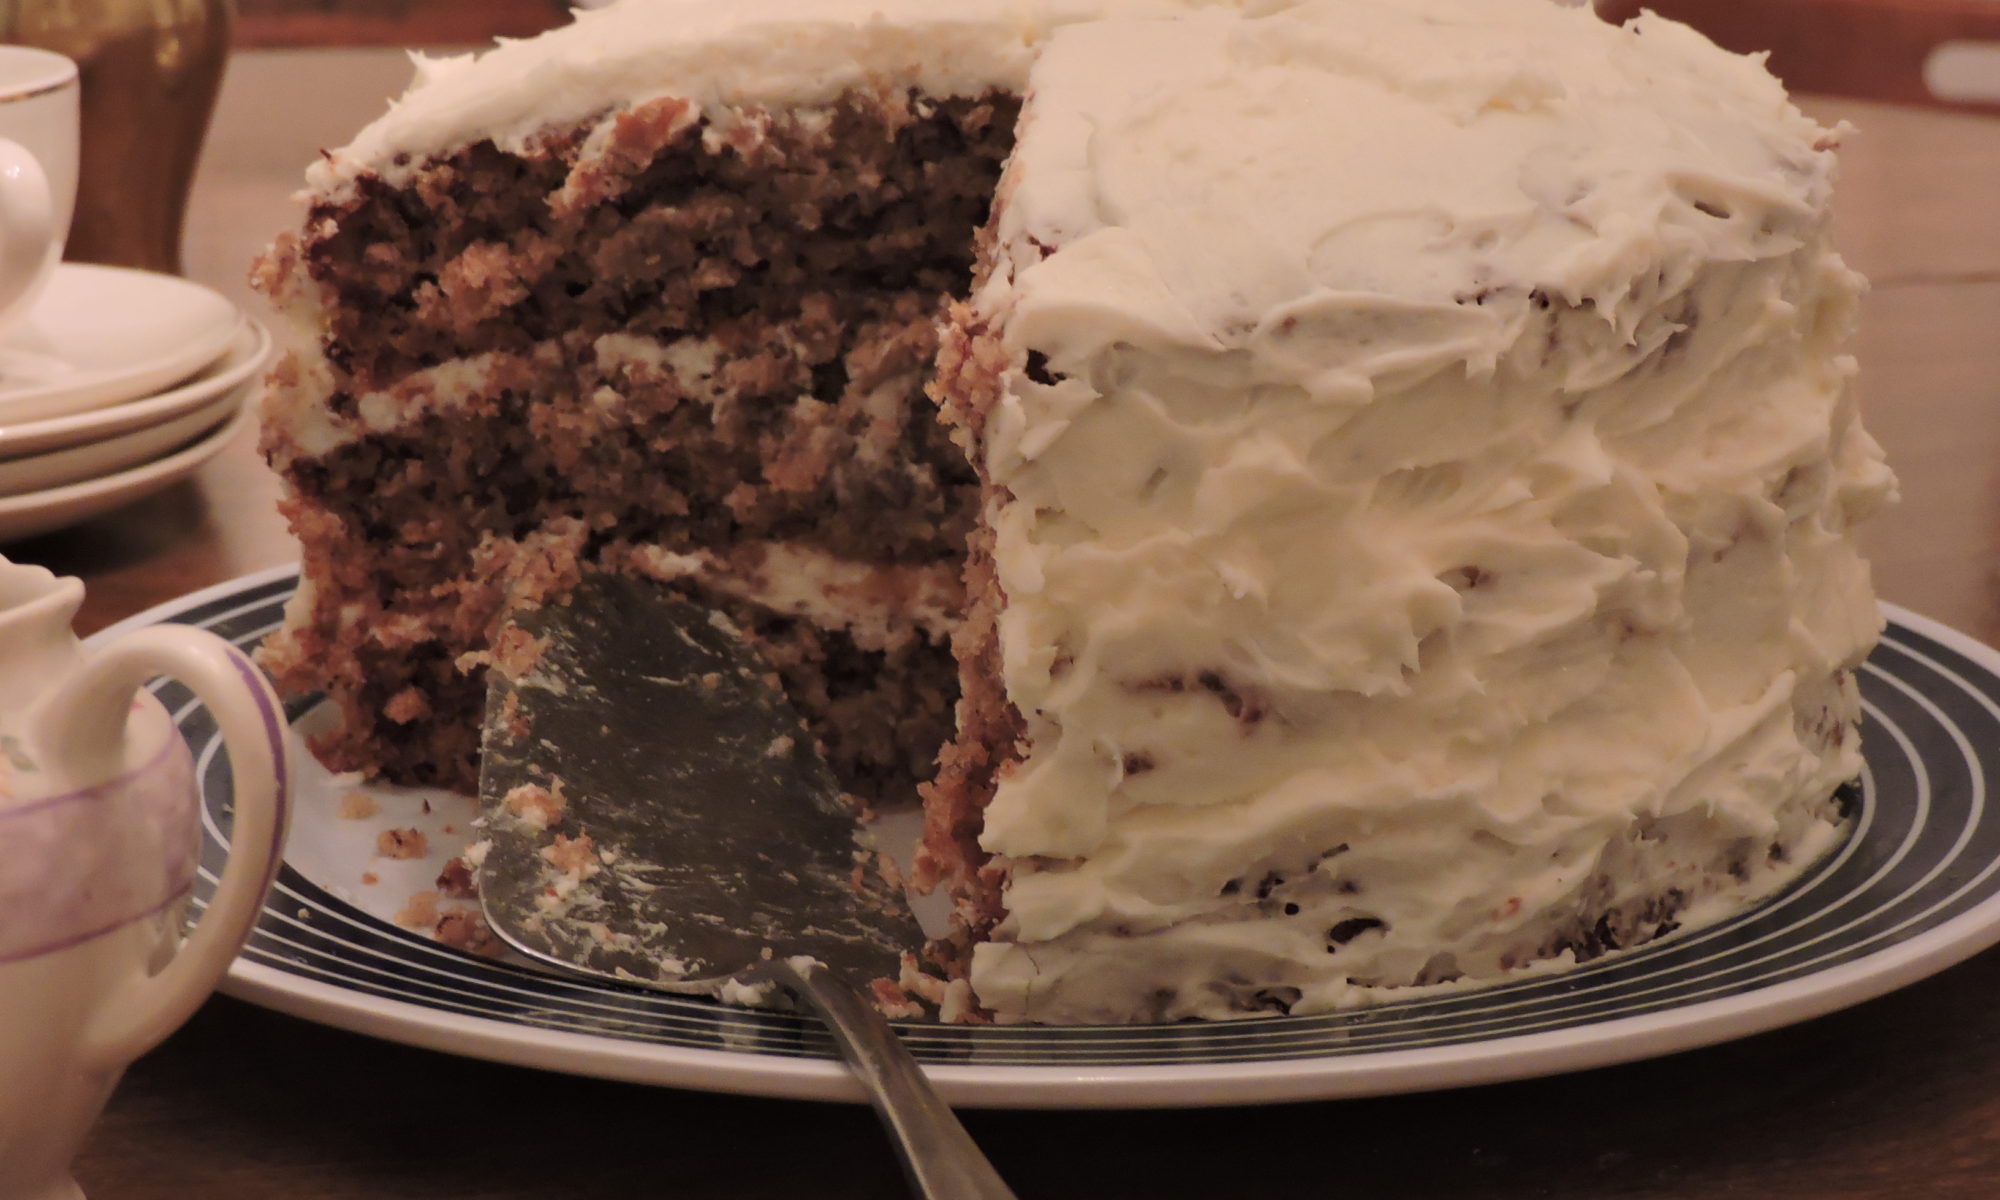

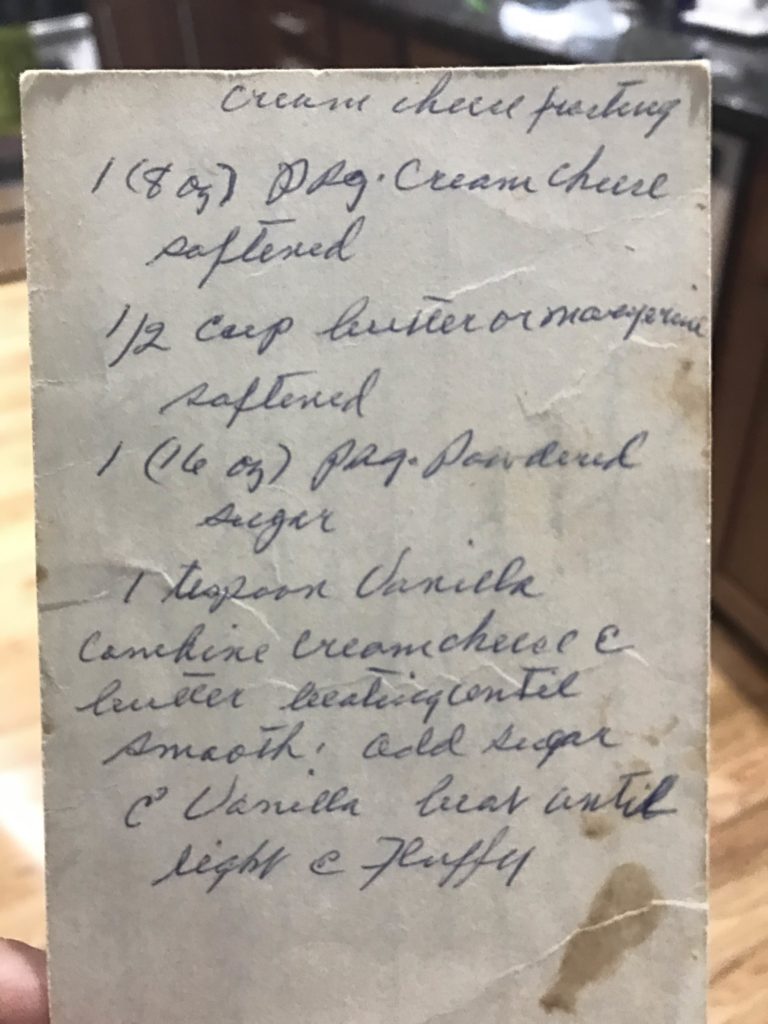


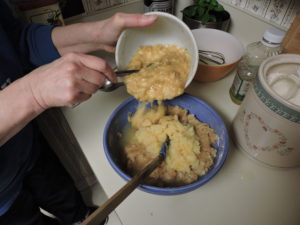
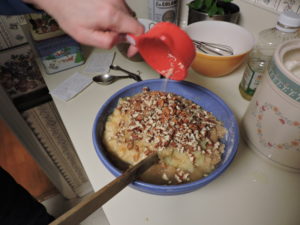
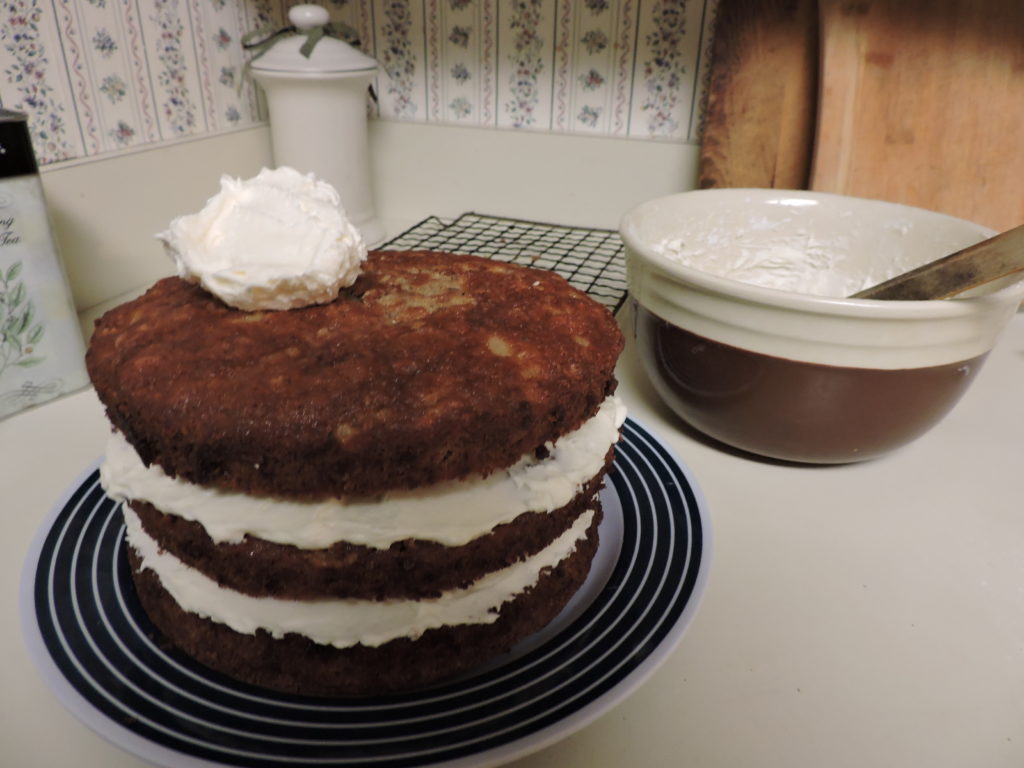 Then it was time to assemble and frost the layers. For the icing, I creamed together 1/2 cup of butter and 8 ounces of cream cheese, added one 16-ounce package of powdered sugar and 1 teaspoon of vanilla and beat till light and fluffy. I iced the first layer, set the second atop it, applied more icing and topped it with the final layer.
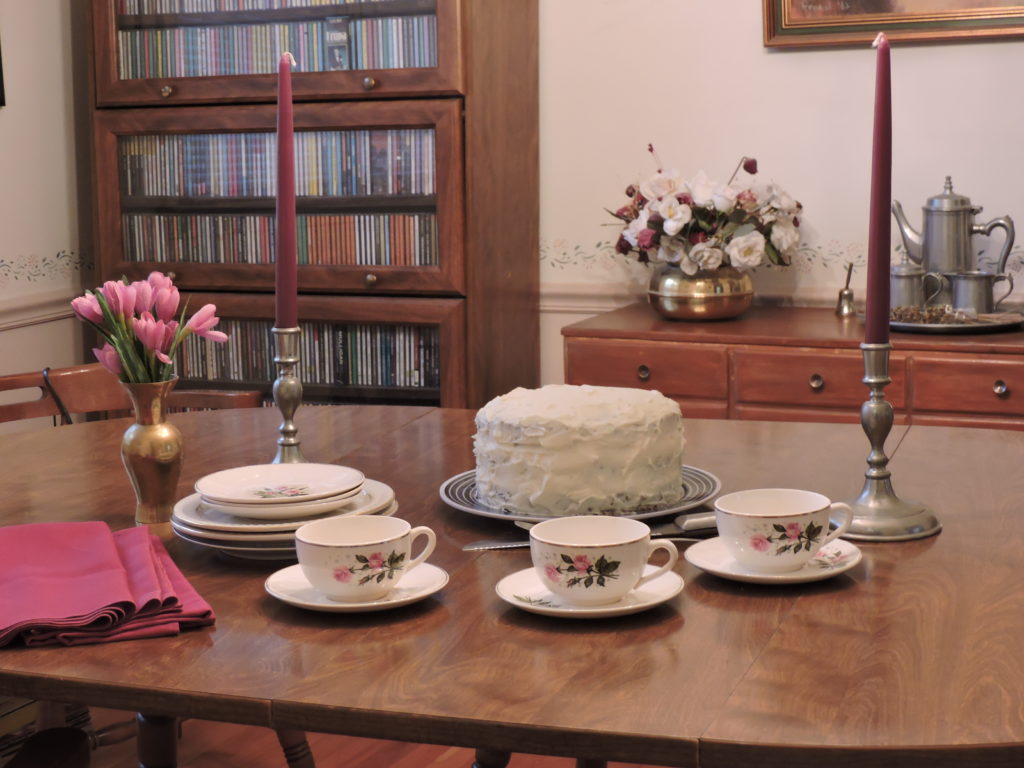

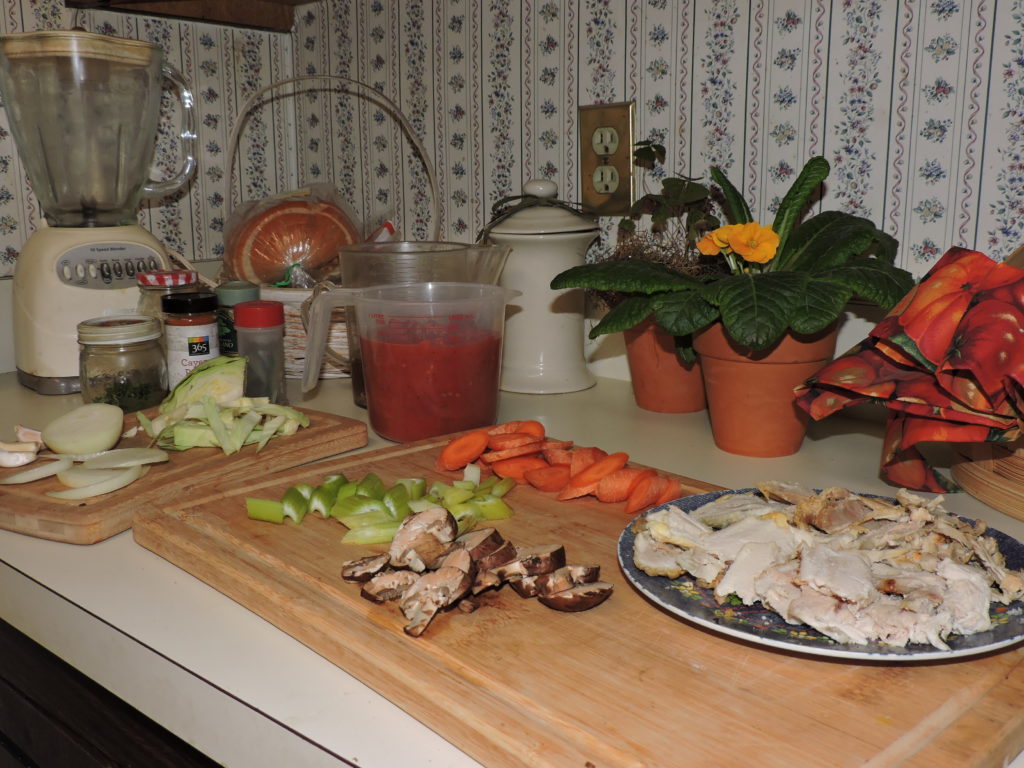
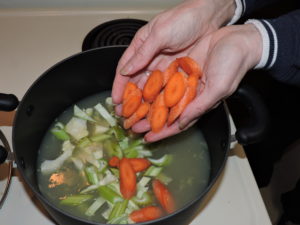
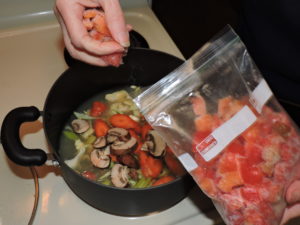
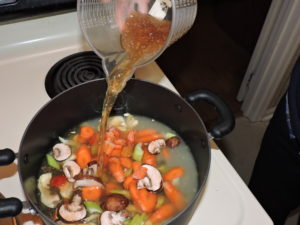
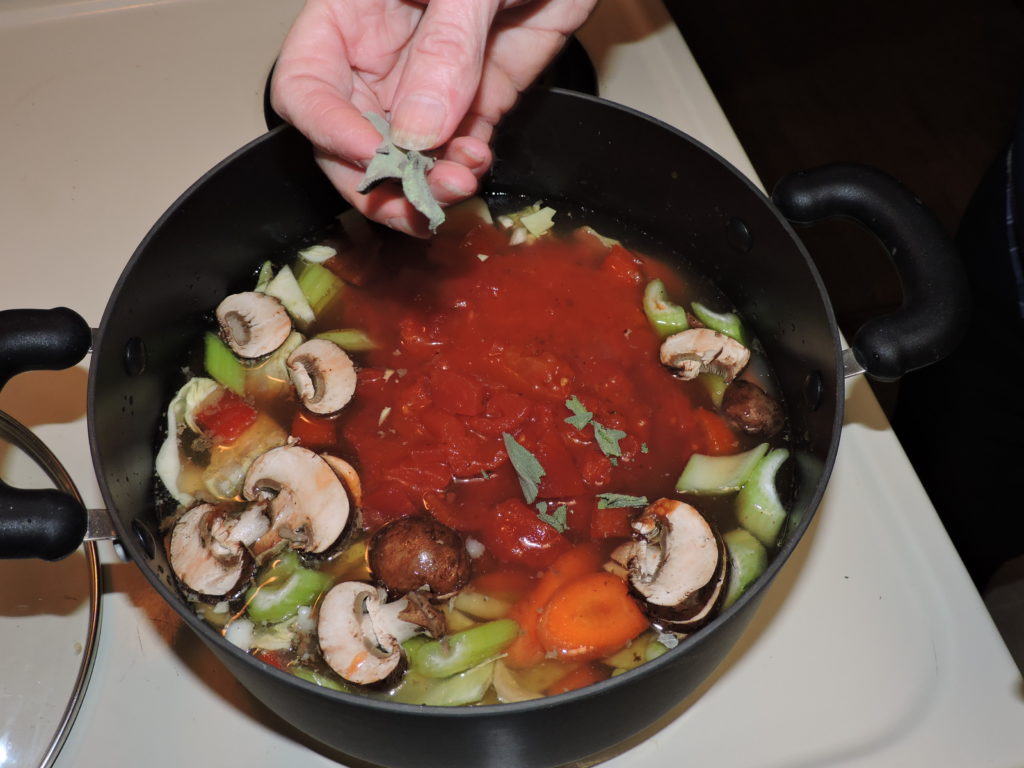
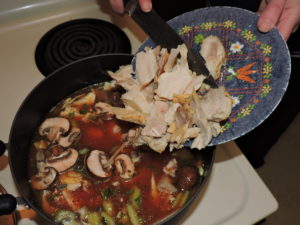
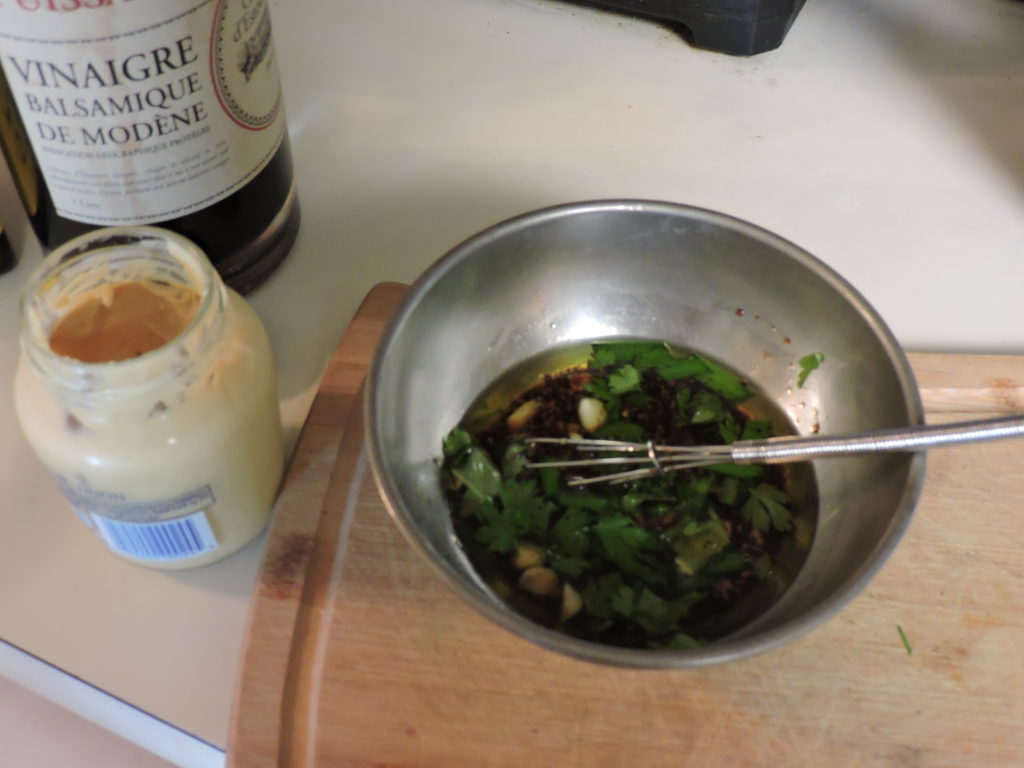
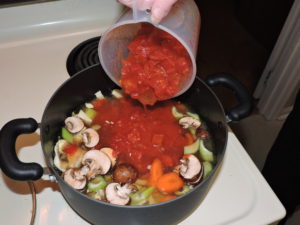 Then come the seasonings. If using dried herbs crumble them into the soup. Add a pinch or two of cayenne, a potent germ killer, and salt to taste.