Chives in bloom? Perfect time for Mary Swanson’s Scandinavian Potato Salad

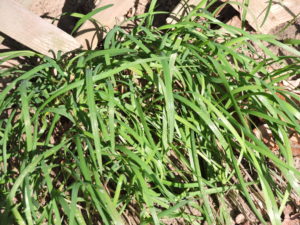
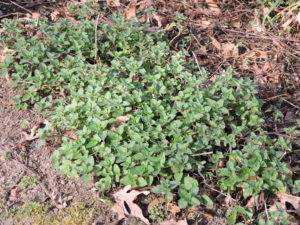
From the moment my garlic chives pop out of the soil each spring till frost threatens and they disappear to overwinter below ground, I use them by the handful.  I particularly love when the chives burst into bloom at the end of August.  Bumblebees and honeybees swarm above them in the afternoon sun and frequently touch down on the lovely white blossoms pollinating as they go.

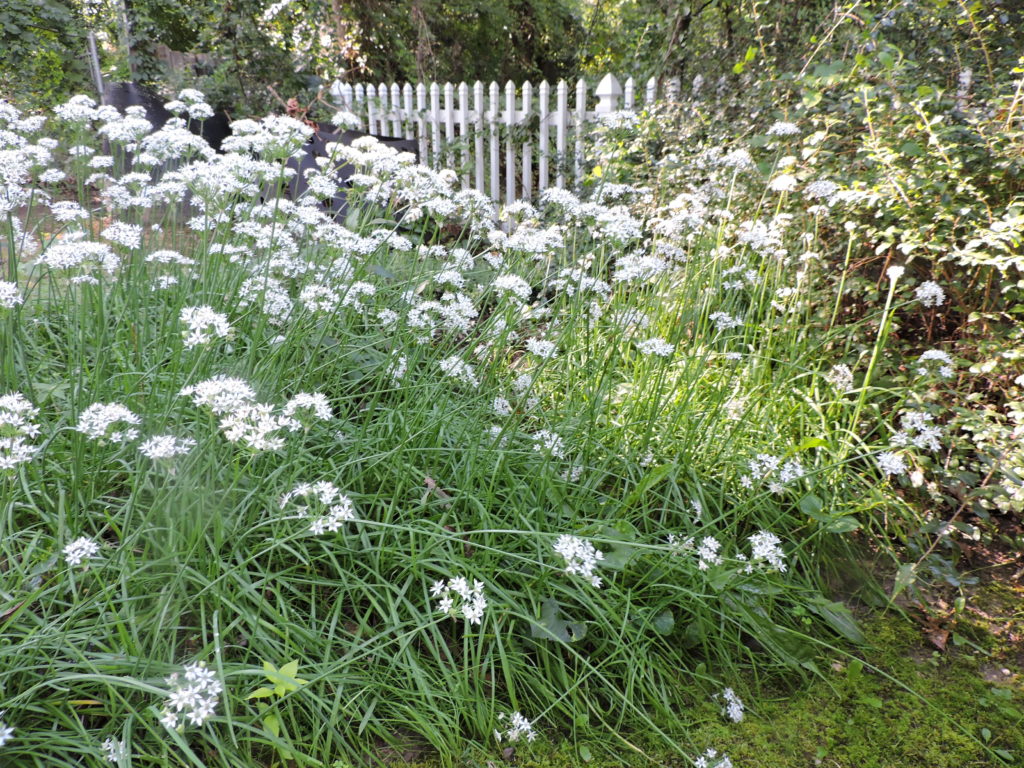
Garlic chives are one of my favorite herbs.  They are mild with a flavor between spring onions and garlic.  I occasionally use them to make my friend Mary Swanson’s wonderful Scandinavian Potato Salad recipe – a salad that’s perfect for an outdoor meal.

I first tasted this dish at  a “race day” luncheon for six prepared by Mary and her husband Ernie, a fine cook in his own right.  The Swansons are avid Formula I auto racing fans – a passion we all share.  So getting together to watch live coverage from racetracks around the globe is a fun way to spend an afternoon.

Scandinavian Potato Salad was but one star of the race day meal.  Ernie’s perfectly prepared pork medallions were great and Mary’s colorful pepper-studded black bean salad  hit the spot.

Still, it was the potato salad that captured my attention.  Different from any I’d ever tasted, it was so good I had a second helping.  I immediately asked for the recipe and Mary kindly wrote it out for me.  I share it now with you.

Mary Swanson’s Scandinavian Potato Salad

6 to 8 potatoes (Any kind  will do.  I used some white potatoes I had on hand, however, Mary most often uses medium sized red bliss potatoes.)

2 teaspoons (Add most to cooking water but reserve a little for dressing. Adjust to taste in accordance with amount of potatoes used.)

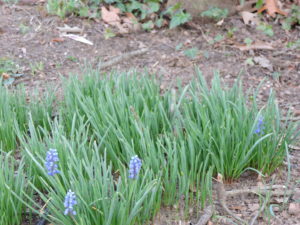
1 bunch garlic chives  (lavender-blossomed onion chives can be substituted and are equally good)

1/3 cup oil  (extra virgin olive oil is good but your choice)

1/4 cup red wine vinegar

1 Tablespoon sugar

1 teaspoon Dijon mustard

Remaining salt

1/2 teaspoon pepper (Or peppercorns – several grinds of the pepper mill)

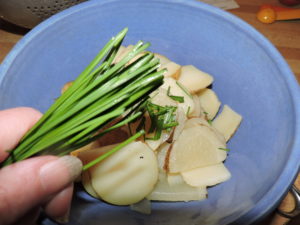
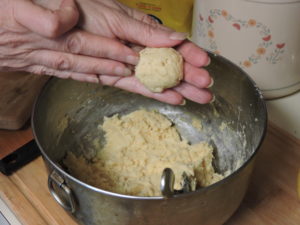
Slice potatoes in rounds and place in a large saucepan with 2 to 3 inches of water and most of the salt. Bring to a boil.  Reduce heat.  Simmer till done.  Drain potatoes and place in large bowl.

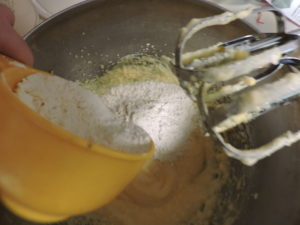
Meantime make dressing by combining oil, sugar, the remaining

salt, the Dijon mustard and pepper.  Mix well and pour over potatoes and chives.  (Best done while potatoes are still warm when dressing’s easily absorbed.)  Can set out early as this mayonnaise-free side dish will not spoil if the day is warm.


Mary emphasizes that this is truly a taste-as-you go recipe with the amount of salt added determined by the number and size of the potatoes used.  You can add an extra dash or two of vinegar for a more piquant flavor.

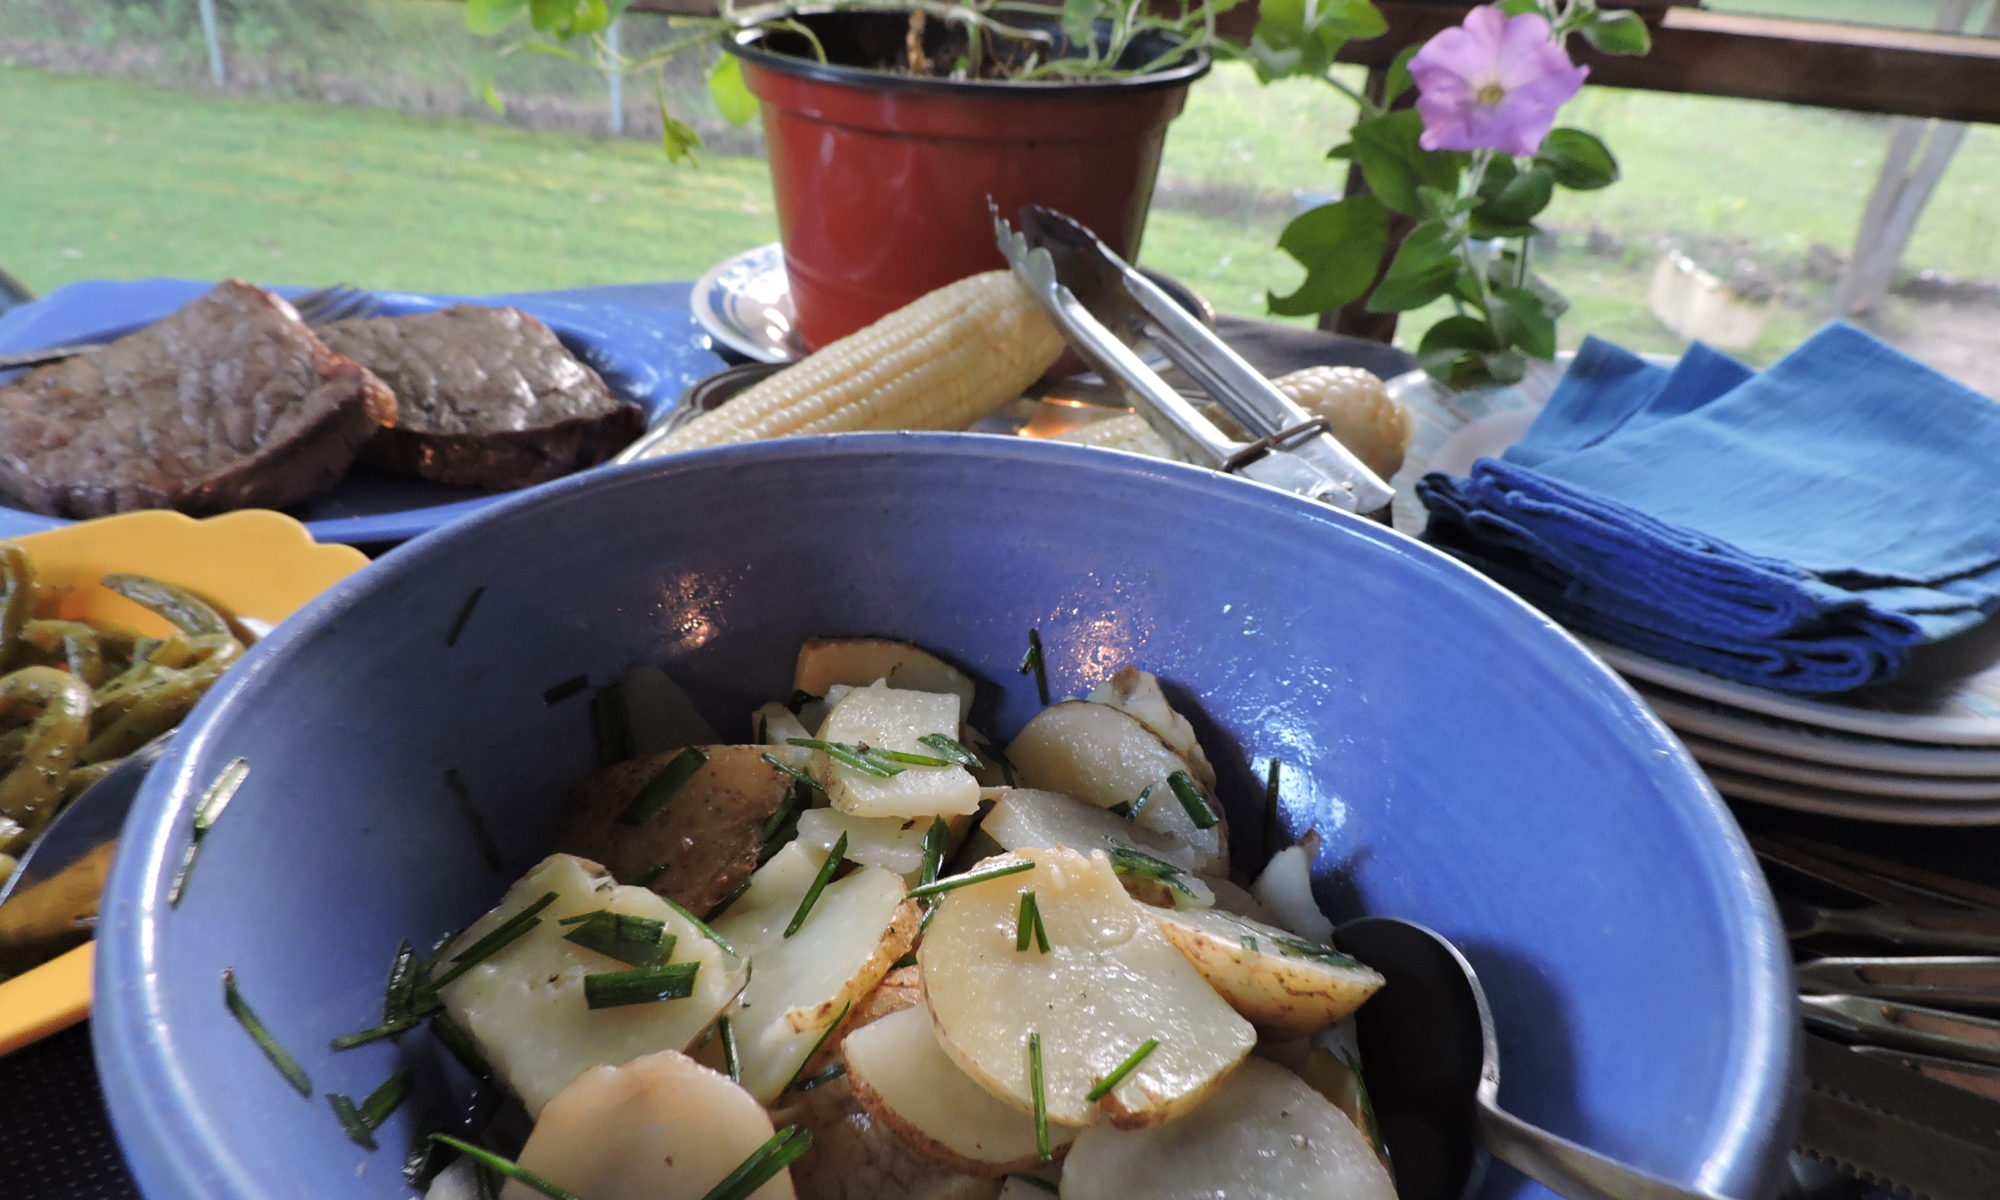
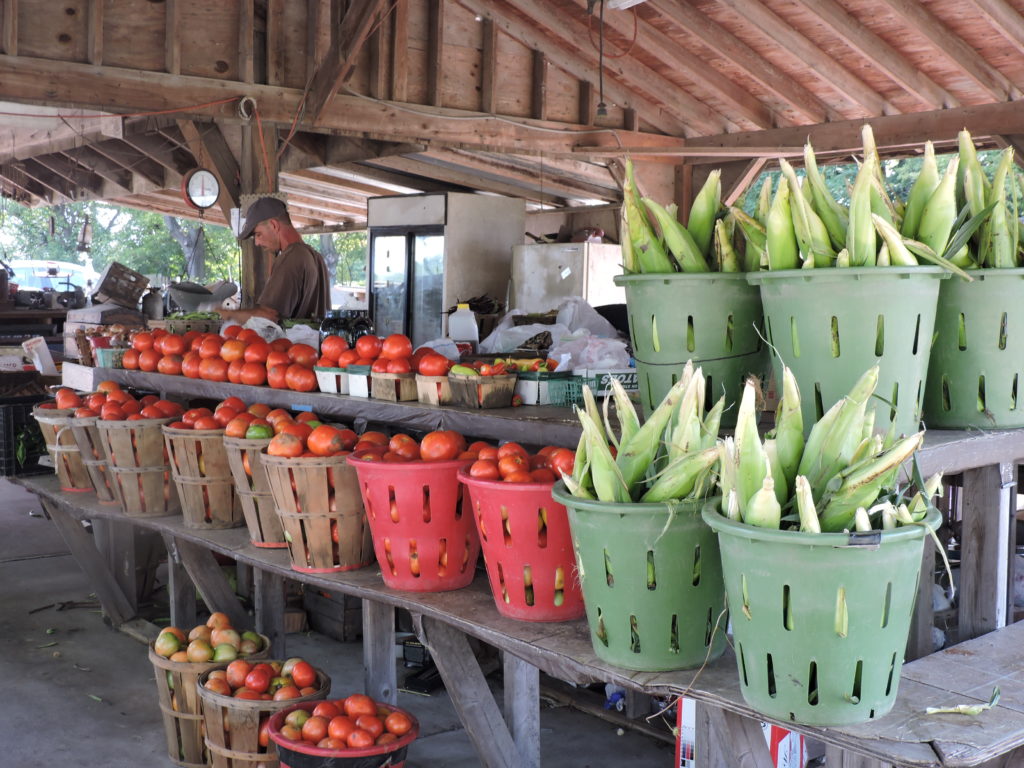
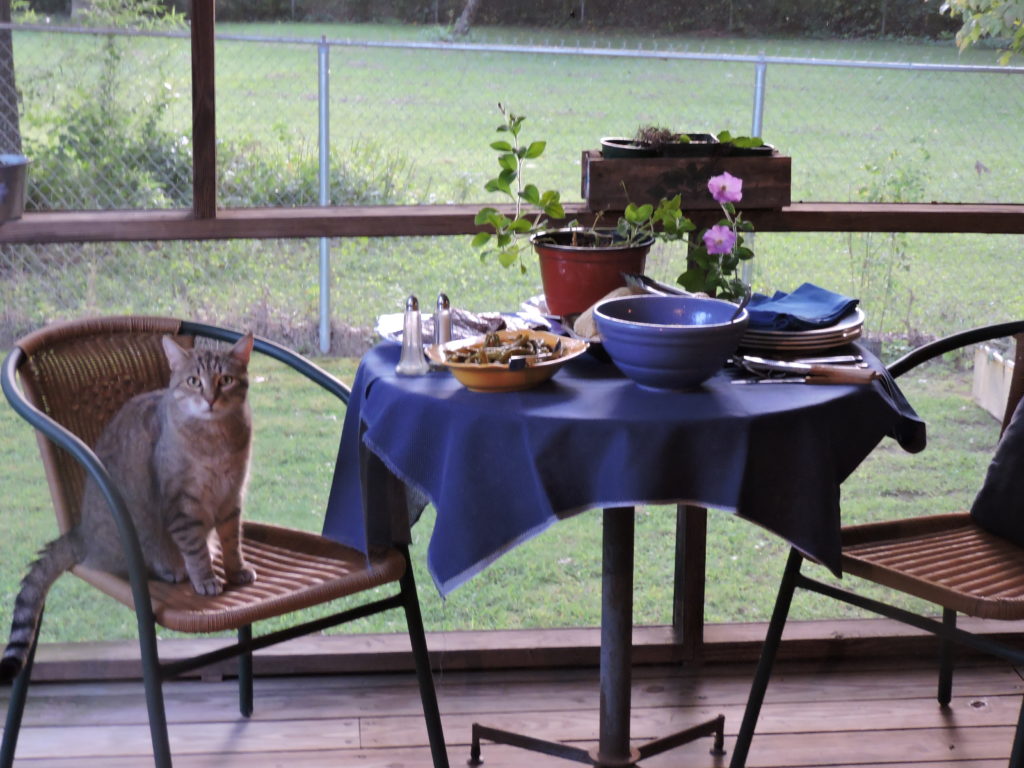
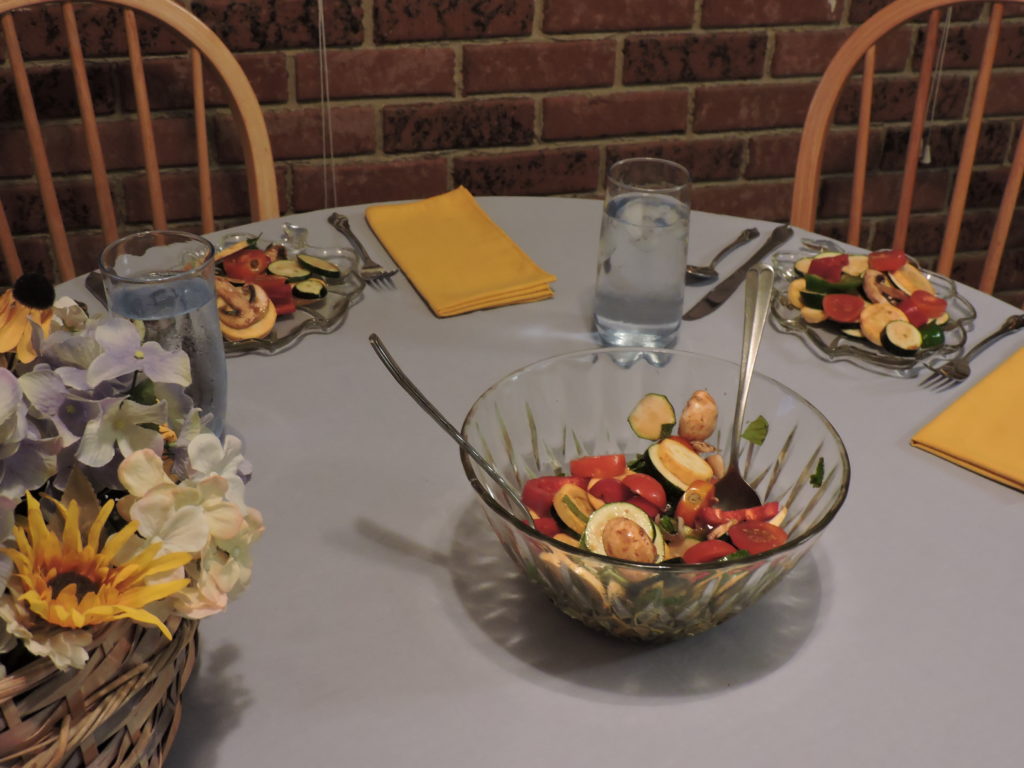
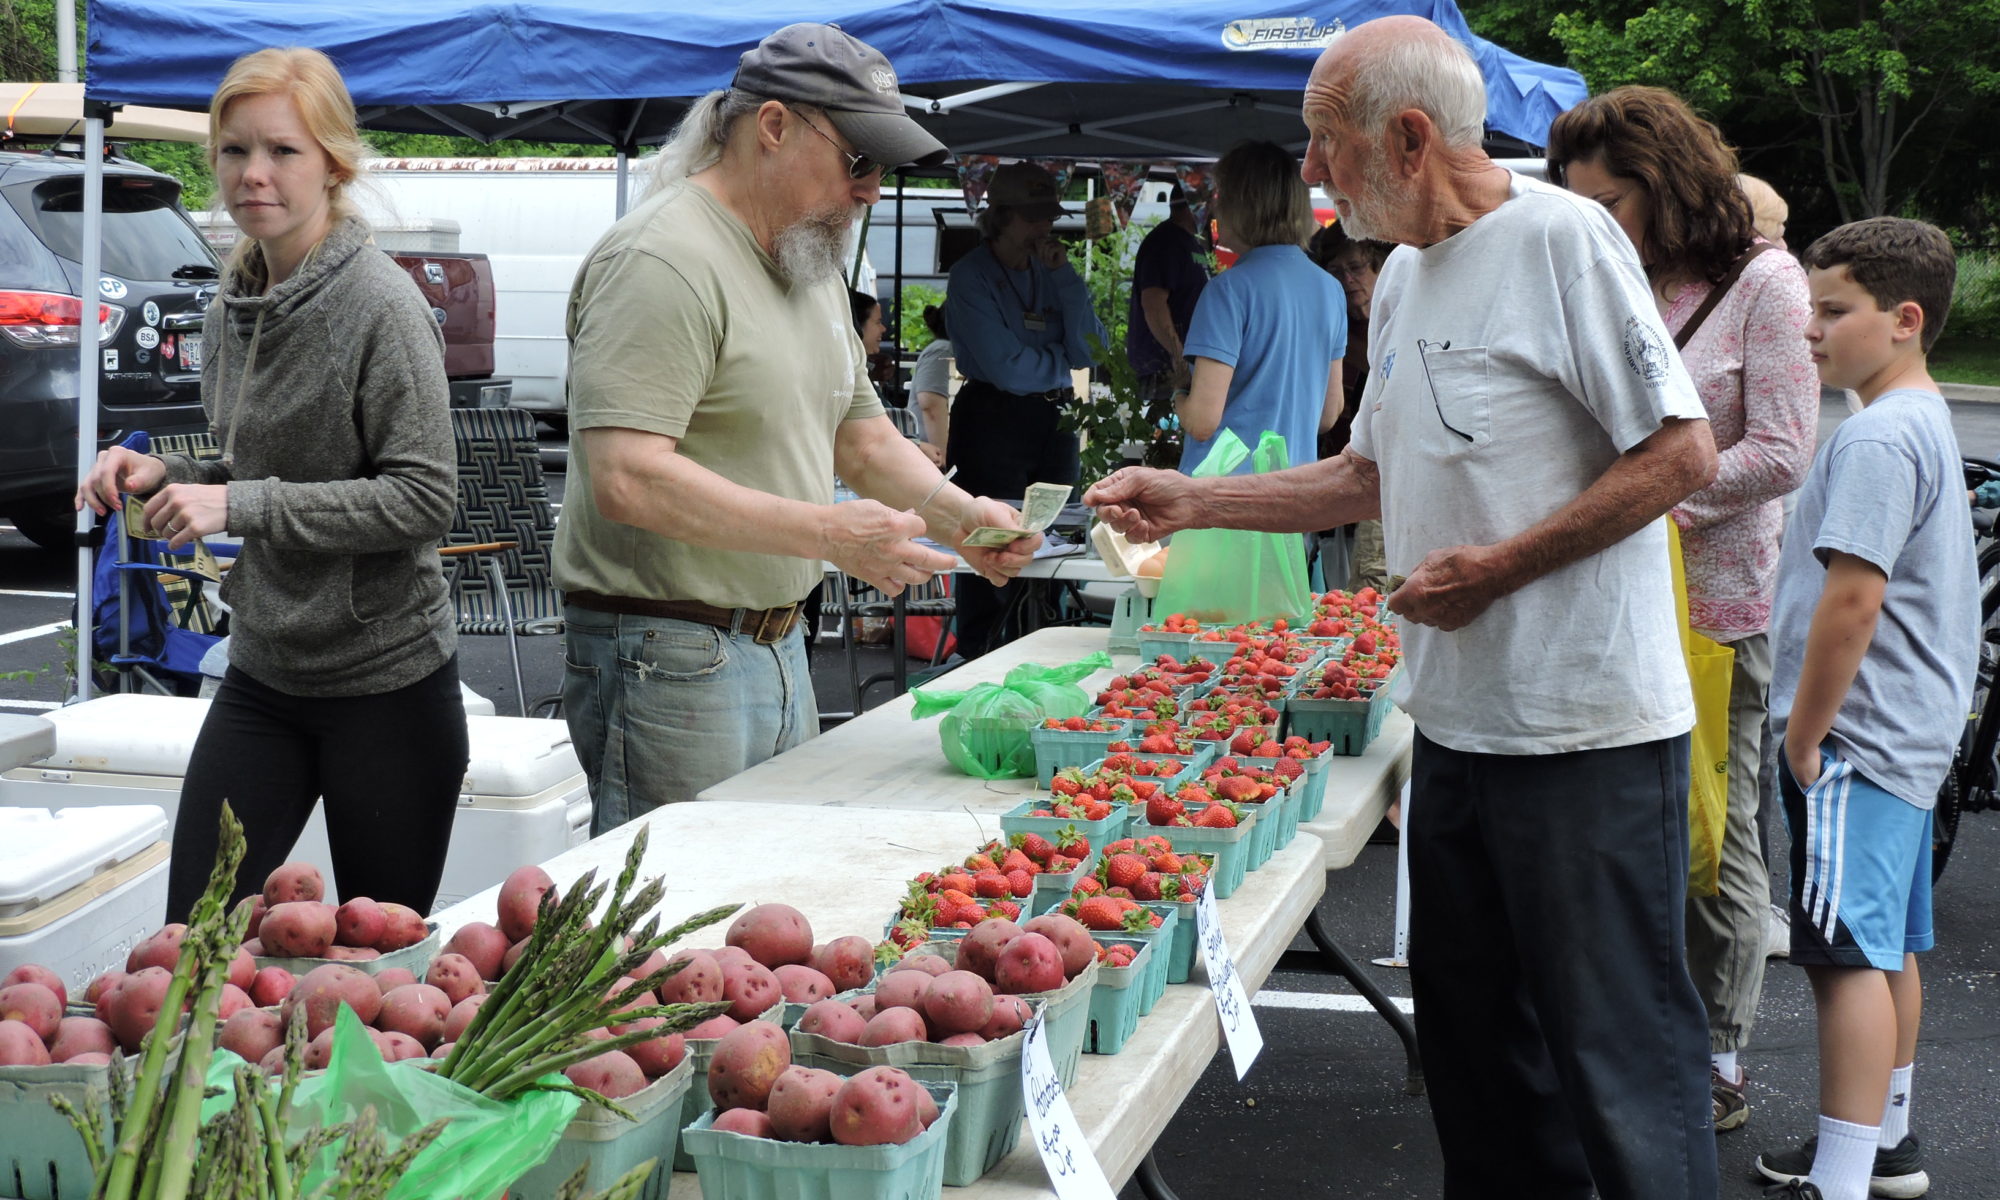
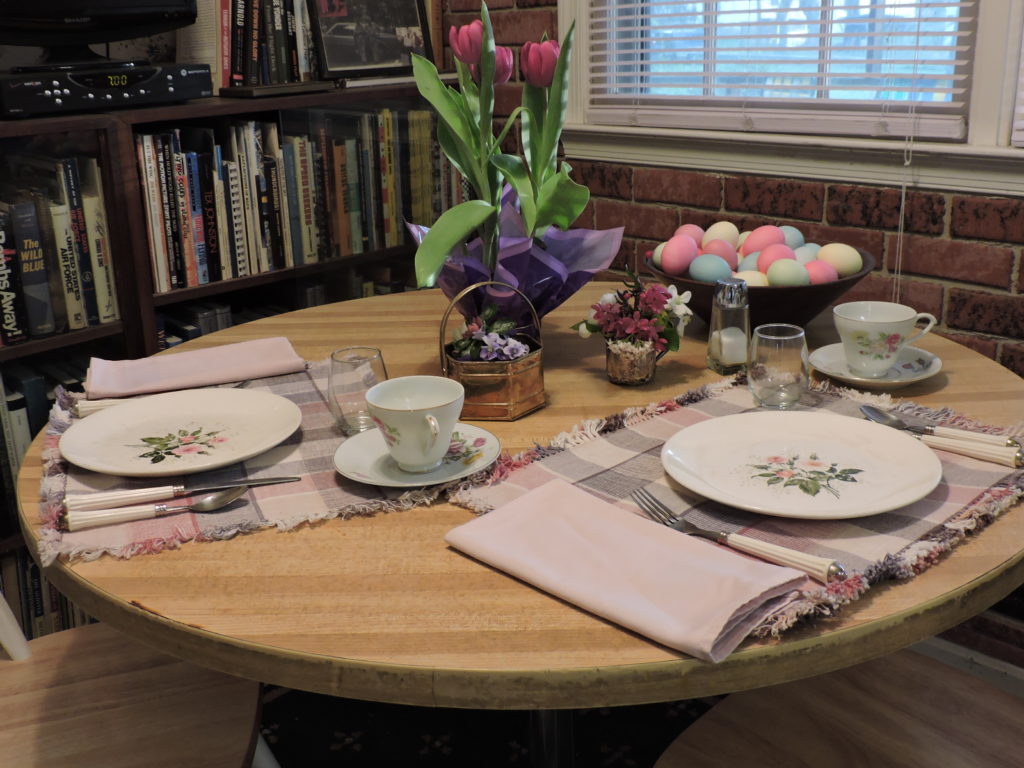
This tangy potato salad is a great accompaniment for meat or poultry and is so easy to make.  I served it this time with steak and end-of-summer veggies including Anne Arundel County corn on the cob from Pumphrey’s Farmstand on Veteran’s Highway in Millersville, Maryland and just picked green beans prepared the old-fashioned way.

Everyone grabbed a plate and enjoyed the meal,.  Even our guilty-looking  cat Biscuit (who invited himself to dinner) managed to con us out of several bites of steak and had a fine old time.

               Everybody grab a plate and help yourselves.  No…not you Biscuit!


Savor summer’s flavors with Curried Green Tomatoes, Zesty Zucchini Salad

Reasoning that Diehl’s Produce of Severna Park was the ideal candidate for a Local Food Picks column I was writing for Annapolis-based Capital Newspaper in July of 2011, I hopped on my bike and pedaled toward the open-air market.

From plums, peaches and melons to Eastern Shore corn on the cob, the produce beneath the red and white striped tents was picture perfect…great for the column.  But I needed a recipe or two to share with our readers so I  searched out manager Jennifer Diehl.  Pointing to several cardboard cartons of good-sized green tomatoes Jennifer said, “I have just the recipe for you.”

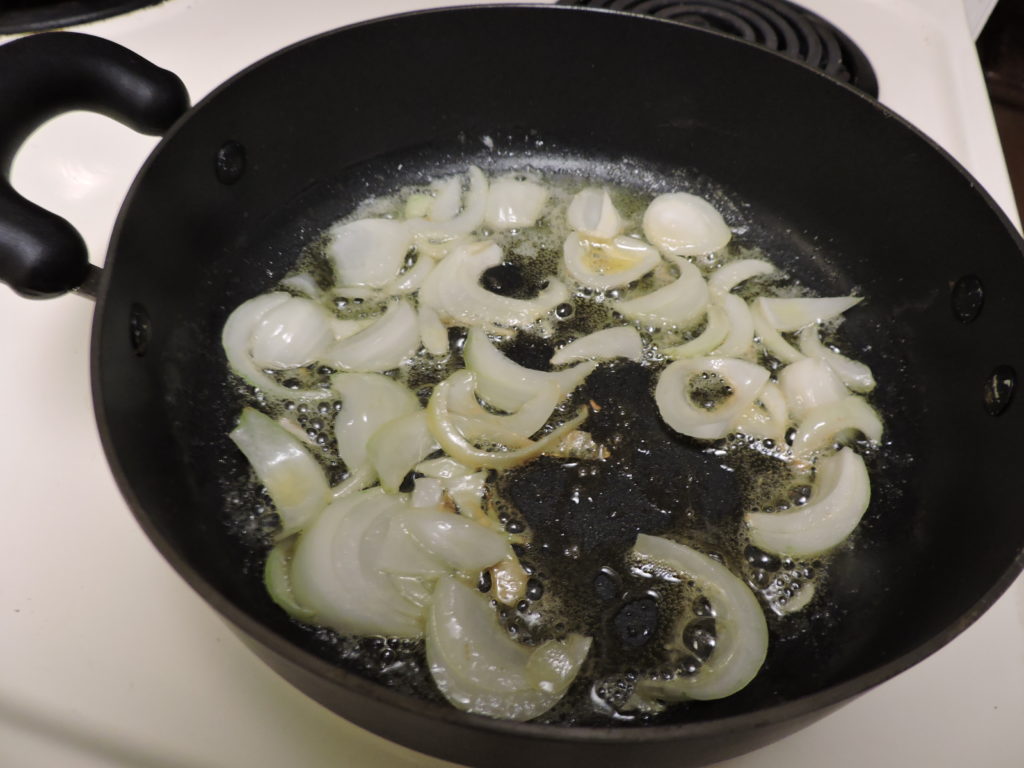
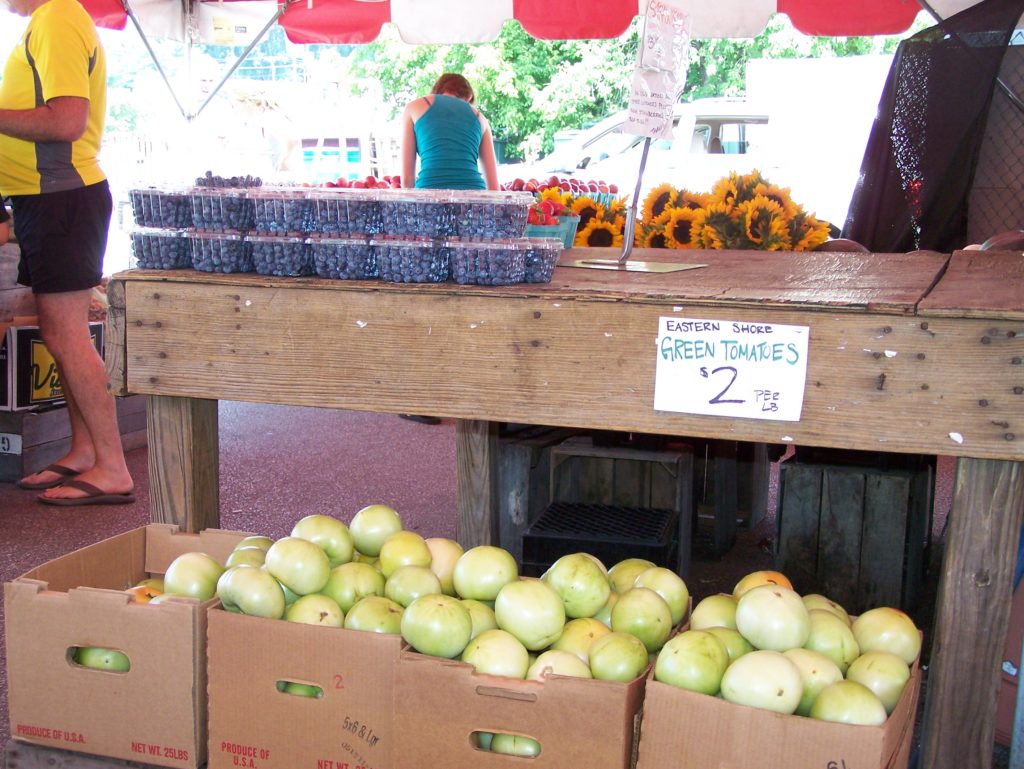
According to Jennifer, longtime customer Judy Ridgely shared her recipe for Curried Green Tomatoes with the Diehl family and they found it absolutely delicious.

It’s definitely one of the most delightful summer recipes I’ve ever tasted and very easy to make.  With Judy’s blessing, we shared it with Capital readers in 2011 and share it now with you.

Judy Ridgely’s Curried Green Tomatoes

2 tablespoons butter

1/2 onion chopped relatively fine

1-1/2 teaspoons curry powder

Pinch cayenne pepper

2 cups coarsely chopped green tomatoes

Salt to taste


Chop tomatoes and onions.  Melt butter in a skillet or non-stick pan.  Add the onion and cook slowly until translucent.

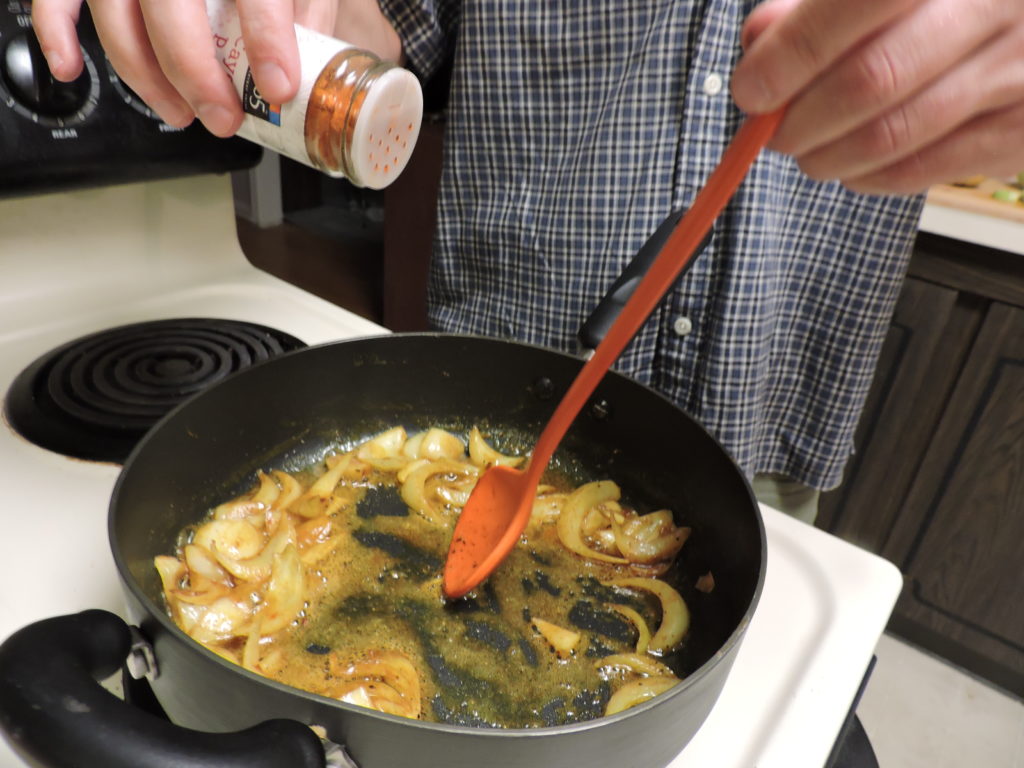
Add curry powder and blend well.  Stir in a pinch of cayenne pepper.

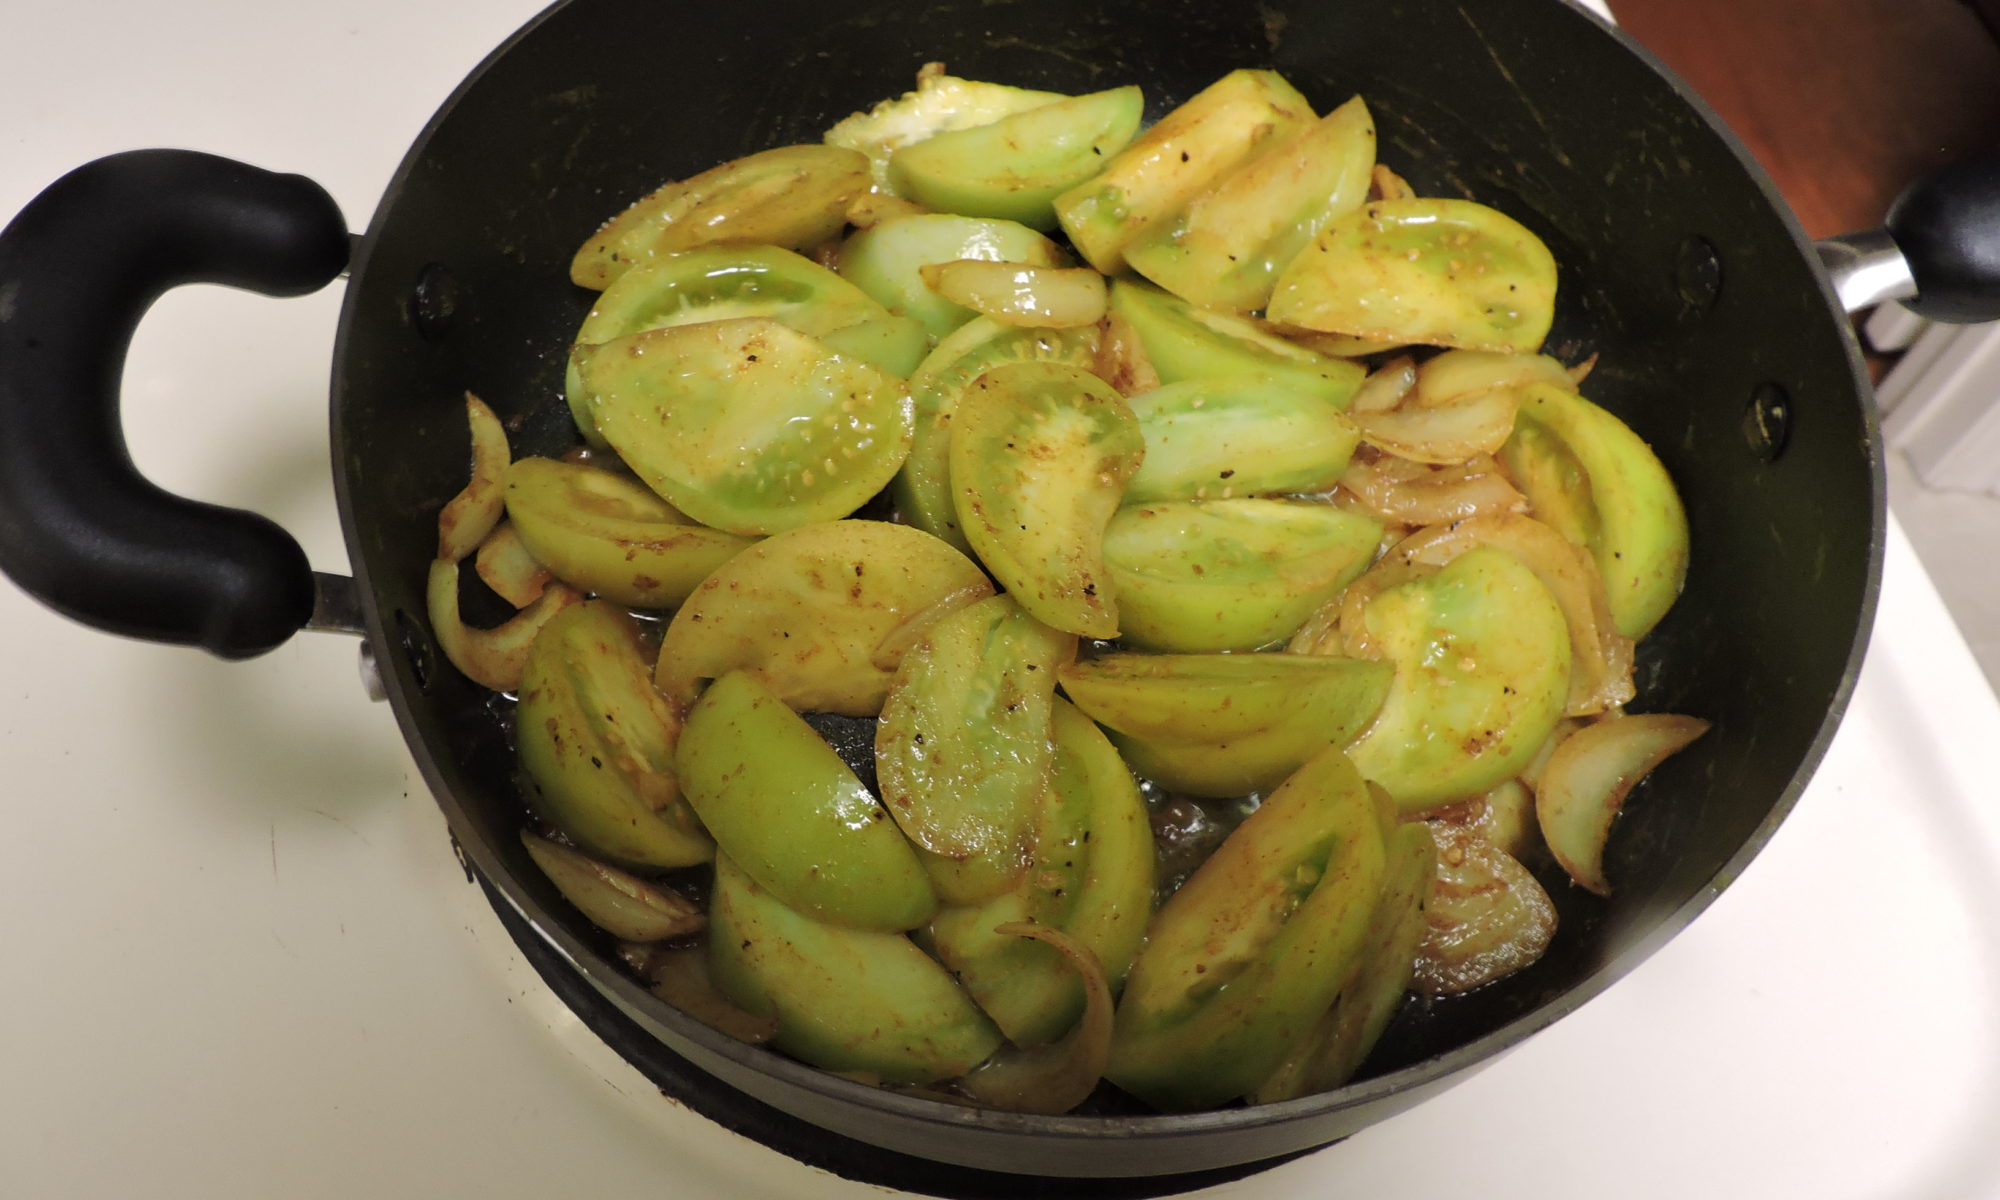
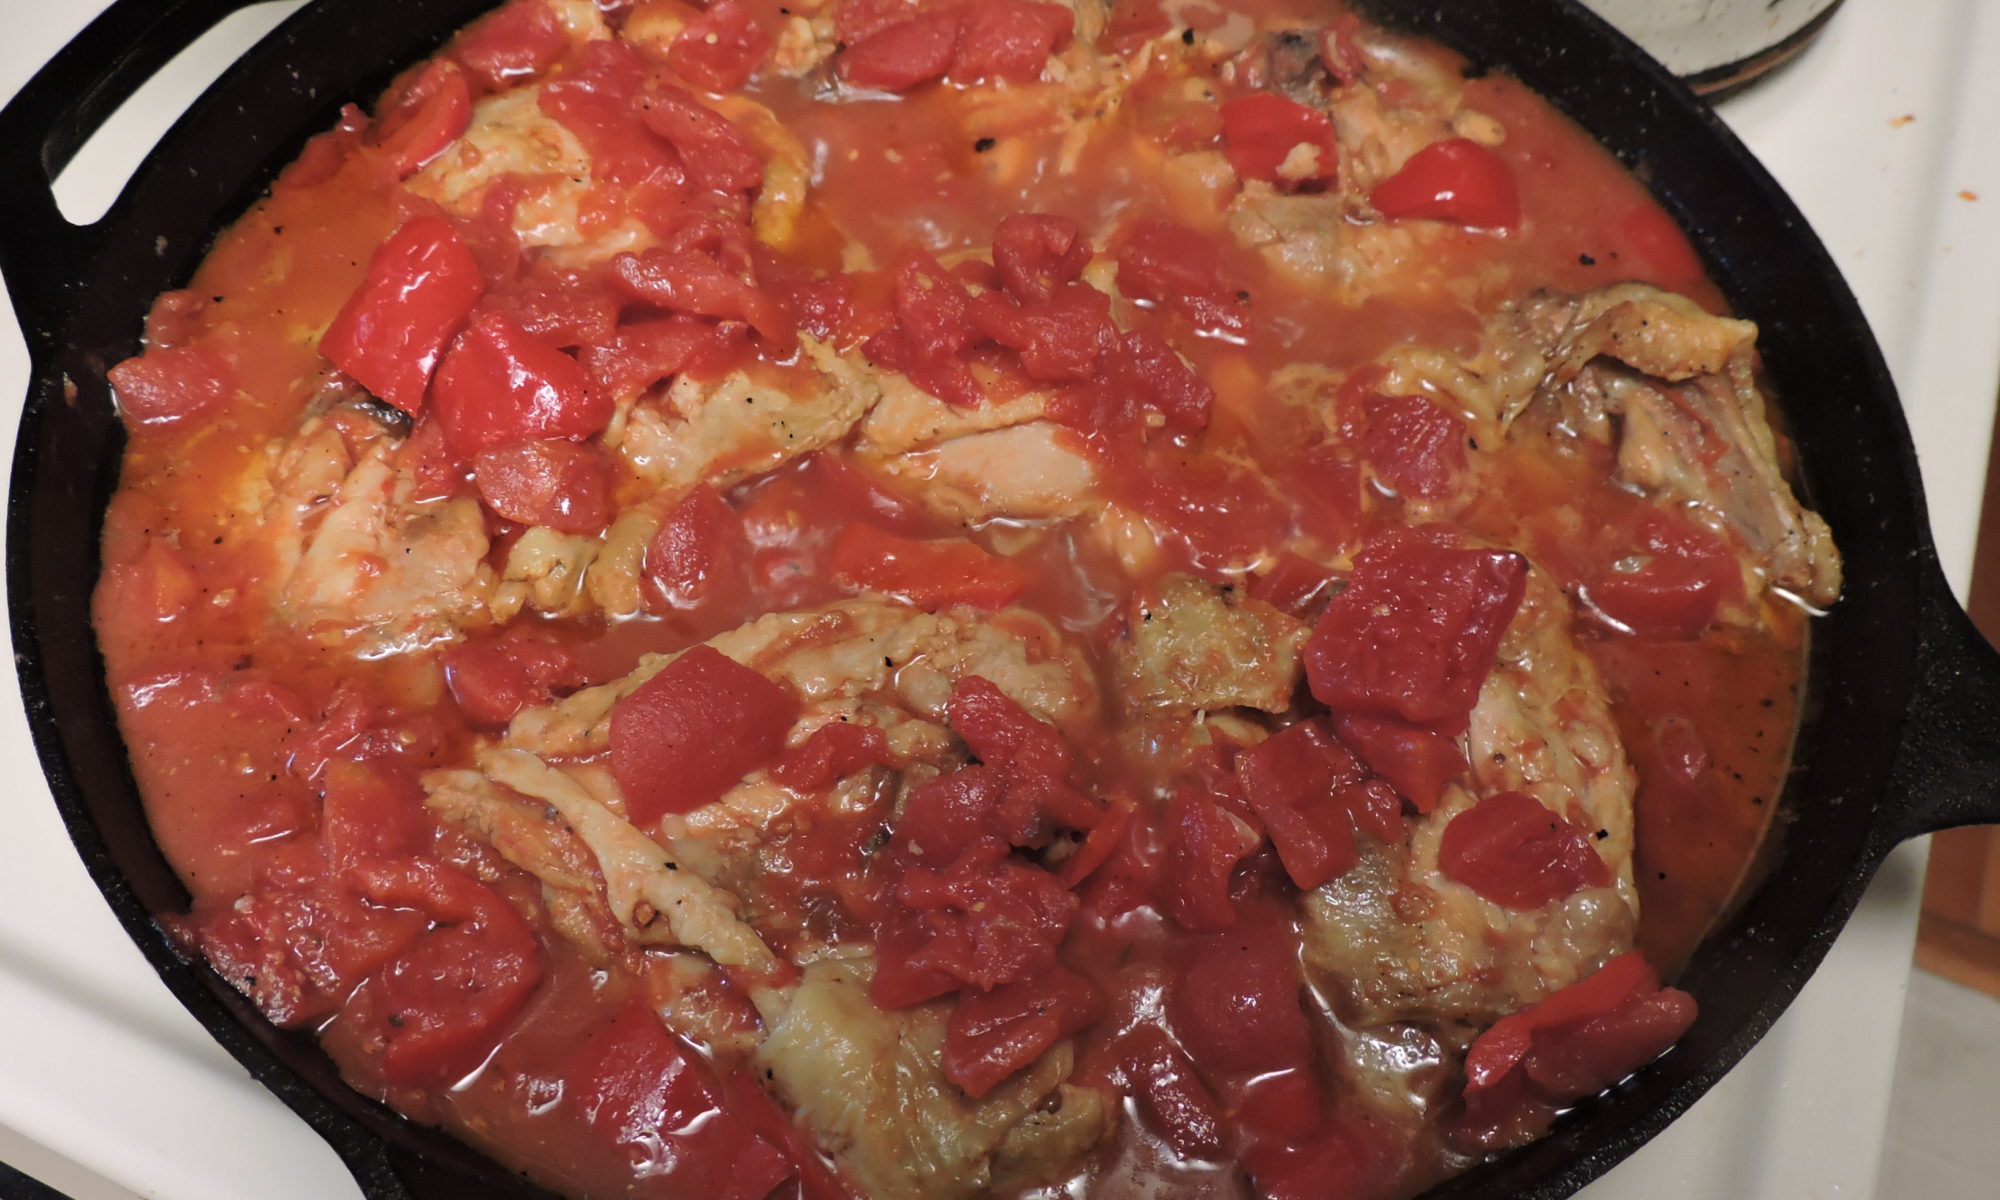
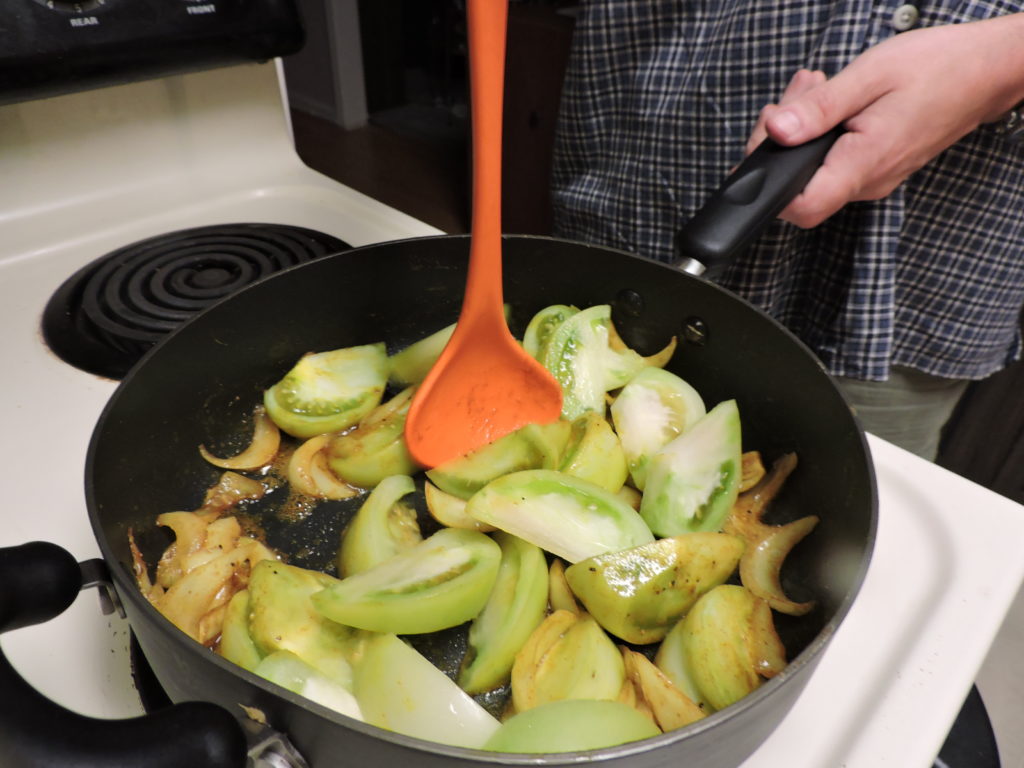
Add green tomatoes and cook, stirring for 3 to 4 minutes during which time they’ll from green to gold.  I like them served warm with a range of meats or poultry.

Green tomatoes were not the only great looking veggie “starring” at Diehl’s that day.  At a nearby stand, I found the makings for a recipe of my own creation.

With such a wide variety of local and regional vegetables available mid-July, it wasn’t hard to choose ingredients for a super salad.

Sharon Lee’s Zesty Zucchini Salad with Balsamic Vinegar Dressing

This refreshing salad makes a pretty first course for a summer supper. The main course this day was a casserole dish featuring chicken and mushrooms.

The  vegetables used for this dish can vary according to what looks fresh.  (Cucumbers substituted for the zucchini are equally delicious. )

                          The basic recipe

2 small zucchini (or 1 large)  –  sliced in rounds 

1 small yellow summer squash –  sliced in rounds

1/2 red and/or green pepper roughly diced

6 to 12 cherry tomatoes – sliced in half

Slices of mild onion (like Vidalia) to taste 

2 or 3 leaves of basil and/or freshly picked sage

Sprigs of flat leaf parsley

Extra virgin olive oil

Balsamic vinegar

Red wine vinegar

1 teaspoon of sugar

Mushrooms (optional )

Wash and gently dry the vegetables.  Then chop the zucchini and squash into rounds, halve the cherry tomatoes, and slice the onions, peppers and mushrooms.

Layer the zucchini, squash and onions in a pretty bowl or serving dish.  Add additional layers of peppers, and cherry tomatoes.  Top with finely chopped basil, parsley and/or sage.  

When finished,  sprinkle sugar lightly over the top of the salad.

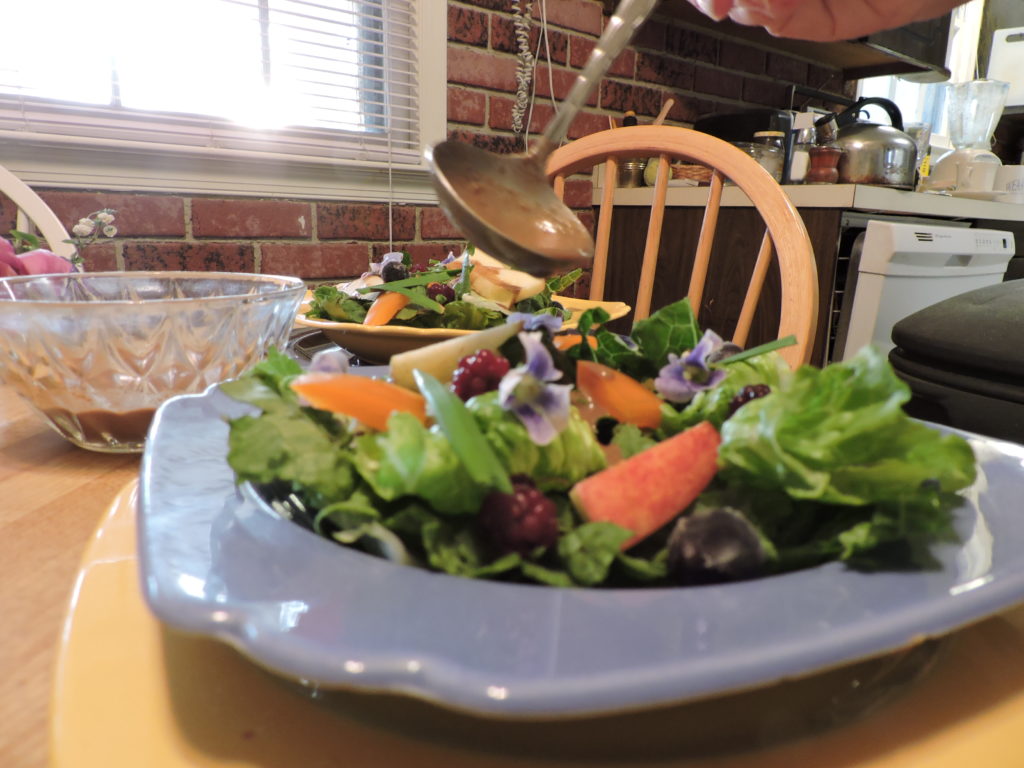
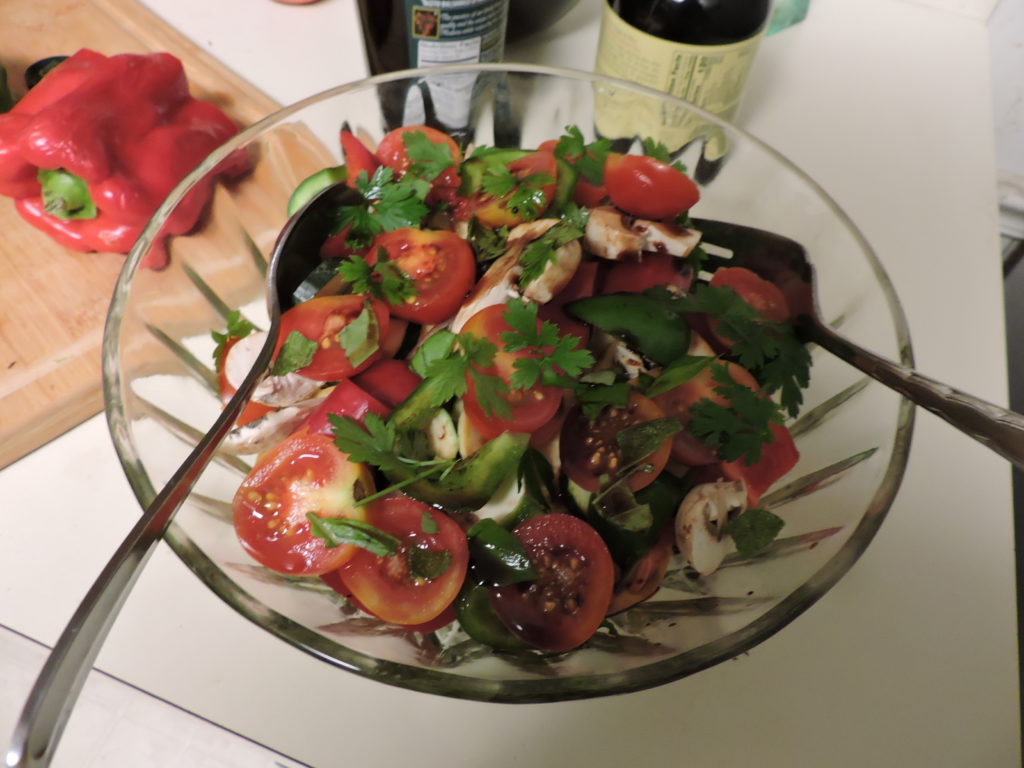
Drizzle with olive oil and  balsamic vinegar.  Finish by adding a splash of red wine vinegar for a pleasant touch of tartness.  Toss ingredients together and plate.

Serve separately or as an accompaniment to poultry, meat or fish along with other side dishes.  Though delicious when served immediately, the salad is even better when allowed to marinate in the refrigerator for an hour or more.

Simple Summer Supper simmers as you play – Sally’s Chicken Cacciatore, lemony cookies too

An invitation to dinner at Sally and Ken Stier’s home is always a delight.  You know dinner will be great and you’ll have the fun of watching Sally – the most naturally gifted cook I know – prepare it.

Stepping through the door on our latest visit, we were greeted by the aroma of Chicken Cacciatore simmering away on the stove.  Handed a glass of wine, other guests  joined artist Ken in the studio where his watercolors are displayed.

But I hung out in the kitchen where Sally moved effortlessly from sink to counter to stove – washing and trimming green beans, cutting up vegetables for a salad,  giving the chicken an occasional stir – and chatting all the while.

Served in the dining room with salad and the aforementioned green beans, the Cacciatore was superb. The recipe for it originated with Sally’s Italian mother Millie Ruggieri Pannell  who made it often.

“Our family didn’t have a lot of money so my mother was thrifty.  This recipe using chicken thighs was easy on the budget,” she said.

Sally shares it here.

Millie Ruggieri Pannell’s Chicken Cacciatore

1 Tablespoon olive oil

8 Chicken thighs

(Sally used skinless, deboned thighs her supermarket had on sale but says using bone-in thighs with skin on works well too)

1 whole red pepper diced

1  16-ounce can diced tomatoes (any good brand)

1  8-ounce can diced tomatoes (any good brand)

Handful of mushroom slices (optional)

(You’ll need a large saucepan or skillet.)

Heat oil over high heat and brown the 8 thighs on both sides.  Remove thighs from pan to a plate.

Saute diced pepper in remaining fat (if excessive pour a bit off)

Return thighs to pan.

Pour both cans of diced tomatoes into pan over chicken and toss in mushrooms if using.

Turn down heat and allow to simmer for two to three hours

Serve over spaghetti or linguine

I like to serve Chicken Cacciatore over spaghetti with a simple green salad.

Note: The diced red pepper and long simmering time develop an amazing depth of flavor…without adding any salt.  Sally’s family grows mushrooms so she’ll sometimes add a handful but they’re optional.

Since both the tomatoes and red pepper in this hearty recipe are packed with vitamins and a good source of dietary fiber,  I find a  green salad the perfect complement.

For a light dessert, I like to trot out a recipe for lemon sugar cookies that I discovered over a decade ago in a book called “Lighthearted Everyday Cooking” by Anne Lindsay published in conjunction with The Heart and Stroke Foundation of Canada in 1991.  It’s still available.

I got my copy in 1994 at a time when the American Medical Association was recommending that polyunsaturated margarine be used in place of butter.  Thus, margarine is the fat listed in the recipe.  I recommend using a “trans-fat free” margarine like Land O’Lakes .

I’ve made only one ingredient switch to the original recipe substituting finely ground millet for some of the flour as it adds a light but interesting texture.

Lemon Sugar Cookies

1/4 cup soft trans-fat free margarine

2/3 cup granulated sugar

1 egg

2 Tablespoons lemon juice

1-1/4 cups all purpose or unbleached flour

2-1/2 Tablespoons plus 1 teaspoon more unbleached flour mixed with 2-1/2 Tablespoons of finely ground *millet  (or 1/3 cup wheat flour)

Grated rind of 2 lemons

1/2 teaspoon baking soda

1 Tablespoon granulated sugar for sprinkling

Mix together soft margarine and sugar and add egg.  Mix well.

Then squeeze and add two Tablespoons lemon juice.  Beat until light and fluffy.


Add flour, millet/flour mixture (or whole wheat flour), grated lemon rind and baking soda.


Shape tablespoonfulls (I use two soup spoons) of dough into balls.


Place on greased cookie sheets.  (I coat my timeworn favorite cookie sheets with canola oil.)  Use the tines of a fork to press the balls of dough flat. Sprinkle a little granulated sugar on top.

Bake in 350 degree oven for 10 minutes or till firm.  Makes 40 cookies that smell heavenly while baking and taste even better.

Light and lemony, these cookies are wonderful on their own or served with a piece of fruit and tea or coffee.


It’s Berry Time – from Banana/Berry Pancakes to Chilled Blueberry Soup

It’s berry time, one of my favorite times of the year.  Nothing tastes quite like berries ripened on the vine.  And lucky me.  Strawberry season has begun and I’ve found several sources nearby.

Baltimore-based Zahradka Farms brought boxes and boxes of freshly picked strawberries to the Severna Park Farmers Market on Saturday.  Also found strawberries at Diehl’s Produce Severna Park and at Diehl”s Produce of Annapolis.

Of course,  when white blossoms appear on the black raspberry vines in my own garden in April, I love it.  By the end of May, they’re beginning to ripen and I watch with anticipation as they turn from light green to red and finally deep purple.

I love watching the black raspberries in my garden ripen as they turn from light green to red and, finally, to purple.

This year I’ll have quite a haul of my own berries.  But I also have local sources for pick-your-own red raspberries, blackberries and blueberries  – enough to pick and eat with plenty left over to freeze.

(To freeze,  rinse berries, scatter them  on a cookie sheet and place uncovered in your refrigerator’s freezer.  When frozen, transfer  into containers or seal in freezer bags.)

Berries are splendid eaten in dessert dishes unadorned…or with a dollop of whipped cream.  However,  I use fresh and frozen berries of all kinds in a variety of recipes including Banana/Berry Pancakes.  The easy-to-make recipe is one you can play with by substituting different grains or berries.

You’ll need a pan or grill large enough to accommodate several pancakes at once. A cast-iron skillet or non-stick saute pan works well.  An ice cream scoop is handy for  transferring the batter from bowl to  pan.

Banana/Berry Pancakes

Dry ingredients:

1-1/4 cup flour (all-purpose or unbleached)

Pinch of salt

2 teaspoons of baking powder (Can use three if you go for fluffy)

Combine

Next four ingredients (which are optional) add flavor and  texture

1 handful Old Fashioned Oats (any brand)

1 teaspoon Sesame seeds (no need to toast)

1 teaspoon ground flax seed (grind in electric coffee grinder)

1 Tablespoon ground  buckwheat

Wet ingredients:

1 mashed banana

1 egg

1 heaping Tablespoon of plain yogurt (not Greek)

1 cup of milk (or more if needed to thin batter)

2 Tablespoons Canola oil

Berries (any variety and as many as you like)

First, mix dry ingredients together.  (You’ll note that I do not include sugar as an ingredient since the banana adds sweetness enough.)

Next, add the mashed banana followed by the egg, plain yogurt and milk. Add the Canola oil last.  Mix well by hand.

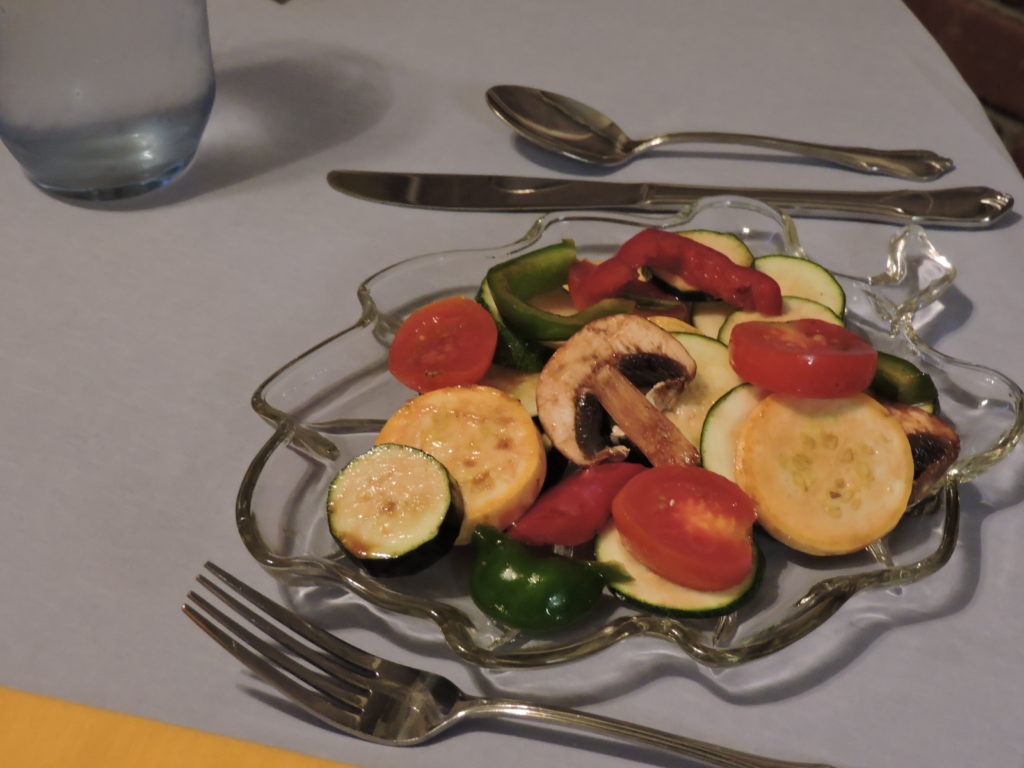
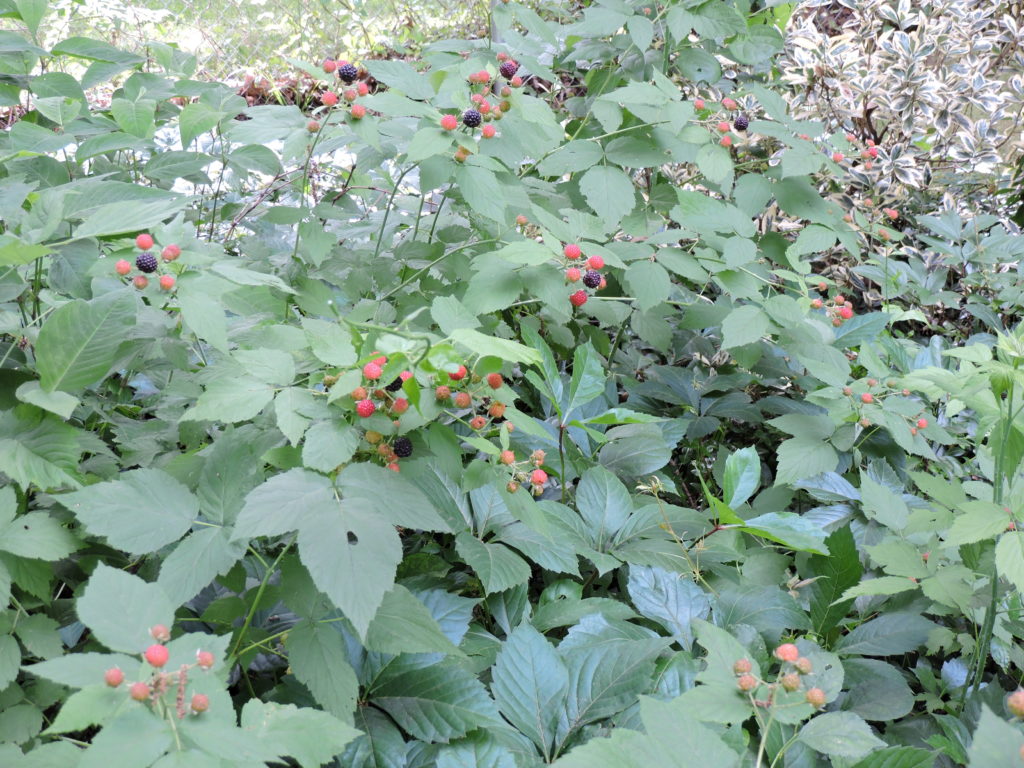
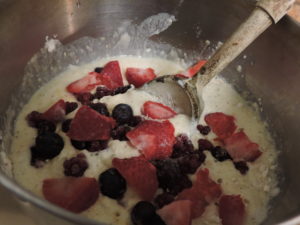
Add berries.  In this case, I used sliced strawberries, black raspberries and blueberries.

Mix well and let batter stand while you coat the pan with a light film of canola oil and heat it.

When the pan is hot, add a pat of butter and swirl pan.  Then, use a spoon or ice cream scoop to transfer batter into the pan. These hearty pancakes are quite filling so I make them medium sized.  When bubbles appear on top of the batter, flip the pancakes over with a spatula.  You’ll see that they are nicely browned.  (You may have to flip again if any uncooked batter remains on top.

You’ll note that they are not perfectly symmetrical (but they are delicious) . When done on both sides, transfer the pancakes  to a plate and top with  butter and syrup.

For house guests, I’ll add bacon or ham but for busy family members, grabbing a plate full of these hearty pancakes with a cup of coffee is a fine start to the day.

My most recent recipe discovery blueberry-wise came as a surprise to me and all who tasted it at Benevolent Baskets‘ luncheon at Chartwell Golf and Country Club.  Organized by co-founders Karen Lerario and Lesley Geisel as a fundraiser for Benevolent Baskets’ transitional skills  program for homeless women, the luncheon featured a three-course meal prepared by Chef Andrew Maggitti  including his amazing Chilled Blueberry Soup.  We were delighted to get his recipe.

As cocktail hour ended at the Benevolent Baskets’ fundraising luncheon, our first course –  cups of Chef Andrew’s Chilled Blueberry Soup – appeared on the tables. The soup’s deep purple hue perfectly matched the table centerpieces.

Chef Andrew Maggitti’s Chilled Blueberry Soup

4 cups blueberries

4 Tablespoons sugar

1 teaspoon lemon zest

1/4 teaspoon ground ginger

1/8 teaspoon all spice

Blend the first five ingredients in blender

Then add:

1/3 bottle of Riesling

2 Tablespoons sour cream

2 Tablespoons lemon juice

Blend  and then add:

8 ounces of plain yogurt

2 ounces of simple syrup

Blend until smooth and strain through chinois (strainer)

Chef Andrew created the soup in conjunction with the fundraiser’s “Be Fit for Benevolence” theme and followed the first course with an entree of Lemon Pepper Marinated Chicken Breast on a bed of Quinoa topped with Pineapple Relish and a dessert of Chocolate Hazelnut Polenta Torte.


Easter Eggs the Easy Way

Perhaps like me, you’ll be having family around your table for Easter Sunday…adult children or grandchildren who love Easter eggs.  You love having a large bowl of pretty pastel eggs as a centerpiece/menu item for brunch.  But you don’t have any small kids around at the moment to help dye eggs.

With other preparations to make for the holiday, you’re much to busy to line up small cups of dye and dip eggs all afternoon.  So what are you to do?

Having found myself with this dilemma on more than one occasion, I wisely adopted my mother Margaret Owings’ shortcut for easy Easter eggs.

You simply dye the eggs while simultaneously hard boiling them.  All that is required is pots in which to boil water, a tablespoon, some food coloring and some vinegar.

Easter Eggs the Easy Way

Three dozen eggs  (Grade A large)

Three large pots filled three-quarters full with water

Three tablespoons white or cider vinegar per pot

Thirty or more drops of yellow, red, blue or green McCormick’s food coloring (can mix other colors according to directions on box)

Add three teaspoons of vinegar to each pot of water and turn on the burners.  Remove eggs from carton and drop carefully in the pots.  Squeeze in approximately thirty drops of food coloring per pot depending on how deep you want the color to be.  Bring the water to a boil, then lower it to a simmer and cover each pan with a lid.  Let the eggs simmer for 15 minutes.

Extract eggs.  You can submerge them in cold water for easier peeling but I usually place them back in the egg cartons to cool before arranging them in a bowl or basket.  I’ll serve them with homemade muffins or quick bread with juice and coffee for Easter brunch.


Fresh Spring Herbs Tantalize Taste Buds

While not my favorite time of year, March is the month when my herbs spring back to life alongside daffodils, tulips and grape hyacinths.  I’m always careful not to get the grape hyacinths mixed up with the brighter green garlic chives that pop through through the soil at the same time.   Oregano peeks through the dried leaves and quickly spreads across my herb garden. Radicchio plants that overwintered are growing too.

Pots of thyme, sage and parsley bounced back well. They are abundant enough that I can run out the back door and break off springs to use for cooking or  use them in spring salads and salad dressings.


Here’s a recipe for an easy homemade balsamic dressing with garlic and herbs that’s a hit with my family.

Balsamic Dressing with Garlic and Herbs

1 clove garlic (finely chopped)

1/2 teaspoon sugar

Dash of salt

2 tablespoons extra virgin olive oil

2-1/2 tablespoons balsamic vinegar

1 scant tablespoon water

Dab of French-style mustard (I use Grey Poupon)

Fresh herbs of your choice  basil, oregano, sage and thyme
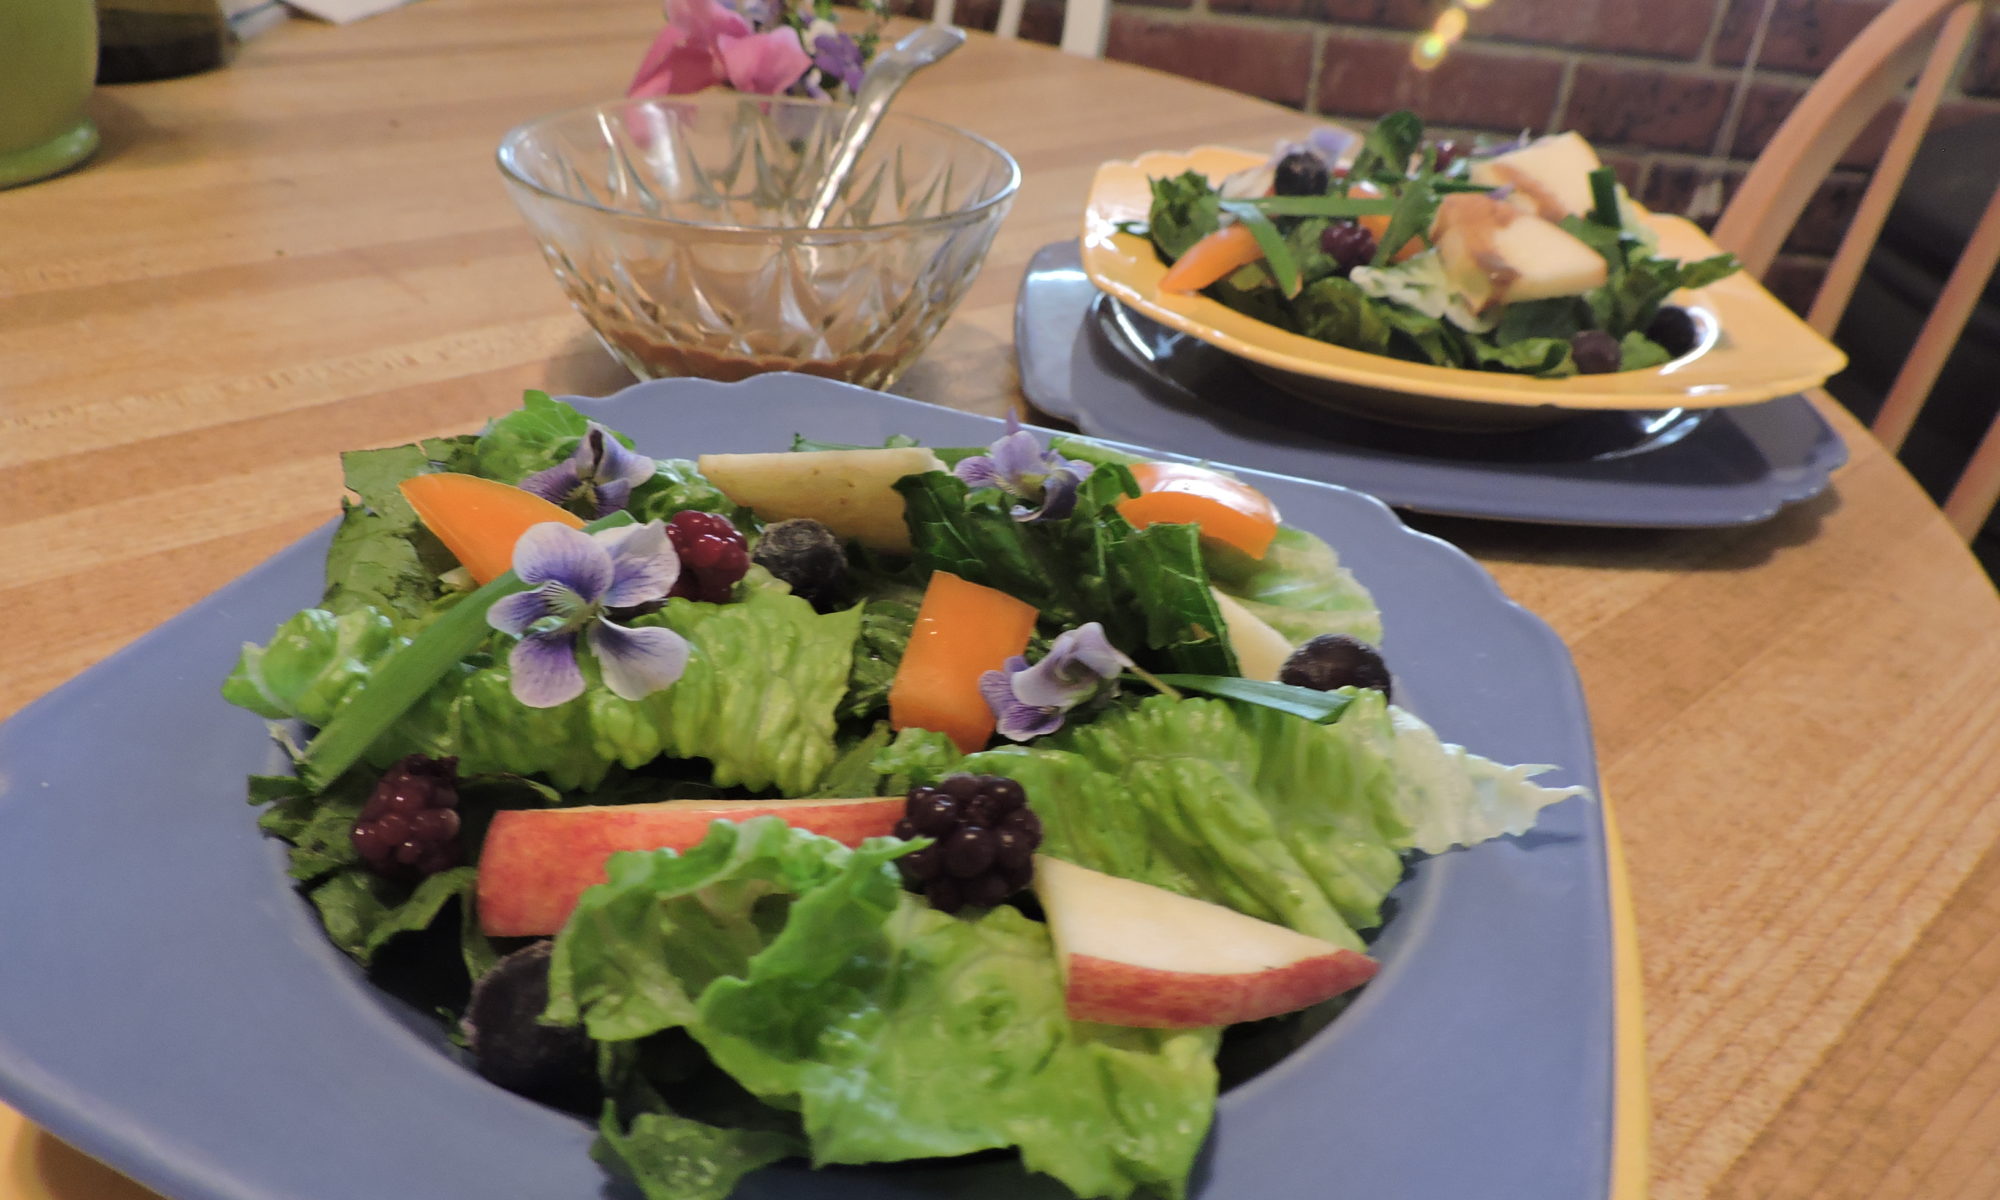
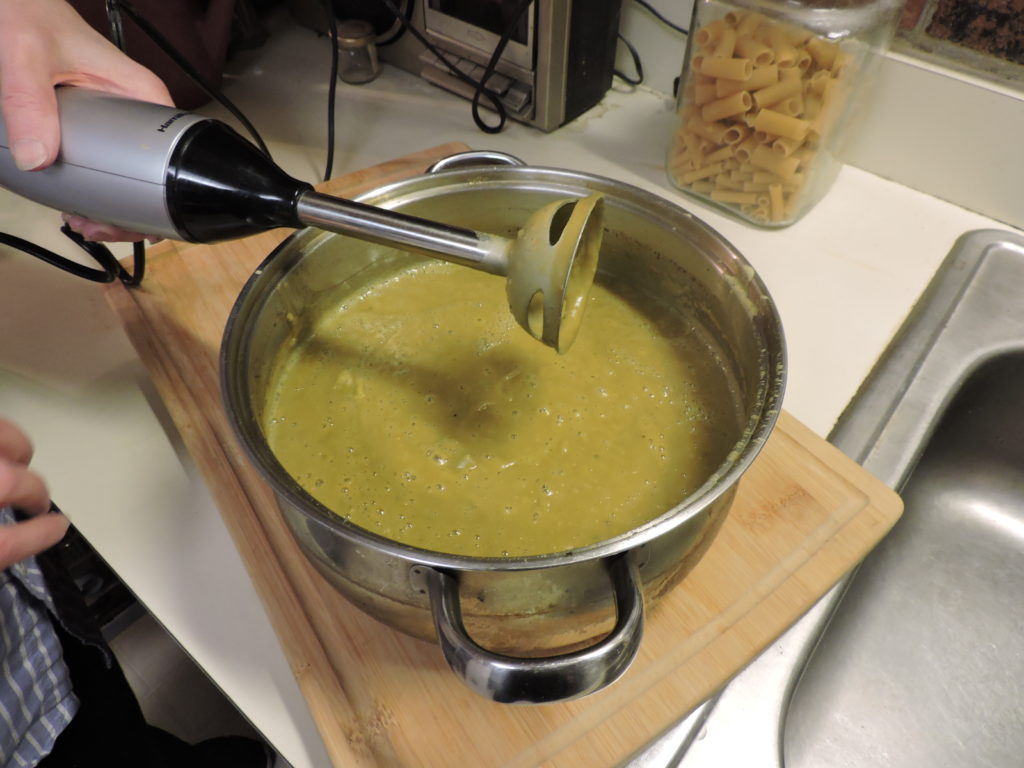
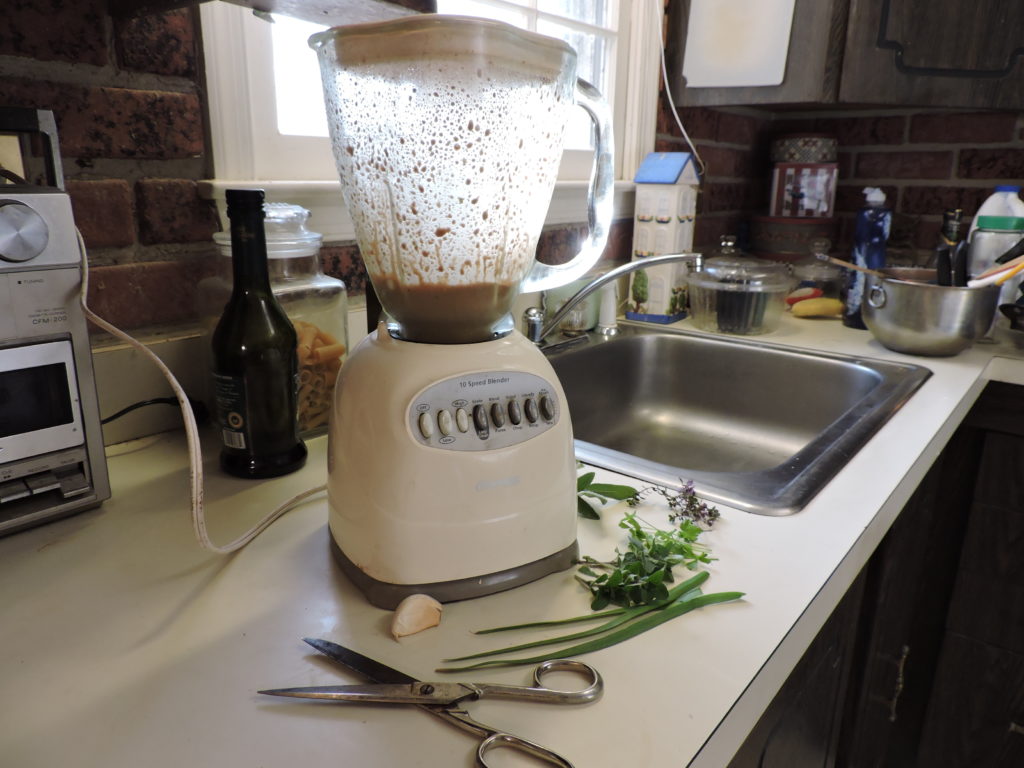
You can mix this dressing in a blender as shown here or simply in a clean jar that you can shake to mix.  The basic recipe may be used with different kinds of vinegar (red wine or cider vinegar are good) and with different herbs.  You can vary the ratio of oil to vinegar according to your taste.

To blender or jar add:  garlic, sugar and salt, olive oil, balsamic vinegar and water

Use a knife blade or small spoon to add mustard

Strip leaves from springs of herbs and add to blender or jar

Blend or, if using a jar, shake until the ingredients are blended

Pour over salad greens and other ingredients

(The salad I made contained romaine lettuce, sliced apples, slices of orange pepper, blackberries, blueberries, garlic chives and edible violets.  However, the dressing is equally great with red leaf lettuce, and mushrooms, red peppers, shredded carrots or other veggies.)


Pumpkins, Pumpkins, Pumpkins!

Driving about beneath bright October skies, I was deep into my annual hunt for the perfect pumpkins, seeking small, solid varieties that could stand in as autumn porch decorations and later be baked or pureed.

I’d spotted numerous specimens at my local supermarket, a garden center and two churches. But most were large and ornamental …not what I was looking for.

Then I visited Diehl’s Produce stand in Olde Severna Park, Maryland which was surrounded by colorful mums and pansies. Inside, I found late season produce and more than 20 varieties of pumpkins, squash and gourds.

There were giant pumpkins suitable for jack-o-lanterns, modestly-sized “Spookies”, and crates full of mini-pumpkins with names like Wee Bee Little, Jack be Little, and Orange Mon.

Hoping to find baking varieties, I cornered produce guru Elliott Enderkin for suggestions. He recommended “sugar pumpkins” which come in various sizes and are noted for their sweet, solid flesh. But “peanut pumpkins” – so named because the rinds are covered with growths resembling peanuts – were his second choice since they also make good pies. His third choice, orange-fleshed long-necked squash – are equally flavorful.

Winter squash are decorative and just as yummy as pumpkins for roasting, making soups or baked goods. Diehl’s selection included dark green or orange acorn squash, striped Mexican Hat and Carnival squash, pale orange Butterkin squash, Speckled Hound squash, and emerald gooseneck squash with speckles. It was hard to choose but I bought a large sugar pumpkin and two acorn squash.

Stopping next at Pumphrey’s Farm Stand in Millersville, Maryland, I passed by bins of squash, heirloom tomatoes and colorful peppers to a table piled high with small orange pumpkins that felt very solid. Assured they were perfect for cooking and baking, I bought several.

I displayed my purchases as porch decorations along with pots of yellow chrysanthemums, an autumn-hued wreath and a door decoration of “fall corn” with a few kernels missing thanks to an ambitious mouse.

After Thanksgiving, I retrieved the pumpkins and then baked, cooled and pureed them as bases for pies, cakes, cookies, muffins, pumpkin bread, pancakes and soups. Here’s my easy method.

Pumpkin Puree

Wash pumpkins – Do not peel

Fill a large baking pan with 2 to 3 inches of water.

Add 1 large or two small pumpkins to each pan.

Bake at 375 degrees until done. (Rind will darken, take on a sheen…sides will collapse and flesh will be soft.)

Cut pumpkin in half

Scoop out seeds (rinse and save for roasting)

Scoop out flesh into large container

Use hand blender to turn the flesh into a smooth puree. Alternatively, add the flesh to a food processor or blender.

Divide the puree into ½ cup and 1 cup portions and use or freeze.

Pumpkins and squash are loaded with Vitamin E (Alpha Tocopherol), Thiamin, Niacin, Vitamin B6, Folate, Iron, Magnesium and Phosphorus, and are good sources of Dietary Fiber, Vitamin A, Vitamin C, Riboflavin, Potassium, Copper and Manganese. The seeds are nutritional powerhouses and when ground, add wonderful flavor and texture to pancakes, muffins and cookies.

The recipe for pumpkin muffins  below is a nutritional powerhouse

I’m most  inspired to make them when autumn leaves begin to fall.  But, truth be told, I like these muffins any time of the year.

The recipe’s based on one for banana muffins I cut out of a newspaper and modified by substituting pumpkin for bananas and increasing the amount of sugar used.  I continue to play around with ingredients that add texture including pecans, walnuts, sunflower seeds and/or ground pumpkin seeds.

Pumpkin muffins are hearty and perfect to serve for breakfast or afternoon tea.  I’ve even served them  to hungry jazz musicians taking a break from rehearsing.   Here’s the recipe.

Perfect Pumpkin Muffins

(Makes 1 dozen)

1 cup old fashioned oats uncooked

1 cup all-purpose or unbleached flour

1 pinch salt

1 tablespoon baking powder

1/2 cup brown or white sugar

1/2 teaspoon cinnamon

1 pinch ginger

1 egg

1 cup whole or low fat milk

1/2 cup pumpkin puree (thawed if frozen)

1/4 cup canola oil

1/2 cup raisins and/or dried cranberries

1/4 cup pecans, walnuts, or sunflower seeds

Heat oven to 400 degrees.  Grease muffins tins or line 12 muffin cups with paper baking cups

Plump raisins and/or cranberries in hot water

Combine oats, flour, baking powder, pinch salt, cinnamon, and ginger. Add

Add combined wet ingredients.  Mix until dry ingredients are moistened.

Drain and add raisins/cranberries

Fold in  nuts or sunflower seeds

Fill muffin cups 3/4 full and bake 20 to 25 minutes or until golden brown

Pumpkin puree may also be used to make the fantastic dessert below.

The best recipe for pumpkin cake I’ve ever eaten came from my mother Margaret. It’s easy to make and smells wonderful when baking.

The cake is so moist, rich and delicious that I serve it simply with a dollop of whipped cream. However, it may be iced with cream cheese frosting.

Margaret Owings’ Pumpkin Cake

4 eggs

1-2/3 cups sugar

1 cup oil (I use canola)

2  1-cup portions of pumpkin puree (thawed) or 16 ounces canned pumpkin

2 cups flour

2 tsps. baking powder

2 tsps. cinnamon

1 tsp. salt

1 tsp. baking soda

Combine eggs, sugar, oil and pumpkin puree and mix well

Blend dry ingredients together in a separate bowl

Add to wet ingredients a bit at a time beating well after each addition

Bake in ungreased sheet pan at 350 degrees for 25 to 30 minutes. (You can halve the recipe and bake in an 8 inch round pan.)

My mother used canned pumpkin but I substitute homemade pumpkin puree as it produces a better texture. For an unexpected twist, sprinkle pecans across the top of the batter before baking.


Savory Split Pea Soup

Nothing lifts my spirits more on a cold, wet day than watching the steam rise from a pot of soup bubbling gently on my stove.   I love the  aroma of split pea soup simmering away with its combination of ham broth, garlic, onions, celery, carrots and herbs.

Normally, I prepare the soup with dinner in mind.  But then I’ll have a taste  and find it so delicious I can’t wait to have a bowl.

Smooth, aromatic and  hearty, this satisfying soup is a favorite family comfort food.  I cobbled together this quick and easy-to-make recipe from one I discovered on the back of a package of split peas and another I found in an old cookbook.  But like most of our recipes, it’s evolved over time.  Here’s hoping it’ll become a family favorite for you too.

Split Pea Soup

One 16-ounce package of green or yellow split peas (any brand will do)

One ham hock or two cups of ham stock

Eight cups of water if using ham hock, six cups of water if using stock

Two cloves of garlic

Half an onion

One or two sticks of celery

Two carrots (or substitute a handful or two of frozen carrots)

Three sprigs of fresh oregano (or 1/2 tsp. dried oregano)

1 leaf of sage (fresh or dried)

Salt  to taste

Peppercorns

Empty package of split peas into a soup pot or dutch oven and cover with cold water.  Though unnecessary, I  soak the peas for 30 minutes, then rinse several times.

If you have a ham hock instead, simply add it to the pot  with eight cups of water.  If, instead,  you have ham stock  available, add two cups to the pot along with six cups of water.  (Chicken stock may be substituted for part or all of the  ham stock.)

Bring to a boil over high heat.  Skim off any impurities that have floated to the top as foam. Then lower to simmer.

Chop the onion, carrots and celery and add to the pot.

Add oregano and sage

Ham has a high salt content but you’ll nevertheless need to taste the soup and add additional salt if needed.

Add a few grinds of pepper

Simmer for about 40 minutes until split peas soften.  If you used a ham hock, remove it at this point.  Chop and reserve any meat left on the bone to be added at the end of cooking.

For the final step, I prefuse a hand blender to cream or smooth the soup mixture.  Or place part of the soup in a food processor or blender and then return to the pot.

Ladle the soup into bowls and serve with crackers or a sandwich for lunch or with a simple salad and bread for dinner.

Split peas are high in protein and fiber and low in fat and provide complex carbohydrates which improve energy, digestion and metabolism and reduce stress.